Check out our app!
Explore more features on mobile.
Plumbing and Electrical: Install Essential Systems for Your Building
Plumbing and electrical systems are the critical infrastructure that powers and services your entire building. Research shows that 67% of building failures relate to these core systems, and proper installation can reduce maintenance costs by up to 40% over 15 years. This comprehensive guide explores professional installation techniques, code requirements, and expert strategies to ensure your systems provide decades of reliable, efficient service.
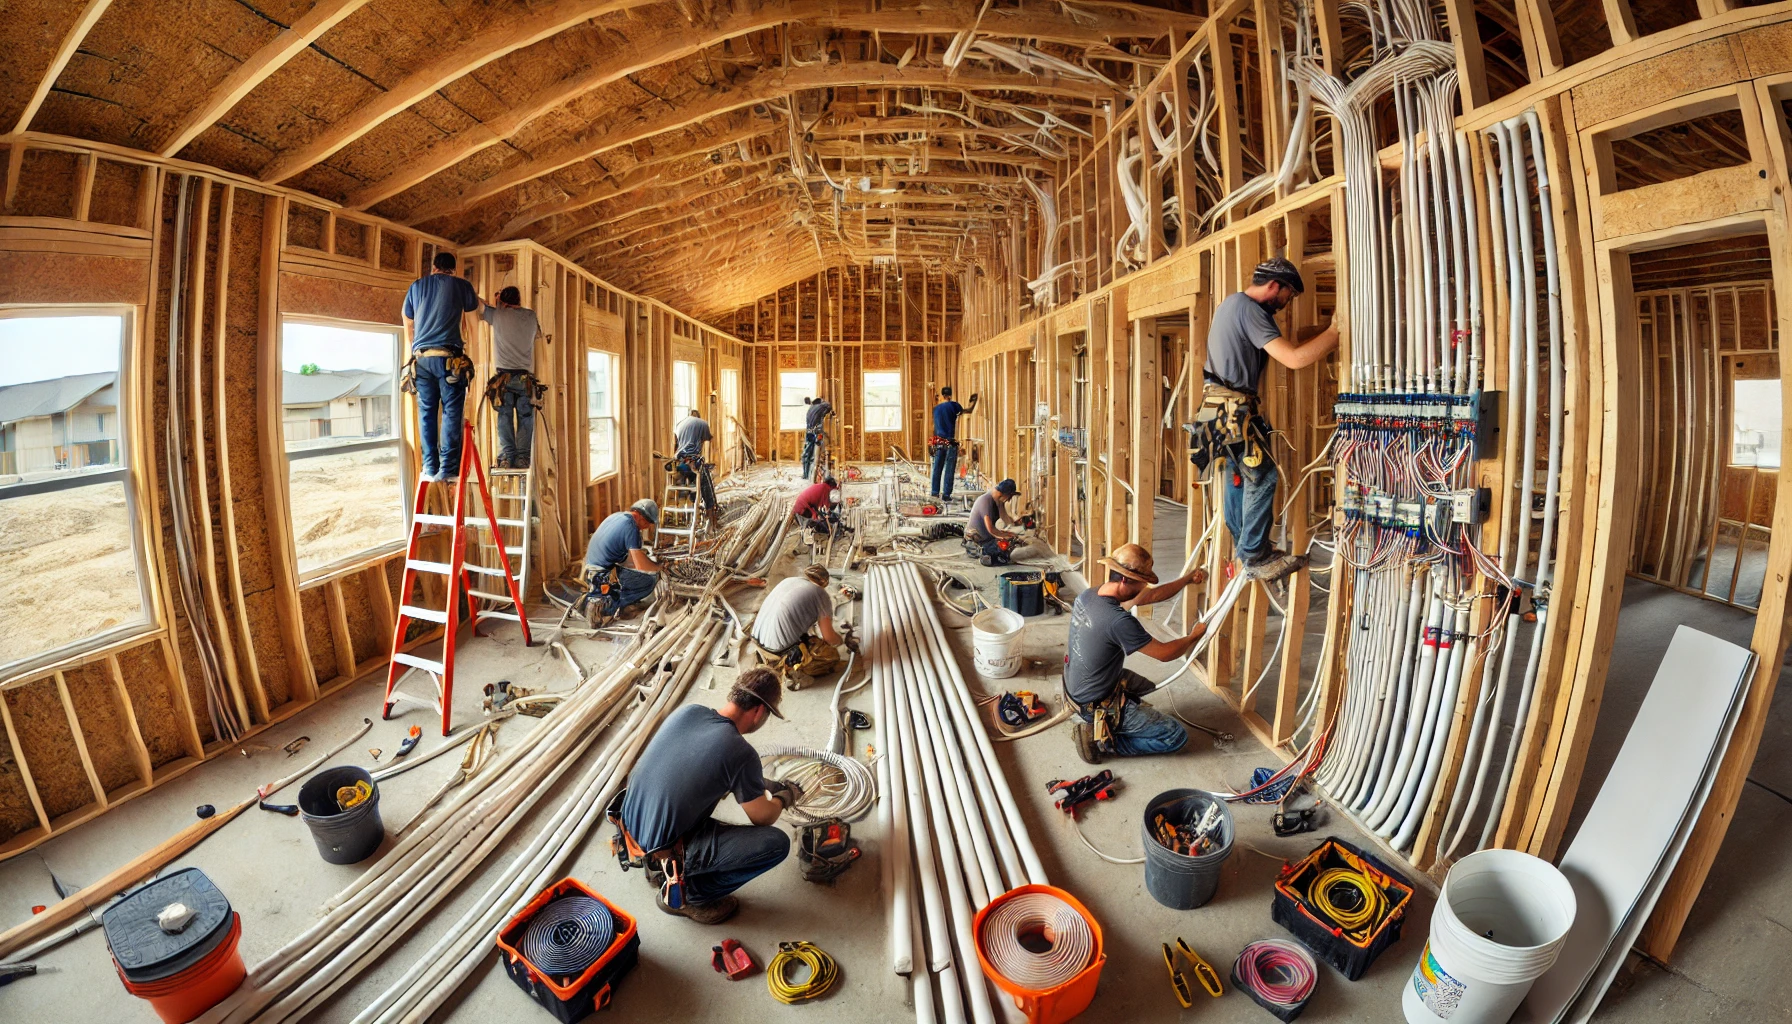
[Image: Professional Plumbing and Electrical Installation in Progress]
Key Steps in Plumbing and Electrical Work
These are the critical tasks involved in installing proper plumbing and electrical systems:
1. Plumbing Layout and Planning
Map out the entire plumbing system, mark pipe routes, and designate fixture locations. This crucial planning phase establishes the foundation for an efficient water distribution and drainage system while minimizing potential conflicts with other building elements.
- Water supply design: Create a trunk and branch system with 3/4″ main lines reducing to 1/2″ fixture supplies, maintaining minimum 45 PSI at fixtures
- Drainage planning: Design with proper slope (1/4″ per foot for horizontal runs), vent stacks within 5′ of fixtures, and clean-out access points every 100′
- Material selection: Choose between PEX, copper, or CPVC for supply lines based on local codes, water chemistry, and pressure requirements
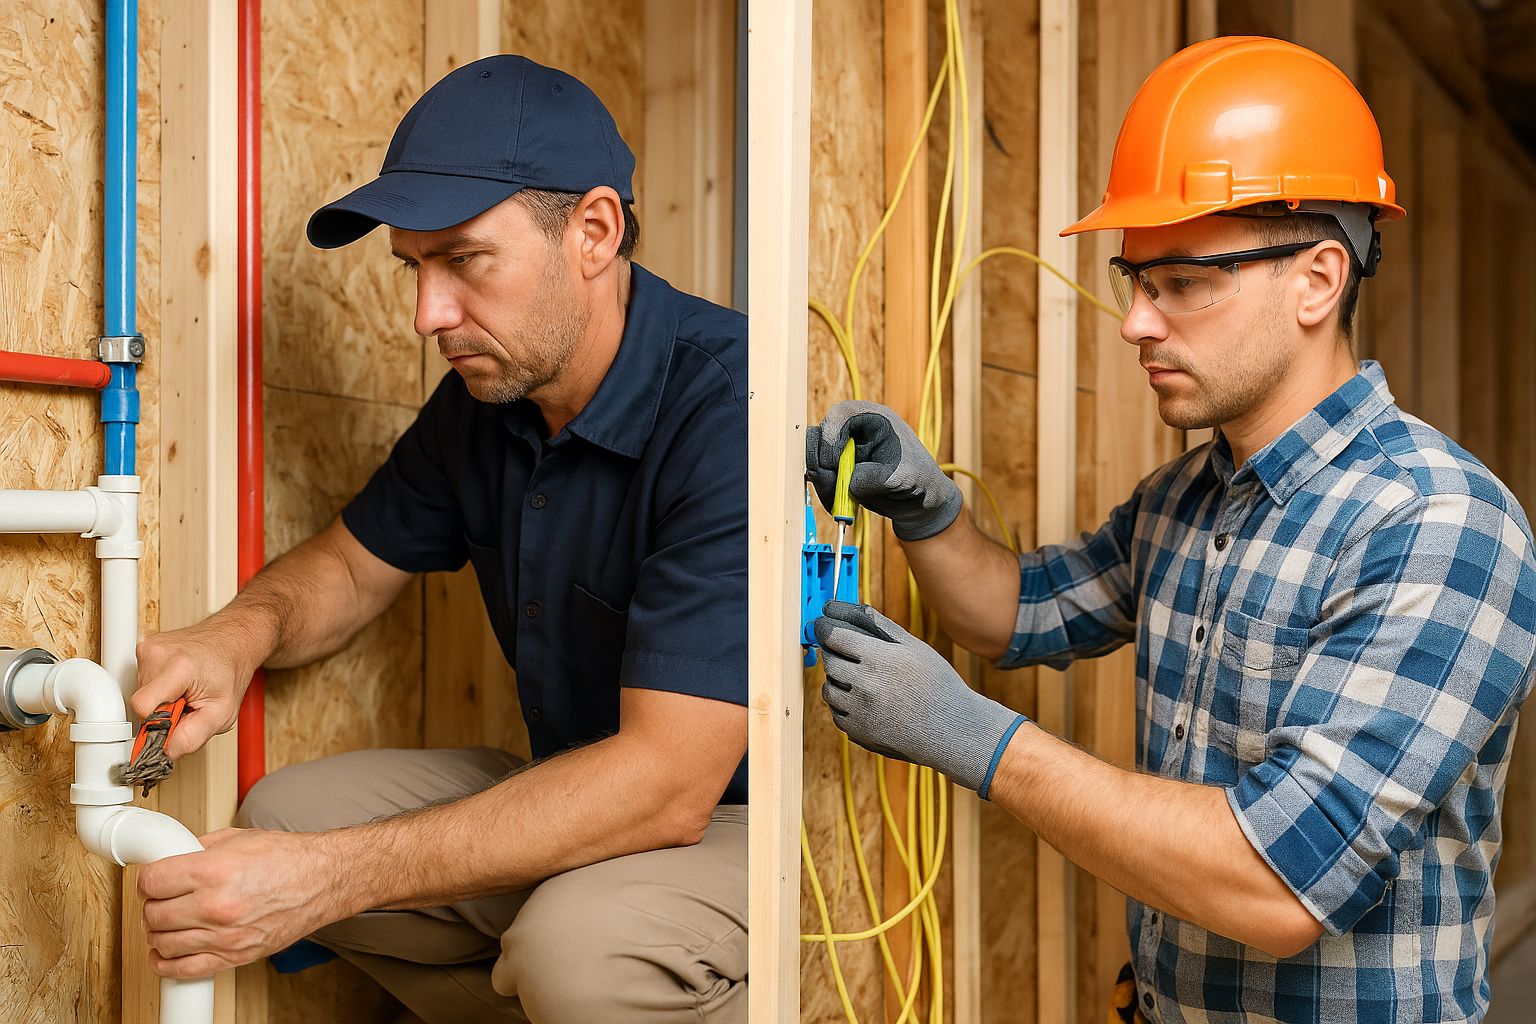
2. Rough-In Plumbing
Install water supply lines, drain pipes, and vent pipes before walls and floors are closed. This phase establishes the hidden infrastructure that will serve your building for decades and must be executed with precision.
- Supply line installation: Secure pipes every 6′ horizontally and 8′ vertically with proper hangers, allowing for thermal expansion (especially for copper)
- Waste pipe configuration: Install 3″-4″ main drain lines with 2″ branch lines, ensuring proper fall and support at maximum 4′ intervals
- Pressure testing: Test water supply lines at 100 PSI for 2 hours without pressure drop; test DWV systems with 10′ water column for 15 minutes
3. Plumbing Fixture Installation
Install sinks, toilets, bathtubs, showers, and other fixtures after finishing work is complete. Proper fixture installation ensures leak-free operation, easy maintenance, and user comfort throughout the building’s life.
- Fixture mounting: Secure fixtures to structural elements with appropriate fasteners (lag bolts for toilets, silicone and clip systems for undermount sinks)
- Sealing techniques: Apply 100% silicone caulk at fixture-to-surface joints, wax rings for toilet flanges, and plumber’s putty for certain drain assemblies
- Water efficiency: Install WaterSense-certified fixtures (1.28 GPF toilets, 1.5 GPM faucets) to reduce consumption by 20-30% compared to standard options
4. Electrical Layout and Planning
Design the electrical system and plan wiring routes for outlets, switches, and appliances. A well-designed electrical plan ensures adequate capacity, safety, and flexibility for current and future needs.
- Load calculation: Determine service size using NEC guidelines (typically 200A for modern homes), with minimum 3VA per square foot for general lighting
- Circuit planning: Design dedicated 20A circuits for kitchens and bathrooms, 15A circuits for general lighting/outlets, with maximum 10 outlets per general circuit
- Panel location: Position main electrical panel in accessible location at least 3′ from water sources, with minimum 36″ clearance in front
5. Rough-In Wiring
Run electrical wiring and set up electrical panels and breakers prior to finishing walls. This phase establishes the electrical infrastructure that will power all systems and devices throughout the building.
- Cable selection: Use 14 AWG for 15A circuits, 12 AWG for 20A circuits, and 10 AWG for 30A circuits, with appropriate insulation rating (THHN/THWN-2)
- Box installation: Mount outlet boxes 12″-18″ above finished floor, switch boxes 48″ above floor, with proper box volume for number of conductors
- Circuit protection: Install GFCI protection for all kitchen, bathroom, garage, and outdoor outlets; AFCI protection for bedrooms and living areas
6. Electrical Fixture and Outlet Installation
Install outlets, switches, lighting fixtures, and test for proper functionality. This finishing phase makes the electrical system usable and must be completed with attention to both safety and aesthetics.
- Connection methods: Use side screw terminals for solid wire, back-wire holes for stranded wire, with proper torque specifications (12-14 inch-pounds for #14-10 wire)
- Light fixture mounting: Ensure boxes for ceiling fixtures can support minimum 50 lbs, with fan-rated boxes (70 lbs capacity) for ceiling fans
- Grounding compliance: Verify all metal components are properly grounded, including switch/outlet boxes, light fixtures, and appliance housings
7. Inspection and Final Testing
Schedule inspections and perform comprehensive testing to ensure both systems meet safety codes and performance standards. Final verification prevents potential hazards and ensures full functionality before occupancy.
- Plumbing verification: Confirm fixture operation, check for leaks under full pressure, verify drainage speed, and test water temperature regulation
- Electrical testing: Measure voltage at outlets (120V ±5%), check GFCI/AFCI trip function, verify polarity, and confirm proper grounding (max 25 ohms resistance)
- Documentation: Create as-built plans showing actual installation locations, valve positions, and circuit designations for future reference
Who Handles Plumbing and Electrical Work?
These technical installations require highly trained professionals with proper licensing and certification:
- Master Plumber: Oversees the entire plumbing installation, designs systems according to codes, and pulls required permits with minimum 7-10 years of experience and licensing
- Journeyman Plumbers: Execute the installation of pipes, fixtures, and components under master plumber supervision, typically with 4-5 years of experience
- Plumbing Apprentices: Assist with material handling, basic installations, and learn trade skills under direct supervision of journeyman or master plumbers
- Master Electrician: Designs electrical systems, determines load requirements, and oversees the entire electrical installation with licensing requiring 8-10 years of experience
- Journeyman Electricians: Install primary electrical components, run circuits, and connect fixtures under master supervision with 4-6 years of experience
- Electrical Apprentices: Support journeyman electricians, handle basic tasks, and develop skills through hands-on experience and classroom training
- Mechanical Engineer: Provides specifications for complex systems integration, especially in larger buildings with multiple mechanical systems
Time & Cost Estimates
The timeline and budget for plumbing and electrical work vary based on building size, system complexity, and fixture/equipment quality. Here are detailed estimates for each major phase:
| System Component | Estimated Time | Estimated Cost | Key Value Points |
|---|---|---|---|
| Plumbing Layout & Planning | 2–3 days | $1,200–$3,500 | Prevents costly corrections and ensures efficient water distribution |
| Rough-In Plumbing | 5–8 days | $4,500–$12,000 | Creates the hidden infrastructure that serves the building for decades |
| Plumbing Fixture Installation | 2–4 days | $1,800–$5,500 | Provides the user interface for the plumbing system with proper sealing |
| Electrical Layout & Planning | 2–3 days | $1,200–$3,800 | Designs system with adequate capacity for current and future needs |
| Rough-In Wiring | 5–9 days | $4,800–$14,000 | Establishes safe, code-compliant power distribution throughout building |
| Electrical Fixture Installation | 2–4 days | $1,500–$5,000 | Makes the electrical system functional with proper connections |
| Inspection & Testing | 1–2 days | $800–$2,200 | Verifies safety compliance and proper operation before occupancy |
| Total Estimates | 19–33 days | $15,800–$46,000 | Complete, integrated systems with long-term reliability and safety |
These cost estimations provide a general guideline and cover a range from basic to mid-tier builds. They may not reflect costs for high-end or luxury projects. For more precise estimates, consult with professionals based on your specific requirements.
Cost-Saving Tips
Optimize your plumbing and electrical investment with these expert strategies:
- Consolidated fixture locations: Design plumbing with back-to-back bathrooms and stacked wet walls to minimize pipe runs, potentially reducing material costs by 15-20%
- Strategic material selection: Use PEX instead of copper for supply lines where code permits, saving 30-40% on material costs while improving freeze resistance
- Bulk purchasing power: Order fixtures, wiring, and components directly from wholesale suppliers rather than through contractors, often saving 20-25%
- Energy-efficient planning: Install dedicated electrical circuits and water lines for energy-efficient appliances, qualifying for utility rebates of $200-$500
- Future-proofing preparation: Install extra electrical conduits and water line sleeves during rough-in phase at minimal cost, avoiding costly wall/floor opening for future additions
- Quality balance strategy: Invest in higher quality components for critical hidden infrastructure (pipes, wiring) while economizing on easily replaceable fixtures
Summary: Your Plumbing and Electrical Action Plan
1. Prioritize Proper Design and Planning
Invest time and resources in comprehensive system layouts that integrate plumbing and electrical needs while accommodating future expansion possibilities and current code requirements.
2. Work With Licensed Professionals
Partner with properly licensed and experienced plumbers and electricians who understand both technical requirements and code compliance issues specific to your area.
3. Focus on Quality Where It Matters Most
Allocate your budget strategically by investing in high-quality materials for in-wall components that are difficult to access later, while finding cost efficiencies in more easily replaceable elements.
Properly installed plumbing and electrical systems form the critical infrastructure of your building. Following these professional guidelines ensures these systems will operate safely and efficiently for decades, protecting your investment and providing essential functionality.
Install Your Essential Systems With Confidence
Track Your Progress: Monitor your plumbing and electrical milestones with our interactive tools
Stay Notified: Receive alerts for inspections, material deliveries, and coordination points with other trades
Step-by-Step Guidance: Follow detailed instructions on system layout, installation techniques, and testing procedures
Reduce Stress: Keep all specifications, permits, and inspection records organized in one secure location
Whether you’re building a new structure or upgrading existing systems, professional plumbing and electrical installation is essential for safety, efficiency, and long-term building performance. Explore our Step-by-Step Builds, Step-by-Step Buys, and Step-by-Step Invest resources for more expert guidance.
When building your own home, always do your due diligence. Consult the professionals you’ve hired—such as your architect, subcontractors, or engineers—and confirm that your work complies with all local building codes and inspections required in your country, state, or province. Builds and Buys is for educational purposes only. Always verify with licensed professionals.
How To Start Plumbing A House
In this video, I will show you how to start the plumbing in a house. If you are wondering how your home plumbing works then this video will help you start to understand the process. If you are plumbing with PEX for the first time then this brief video will introduce you to it. .
Check out more informative Videos


How To Install Rough In Electricity In A New Construction House – Beginners Guide To Electrical
In this video I will show you how to install rough in electricity in a new construction house. This is how to do wire a new construction house for beginners. I go over the 6-12 rule for receptacle or outlet code. Roughing in house for electricity is something that will be inspected so be to follow your local electrical codes.
Check out more informative Videos

News And Knowledge
Stay informed with the latest trends, insights, and updates in the real estate world.


Your Tools
Access your tools to manage tasks, update your profile, and track your progress.


Collaboration Feed
Engage with others, share ideas, and find inspiration in the Collaboration Feed.