Exterior Finishes 2026: Enhancing the Curb Appeal of Your Home
Exterior finishes form your home’s critical first impression and weather defense system. Research shows that quality exterior finishes can increase property values by 5-12% and significantly impact selling time, with homes selling up to 70% faster when featuring superior curb appeal. This comprehensive guide explores professional installation techniques, material selection, and expert strategies to ensure your exterior delivers maximum visual appeal, weather protection, and long-term value.
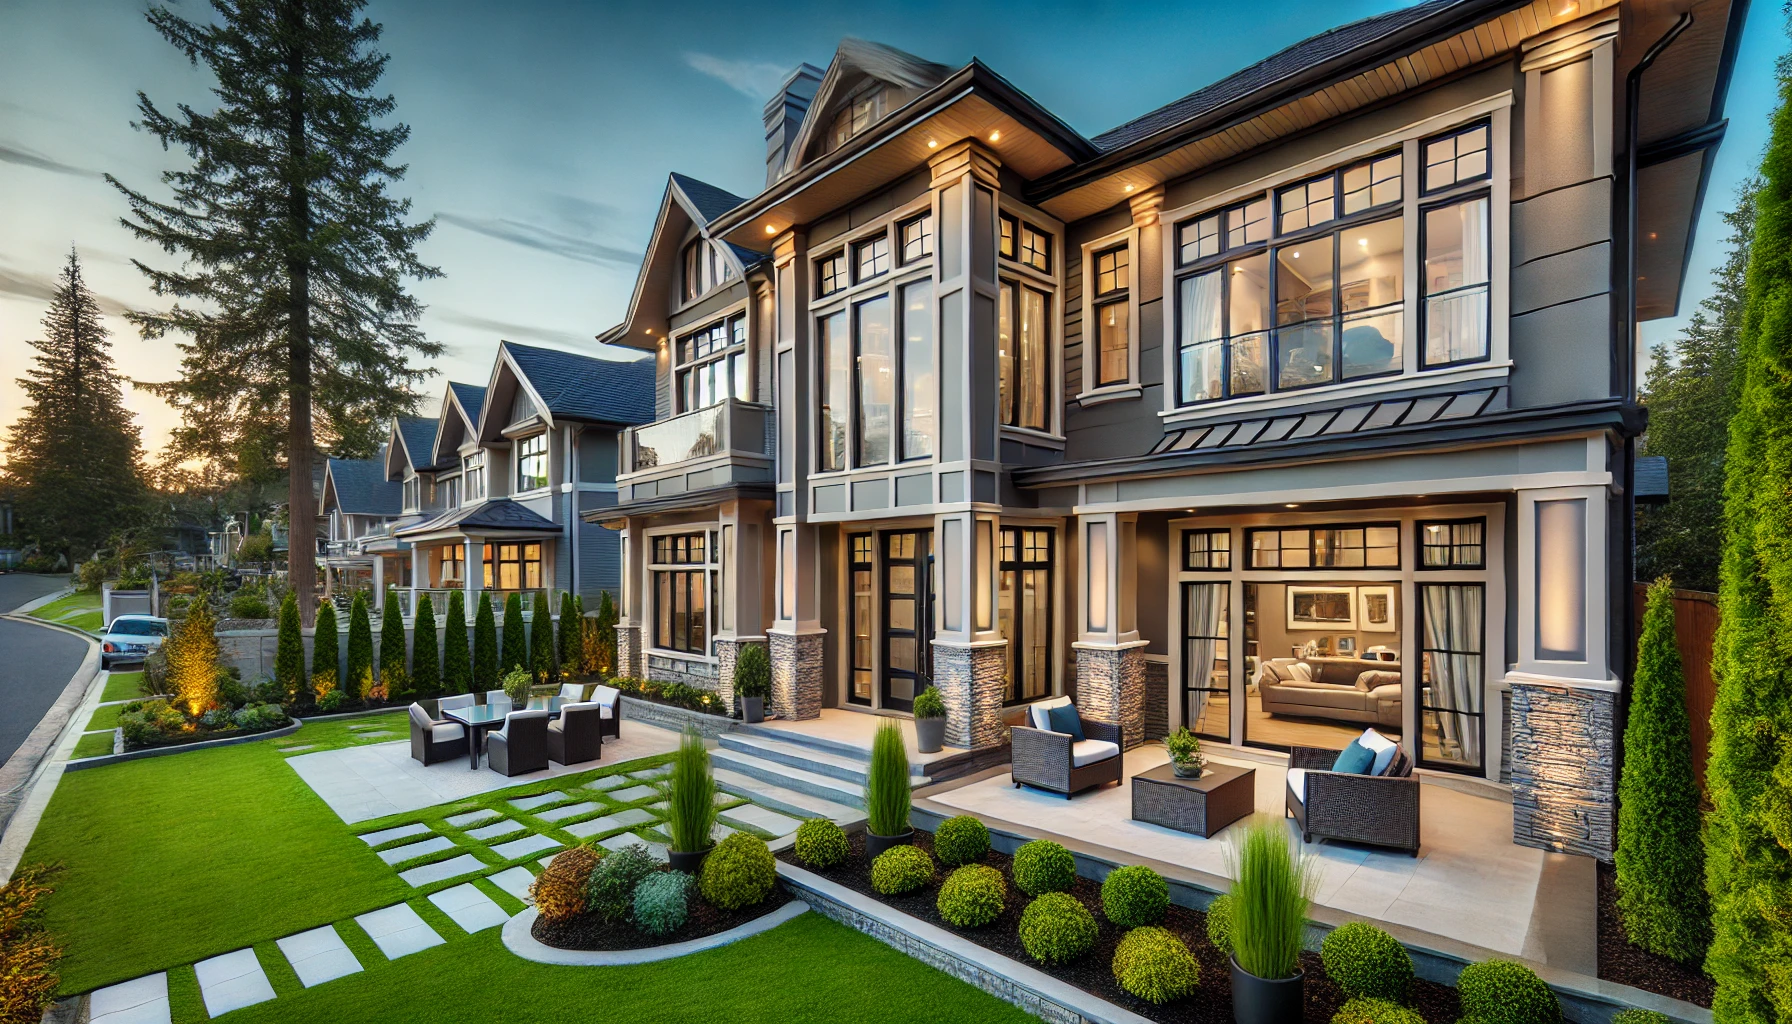
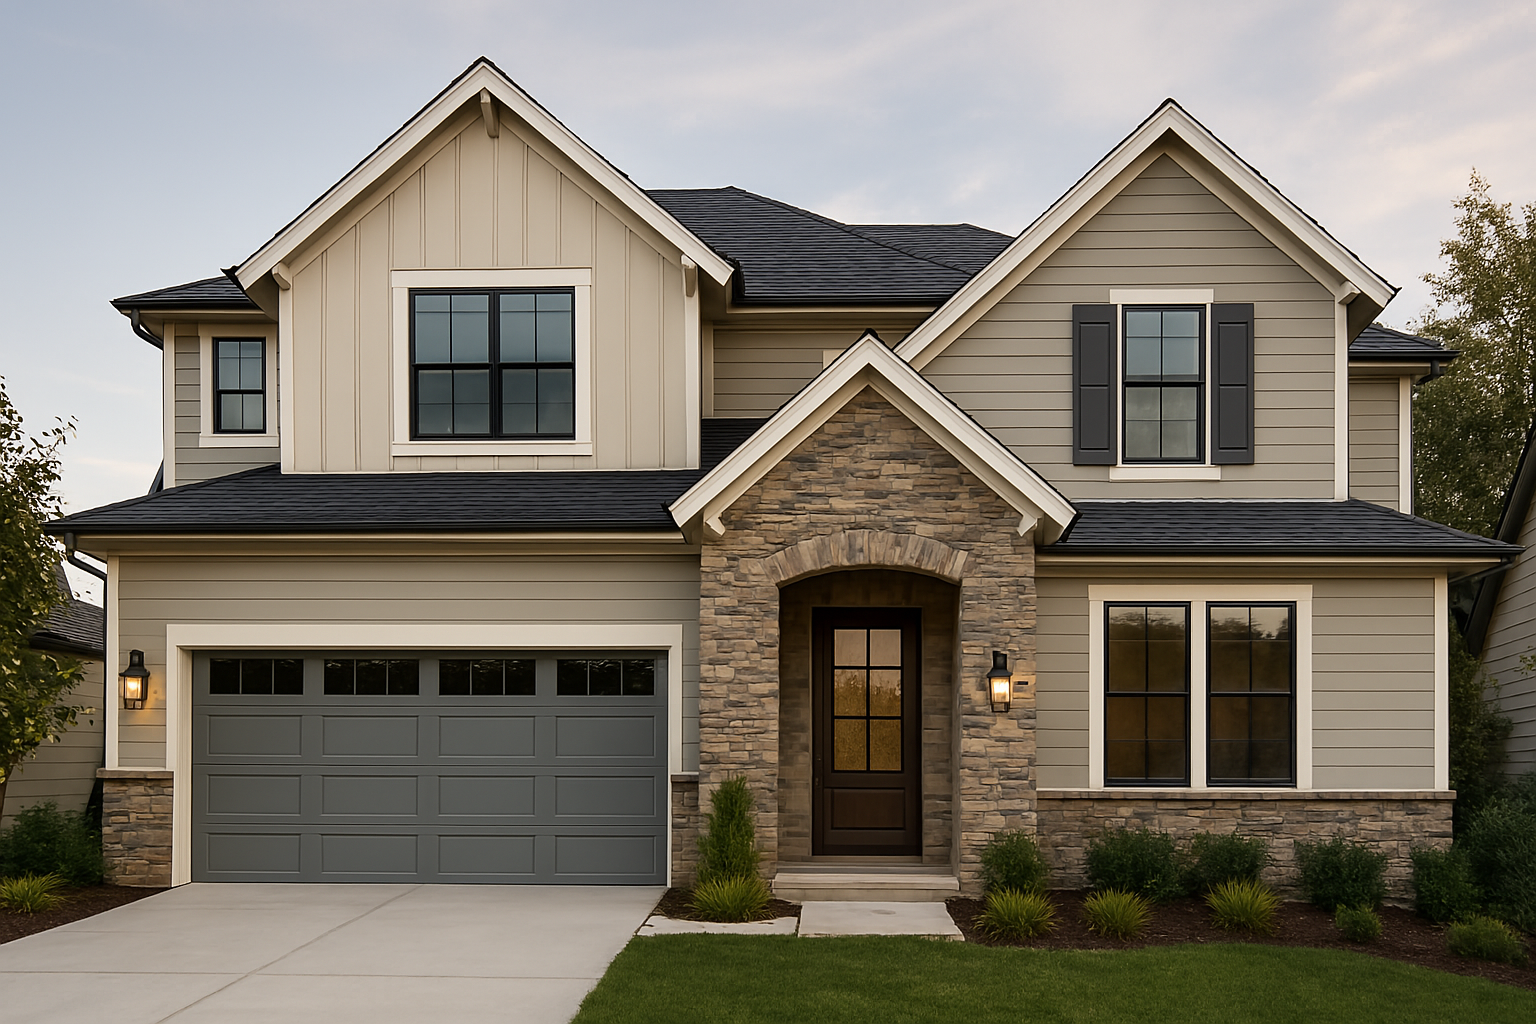
[Image: Professional Exterior Finishing Work in Progress]
⚡ Quick Answers: Siding Costs, Best Materials & Common Problems (Click for instant answers)
▼📍 Global Exterior Finishing Requirements by Region Wrong materials = total failure in your climate
▼Key Steps in Exterior Finishes
These are the critical steps involved in creating a beautiful, weather-resistant exterior that enhances your property’s value:
1. Weather-Resistant Barrier Installation
Install house wrap and flashing to create a critical moisture barrier underneath siding materials. This essential weather-proofing layer prevents water infiltration while allowing the building to breathe.
- House wrap application: Install with minimum 6″ overlap at horizontal seams, 12″ at corners, secured with cap nails (not staples) every 12″-18″, with all seams taped using manufacturer-approved tape
- Flashing installation: Apply self-adhesive flashing at windows and doors in proper sequence (sill → jambs → head) with minimum 1″ overlap onto face of house wrap, extending minimum 4″ beyond openings
- Penetration treatment: Seal all utility penetrations with specialized flashing boots or flexible flashing tape with minimum 1″ overlap onto house wrap, creating watertight barrier
2. Siding Material Selection and Preparation
Choose appropriate siding materials based on climate, aesthetic preferences, maintenance requirements, and budget considerations. Proper material selection dramatically impacts both appearance and long-term performance.
- Material options: Evaluate fiber cement (30-50 year lifespan, fire-resistant), vinyl (20-40 year lifespan, low maintenance), engineered wood (30+ year warranty, authentic appearance), natural wood (traditional appearance, higher maintenance), or stucco (extremely durable, regional appropriateness)
- Climate considerations: Select materials rated for your specific climate zone – impact-resistant in hail-prone areas, fade-resistant in high-UV regions, freeze-thaw resistant in cold climates
- Acclimation requirements: Allow natural wood siding to acclimate on-site for minimum 72 hours, fiber cement for 24-48 hours prior to installation to prevent warping or improper fit
3. Professional Siding Installation
Install siding materials with proper techniques to ensure weather protection, optimal appearance, and maximum lifespan. Installation quality directly impacts both performance and aesthetic appeal.
- Starter strip installation: Secure starter strips perfectly level (maximum 1/8″ deviation over 20′) at foundation, with minimum 6″ clearance above grade for moisture protection
- Panel installation: Install with precise spacing (1/8″ gap for fiber cement, 1/4″ for wood, manufacturer-specified overlap for vinyl) using appropriate fasteners (galvanized/stainless for wood, roofing nails for fiber cement, specialized clips for vinyl)
- Cutting techniques: Use specialized tools for dust control (fiber cement shears or circular saw with HEPA vacuum), score-and-snap methods for vinyl, carbide-tipped blades for engineered wood
4. Exterior Trim and Detail Work
Install corner boards, window/door trim, fascia, soffits, and decorative elements to enhance architectural features and provide critical protection at vulnerable transition points.
- Corner installation: Apply corner boards/trim prior to siding with minimum 2″ wider profile than siding exposure, secured every 16″ with proper flashing behind, leaving 1/8″ gap at bottom for water release
- Window/door trim: Install in specific sequence (sill → jambs → head) with proper slope on horizontal elements (minimum 5° pitch for water shedding) and proper caulking at all transitions
- Fascia and soffit application: Install continuous soffit ventilation (minimum 1 square foot of ventilation per 150 square feet of attic space) with solid blocking at fire separations, using specialized vented panels for proper airflow
5. Exterior Surface Preparation and Painting
Prepare and paint exterior surfaces to provide both protection and aesthetic appeal. Proper preparation is critical for paint adhesion and longevity in challenging outdoor environments.
- Surface cleaning: Power wash at 1500-2000 PSI with appropriate cleaning solutions (TSP substitute for general cleaning, diluted bleach solution for mildew), allowing full drying time (24-48 hours) before painting
- Primer application: Apply appropriate primer for substrate (oil-based for weathered wood, acrylic for fiber cement, bonding primer for properly prepared glossy surfaces) with brush/roller/sprayer as appropriate
- Paint selection: Use 100% acrylic exterior paint (minimum 2 coats) with proper sheen selection (satin/semi-gloss for trim, flat/low-luster for siding) and adequate dry time between coats (4-6 hours minimum, longer in humid conditions)
6. Outdoor Living Space Construction
Design and build decks, porches, and patios that extend your living space while complementing your home’s exterior design. These features add significant functionality and value to your property.
- Deck construction: Build with proper structural connections (minimum 1/2″ galvanized or stainless through-bolts at ledger attachment to house), code-compliant guardrails (36″ minimum height for residential, maximum 4″ spacing between balusters), and proper joist spacing for selected decking (12″-16″ for composite, 16″ for standard pressure-treated, 12″ for perpendicular installation pattern)
- Patio installation: Prepare base with minimum 4″-6″ of compacted gravel, 1″ sand bed, proper slope for drainage (1/4″ per foot away from house), using appropriate materials for climate (freeze-thaw resistant in cold regions)
- Design integration: Incorporate design elements that complement main structure through matching materials, complementary colors, and architectural detail repetition for cohesive appearance
7. Final Sealing and Weather Protection
Apply appropriate caulking, sealants, and protection measures to vulnerable areas. Proper sealing extends the life of exterior finishes and prevents moisture intrusion that can damage the building envelope.
- Caulking application: Use high-quality exterior-grade silicone or polyurethane caulk (minimum 35-year rating) at all material transitions, focusing on upward-facing joints and areas susceptible to water entry
- Expansion joint treatment: Install proper expansion joints every 12′-16′ for stucco or masonry veneers, backed with backer rod and sealed with flexible sealant rated for 50% movement capacity
- Weather protection verification: Confirm all wall penetrations are properly flashed and sealed, with kick-out flashing at roof-wall intersections and proper drip edges at all horizontal terminations
Who Handles Exterior Finishes?
Exterior finishing requires specialized professionals with proper training, equipment, and expertise:
- Siding Contractors: Specialize in the installation of specific siding materials with knowledge of proper flashing, fastening, and detailing techniques for weather-tight installation
- Exterior Trim Carpenters: Install decorative and functional trim elements with precision joints, proper flashing integration, and weather-resistant attachment methods
- Stucco Applicators: Apply traditional or synthetic stucco systems with proper substrate preparation, control joint installation, and multi-layer application techniques
- Exterior Painters: Prepare, prime, and paint exterior surfaces using specialized equipment, proper surface preparation methods, and appropriate product selection for climate conditions
- Masonry Contractors: Install stone, brick, and other masonry veneer products with proper moisture barriers, weep systems, and structural attachments
- Deck and Outdoor Living Specialists: Design and construct code-compliant decks, porches, and outdoor living spaces that integrate with the home’s architecture and provide functional extensions of the living area
- Building Envelope Consultants: Provide expert advice on moisture management, flashing details, and proper integration of all exterior components to prevent water intrusion
Time & Cost Estimates
The timeline and budget for exterior finishing work vary based on home size, material selections, and architectural complexity. Here are detailed estimates for each major phase:
| Exterior Component | Estimated Time | Estimated Cost | Key Value Points |
|---|---|---|---|
| Weather Barrier Installation | 2–4 days | $1,800–$4,200 | Creates critical moisture protection beneath siding |
| Siding Installation | 5–12 days | $9,000–$28,000 | Provides primary weather protection and visual impact |
| Exterior Trim Work | 3–7 days | $3,500–$12,000 | Adds architectural detail and protects transitions |
| Exterior Painting | 4–8 days | $4,000–$12,500 | Creates finished appearance and weather protection |
| Deck/Porch Construction | 5–14 days | $6,500–$22,000 | Extends living space and enhances functionality |
| Final Sealing/Detailing | 1–3 days | $800–$2,500 | Ensures water-tight transitions between components |
| Total Estimates | 20–48 days | $25,600–$81,200 | Complete exterior system with weather protection |
These cost estimations provide a general guideline and cover a range from basic to mid-tier builds. They may not reflect costs for high-end or luxury projects. For more precise estimates, consult with professionals based on your specific requirements.
Hidden Exterior Finishing Costs That Can Destroy Your Budget
Here’s what contractors don’t mention in their initial quotes—costs that hit 72% of exterior projects:
The “Surprise” Cost List for Exterior Finishes:
| Hidden Cost | Typical Range | How to Avoid/Minimize |
|---|---|---|
| Sheathing Replacement Rot discovered under old siding |
$4,000–$12,000 | Remove sample sections before quoting |
| Lead Paint Remediation Pre-1978 homes require containment |
$8,000–$15,000 | Test before bidding, EPA RRP certified only |
| Code-Required Upgrades Insulation, venting now mandatory |
$3,000–$8,000 | Check current codes before starting |
| Scaffolding/Lifts Not included in base quotes |
$2,000–$6,000 | Ask specifically about access costs |
| Window/Door Trim Rot Hidden damage at openings |
$200–$800/window | Probe all trim with screwdriver first |
| Soffit/Fascia Surprises Animal damage, rot common |
$3,000–$7,000 | Inspect from attic and with binoculars |
| Color Matching Multiple batches don’t match |
$1,500–$4,000 | Order all materials from same lot |
| Disposal Fees Old siding, especially asbestos |
$2,000–$8,000 | Test materials, get disposal quotes |
Exterior Finishing Disasters: Real Stories, Real Lessons
Learn from these expensive mistakes—actual disasters from exterior finishing projects:
⚠️ The $85,000 Missing House Wrap Disaster
Location: Portland, OR | Loss: $85,000 + legal fees
Contractor “forgot” house wrap to save time. Two years later, black mold throughout walls, sheathing rotted, studs damaged. Insurance denied claim – improper installation. Had to strip house to studs and rebuild.
- Take photos before siding goes up
- Check for proper overlap and taping
- Get written confirmation it’s installed
- $500 in materials prevents $85,000 disaster
⚠️ The Wrong Siding for Climate Catastrophe
Location: Phoenix, AZ | Loss: $45,000 + complete re-siding
Installed dark vinyl siding. First summer: warped like bacon, gaps opened up, some pieces literally melted. Manufacturer voided warranty – “exceeded temperature rating.” Dark colors hit 170°F in Arizona sun.
- Hot climates: Light colors only, heat-rated materials
- Check manufacturer climate zones
- Dark vinyl in sun = guaranteed failure
- Fiber cement or stucco for extreme heat
⚠️ The Woodpecker Destruction Derby
Location: Colorado Springs, CO | Loss: $35,000 + ongoing repairs
Beautiful cedar siding attracted woodpeckers. Within 6 months, looked like Swiss cheese. Tried everything: fake owls, reflective tape, sonic devices. Birds destroyed entire north wall. Insurance: “Act of God.”
- Cedar/wood siding = woodpecker magnet
- Especially near wooded areas
- Fiber cement looks like wood, birds hate it
- Check local wildlife issues before choosing
⚠️ The Deck Attachment Collapse
Location: Richmond, VA | Loss: $65,000 + injuries
New deck attached to house with nails (not bolts). First big party: deck separated from house, fell 12 feet with 20 people on it. Multiple injuries, lawsuits. Contractor had no insurance.
- MUST use through-bolts, not nails/screws
- Minimum 2 bolts per joist
- Flashing prevents rot at connection
- Get permit and inspection – always
Exterior Finishing Money-Saving Secrets From 30-Year Contractors
Contractors hate when homeowners know these tricks for siding, trim, and exterior work:
🎯 Siding Strategy Secrets
Mix & Match for 40% Savings:
- Front elevation: Premium siding (fiber cement/wood)
- Sides/back: Quality vinyl that looks similar
- Under decks/hidden: Basic vinyl or T1-11
- Accent areas only: Stone/brick veneer
Real Example: Client used HardiePlank on front ($12,000), vinyl on other sides ($8,000). Total saved: $15,000. Looks identical from street. Appraiser valued same as all Hardie.
💰 Timing Your Exterior Project
- Late fall/winter: 20-35% discounts (contractors desperate)
- End of season: Leftover materials 50% off
- Hurricane season: Florida/Gulf prices drop 40%
- Group buying: Organize neighbors, save 25%
🔨 Smart Material Substitutions
| Instead Of… | Try This… | Save |
|---|---|---|
| Cedar siding | Cedar-look fiber cement | 40-50% |
| Real stone | Cultured stone veneer | 60-70% |
| Wood trim | PVC or composite trim | 30% + no maintenance |
| Copper gutters | Aluminum with copper paint | 80% |
🎪 Paint & Prep Hacks
- Spray everything: 3x faster than brush = lower labor
- One color scheme: Body, trim, accent = bulk paint discount
- Skip primer if possible: Self-priming paints worth it
- Power wash yourself: Save $500-1,000
- “Oops” paint: Mistints 70% off for primer/hidden areas
🏗️ Installation Shortcuts
- Leave old siding: If solid, side over it (check codes)
- DIY demo: Remove old siding yourself, save $2-3k
- Rent scaffolding: $300/week vs $3,000 contractor markup
- Factory seconds: Slight defects, 40-60% off
- Winter install: Crews work for less in off-season
⚠️ Where NOT to Cut Corners:
- House wrap/moisture barrier: Skipping = guaranteed rot
- Flashing around windows/doors: Water damage nightmare
- Fasteners: Stainless/galvanized only
- Caulking: Premium lasts 20 years vs 2
- Professional installation: Bad siding job = redo in 5 years
Future-Proof Your Exterior: Plan Now, Save $30,000+ Later
Smart exterior planning during finishing saves massive costs and headaches later:
☀️ Solar & Energy Infrastructure
Install NOW for $500-2,000 | Retrofit LATER for $5,000-10,000
- Conduit runs: From roof to electrical panel location
- Mounting blocks: Reinforced areas for future panels
- South-facing design: Keep roof area clear of vents/chimneys
- Standing seam metal: Solar clips on without penetrations
- Extra wall thickness: For future external insulation
💡 Smart Move: Install roof mounting rails now even if not adding panels yet. Cost now: $1,000. Cost to add later: $4,000 + potential roof damage.
🔌 EV Charging & Outdoor Power
Underground infrastructure while ground is open
- 240V to garage exterior: For future EV charger
- Landscape lighting conduit: Under walkways/driveways
- Outdoor kitchen rough-in: Gas, electric, water stubs
- Pool/hot tub power: Run lines now, connect later
- Security camera conduit: To all corners of house
🌡️ Climate Change Adaptations
| Future Need | Install Now | Why It Matters |
|---|---|---|
| Storm Shutters | Mounting tracks beside windows | Storms intensifying globally |
| Rainwater Collection | Gutter tie-ins, tank pad | Water scarcity increasing |
| Shade Structures | Footings for pergolas/awnings | Extreme heat events |
| Fire Defense | Sprinkler rough-in, ember vents | Wildfire zones expanding |
♿ Accessibility Features
- Ramp-ready grading: Proper slope at one entrance
- Wider doorways: 36″ on main level exterior doors
- Zero-threshold entry: At least one door
- Reinforced railings: Can support 250+ lbs
- Package delivery box: Secure, accessible location
🏠 Smart Home Exterior Features
- Camera mounting blocks: Pre-wired locations
- Smart doorbell wiring: Transformer and Cat6
- Automated lighting: Photocell and timer ready
- WiFi extension: Weatherproof outlet for repeater
- Smart irrigation: Controller location and wiring
⚠️ Document Your Exterior Systems!
Create an “exterior manual” with:
- Paint colors and brands (with formulas)
- Siding manufacturer and warranty info
- Where to buy matching materials
- All flashing and caulk locations (photos)
- Future connection points you installed
This manual adds $5,000+ to resale value and saves matching headaches!
Exterior Finishes Cost Calculator: Real Numbers by Material
Stop getting shocked by quotes. Here’s what exterior finishes ACTUALLY cost:
Siding Costs by Material Type (Installed)
| Material Type | Cost per Sq Ft | 2,000 SF House | Lifespan |
|---|---|---|---|
| Vinyl Siding | $3–$8 | $6,000–$16,000 | 20–40 years |
| Fiber Cement | $8–$12 | $16,000–$24,000 | 30–50 years |
| Wood Siding | $7–$15 | $14,000–$30,000 | 20–40 years* |
| Engineered Wood | $5–$10 | $10,000–$20,000 | 20–30 years |
| Stucco (3-coat) | $6–$10 | $12,000–$20,000 | 50–80 years |
| Brick Veneer | $12–$20 | $24,000–$40,000 | 100+ years |
| Stone Veneer | $15–$30 | $30,000–$60,000 | 100+ years |
*With proper maintenance every 3-5 years
Additional Exterior Components:
| Component | Typical Cost Range |
|---|---|
| House Wrap Installation | $0.50–$1.00/sq ft |
| Exterior Trim Package | $2,500–$8,000 |
| Soffit & Fascia | $6–$20/linear ft |
| Exterior Painting | $2–$6/sq ft |
| Gutters & Downspouts | $5–$15/linear ft |
| Shutters (Decorative) | $60–$200/pair |
Deck & Patio Costs:
| Type | Cost per Sq Ft | 300 SF Deck/Patio |
|---|---|---|
| Pressure-Treated Deck | $15–$25 | $4,500–$7,500 |
| Composite Deck | $25–$40 | $7,500–$12,000 |
| Concrete Patio | $8–$18 | $2,400–$5,400 |
| Paver Patio | $12–$25 | $3,600–$7,500 |
| Covered Porch | $30–$60 | $9,000–$18,000 |
⚠️ What Makes Exterior Costs Skyrocket:
- Multi-story homes: Add 15-30% for scaffolding/lifts
- Architectural details: Complex trim adds $5,000-15,000
- Old siding removal: Add $1-3/sq ft if contains lead/asbestos
- Structural repairs: Rot repair adds $5,000-20,000
- Weather delays: Each week adds $1,000-2,500
- Change orders: Mid-project changes add 30-50%
💡 Cost Comparison: 20-Year Total
Including maintenance, repairs, and repainting:
- Vinyl: $8,000 initial + $2,000 maintenance = $10,000
- Wood: $20,000 initial + $12,000 maintenance = $32,000
- Fiber Cement: $20,000 initial + $4,000 maintenance = $24,000
- Brick: $35,000 initial + $1,000 maintenance = $36,000
Winner: Vinyl for budget, Fiber Cement for value, Brick for longevity
Exterior Finishes Q&A: Your Questions Answered
Here are the critical questions about siding, trim, and exterior work (with honest answers):
Q: “Should I install siding over existing siding to save money?”
A: Sometimes yes, usually no. You CAN install over ONE layer of vinyl/wood IF: walls are straight, no rot, and local code allows. Saves $2-3/sq ft on removal. BUT: hiding problems = bigger problems later. Missing rot or moisture = $20k repair in 5 years. Most pros recommend removal to inspect sheathing. Exception: solid wood clapboard in good shape makes excellent base for new siding.
Q: “Is fiber cement (Hardie) really worth double the cost of vinyl?”
A: Depends on your timeline and climate. Fiber cement wins if: you’re staying 10+ years, live in harsh weather, want authentic wood look, or need fire resistance. Modern vinyl is excellent—don’t let snobs tell you otherwise. Quality vinyl with proper installation looks 90% as good. ROI reality: fiber cement adds more resale value, but not double. Hot climates or woodpecker areas? Fiber cement every time.
Q: “Why do paint estimates vary from $3,000 to $12,000 for same house?”
A: Prep work is everything. $3k quote: pressure wash and spray one coat. $12k quote: scrape, sand, prime bare wood, caulk everything, two finish coats, detail work. Cheap paint job lasts 3-5 years. Proper job lasts 10-15. Also: number of colors (each adds $500+), height/access difficulty, and paint quality ($25 vs $75/gallon). Get detailed scope—cheapest quote usually skips critical prep.
Q: “My contractor says I don’t need house wrap under new siding. True?”
A: ABSOLUTELY FALSE. Run away from this contractor. House wrap is code-required in most areas and critical for moisture protection. Costs $500-1,500 but prevents tens of thousands in water damage. Even if old siding had felt paper, modern house wrap is superior. Any contractor suggesting skip this is either incompetent or planning to pocket the savings. No exceptions—always install house wrap.
Q: “What’s the deal with LP SmartSide vs Hardie?”
A: Both are excellent engineered products. LP SmartSide: wood-based, easier to cut/install, better impact resistance, 50-year warranty. Hardie: cement-based, better fire rating, won’t expand/contract, termite-proof. Cost similar. Climate matters: Hardie better in high-moisture/fire areas. LP better in impact zones (hail). Installation matters more than brand—bad install voids both warranties. Pick based on your specific climate risks.
Q: “How do I know if my siding needs replacement vs painting?”
A: Push test: press firmly on siding. Soft/spongy = rot = replace. Look for: warping, cracks, holes, or gaps opening up. Check behind: pull bottom edge—see black mold or water stains? Replace. Paint won’t stick after 2-3 attempts? Time’s up. Age guide: vinyl 20-30 years, wood 15-30 years (climate dependent), fiber cement 30-50 years. One bad section? Can often replace just that area if you can match color/style.
Best Time for Exterior Work (Save 20-40% + Avoid Failures)
Weather is EVERYTHING for exterior work. Wrong timing = failed installation or weather delays:
| Region | BEST Months (Ideal + Savings) |
OK Months (Normal Price) |
AVOID (Problems/Premium) |
Why Timing Critical |
|---|---|---|---|---|
| Northeast US | Sep-Nov | May-Aug | Dec-Apr | Paint needs 50°F+, siding warps in freeze/thaw |
| Southeast US | Oct-Dec | Jan-Apr | May-Sep | Hurricane season + extreme heat/humidity |
| Pacific NW | Jun-Sep | May, Oct | Nov-Apr | Rain ruins everything, need dry weather |
| Southwest US | Oct-Apr | May, Sep | Jun-Aug | Extreme heat warps materials, paint fails |
| Midwest US | May-Oct | Apr, Nov | Dec-Mar | Wide temp swings, freeze risk |
| Mountain West | Jun-Sep | May, Oct | Nov-Apr | Short season, afternoon storms common |
🌡️ Critical Temperature Rules for Exterior Work:
Painting Temperature Requirements:
- Minimum: 50°F and rising (35°F for some specialty paints)
- Maximum: 90°F (paint dries too fast, brush marks)
- Ideal: 65-85°F with low humidity
- Dew point: Surface temp must be 5°F above dew point
- After painting: No rain for 24-48 hours
Siding Installation Weather:
- Vinyl: 40-80°F (expands/contracts significantly)
- Fiber Cement: Above 40°F, low humidity preferred
- Wood: 40-90°F, humidity below 15%
- Stucco: 40-90°F, protect from rain 48 hours
Weather Delay Reality:
- Rain: Stops all work, adds 1-2 days drying
- Wind over 20mph: No ladder/scaffold work
- Freeze warning: No painting or stucco
- Extreme heat: Half-days only, material issues
Each weather day typically adds $500-1,500 in crew standby costs!
⚠️ Off-Season Installation Risks:
- Cold install: Vinyl siding cracks, paint won’t cure
- Hot install: Materials warp, adhesives fail
- Wet install: Traps moisture, causes rot
- Rushed install: Corners cut to beat weather
Better to wait for proper weather than fix failed installation!
Cost-Saving Tips
Optimize your exterior finishing investment with these expert strategies:
- Material selection strategy: Consider vinyl siding for primary elevations (approximately $4-$7 per sq.ft installed) compared to fiber cement ($9-$12 per sq.ft installed) or natural wood ($8-$14 per sq.ft installed), potentially saving 30-50% on material costs
- Architectural focusing: Concentrate premium materials and detailed trim work on the front elevation where visual impact is greatest, using simpler approaches on less visible elevations while maintaining a cohesive design
- Phased implementation: Complete weatherproofing and siding work initially, then phase in exterior amenities like decks and patios over time to distribute costs while maintaining property protection
- Maintenance reduction approach: Select low-maintenance options (vinyl, fiber cement, composite decking) that eliminate recurring painting/staining costs, potentially saving $8,000-$15,000 over a 15-year period
- Energy efficiency incentives: Incorporate insulated siding products or continuous insulation that may qualify for energy rebates or tax incentives, offsetting 10-30% of material costs while improving building performance
- Off-season scheduling: Book exterior work during contractors’ slower seasons (typically late fall or winter in many regions) to secure 10-15% discounts on labor while ensuring greater contractor availability
Related Construction Guides
Continue your construction journey with these essential guides:
Roofing Installation
Complete roof before siding for proper weather protection and flashing integration.
Read More →Insulation & Drywall
Complete exterior weather barrier before interior insulation to prevent moisture issues.
Read More →Interior Finishes
Complete exterior before focusing inside. Protects interior work from weather.
Read More →Landscaping
Final step after exterior complete. Enhances curb appeal and protects foundation.
Read More →Framing
Understanding framing helps identify potential exterior finishing challenges.
Read More →Complete Build Process
See how exterior finishes fit into the overall construction timeline.
Read More →Summary: Your Exterior Finishes Action Plan
1. Prioritize Weather Protection
Focus first on creating a complete weather-resistant barrier system with proper flashing, house wrap, and water management details. These critical components prevent moisture intrusion that can compromise your entire building envelope and lead to costly repairs.
2. Select Materials for Your Specific Climate
Choose exterior materials specifically engineered for your local conditions, whether that’s high-UV exposure, extreme temperature fluctuations, heavy precipitation, or coastal salt exposure. The right materials will maintain their appearance and performance far longer in challenging environments.
3. Invest in Quality Installation
Partner with experienced contractors who specialize in your specific siding material and exterior finish systems. Proper installation techniques often matter more than the materials themselves in determining long-term performance and appearance.
Your home’s exterior finishes provide both critical protection and significant visual impact. Following these professional guidelines ensures that your exterior will maintain its appearance, resist weather damage, and enhance your property’s value for years to come.
Complete Your Exterior Finishes With Confidence
Track Your Progress: Monitor your exterior finishing milestones with our interactive tools
Stay Notified: Receive alerts for material deliveries, contractor scheduling, and critical inspection points
Step-by-Step Guidance: Follow detailed instructions on proper installation techniques, material selection, and quality verification
Reduce Stress: Keep all specifications, warranty information, and maintenance guidelines organized in one secure location
Whether you’re completing a new build or renovating an existing home, professional exterior finishes transform your property’s appearance while providing essential protection against the elements. Explore our Step-by-Step Builds, Step-by-Step Buys, and Step-by-Step Invest resources for more expert guidance.
When building your own home, always do your due diligence. Consult the professionals you’ve hired—such as your architect, subcontractors, or engineers—and confirm that your work complies with all local building codes and inspections required in your country, state, or province. Builds and Buys is for educational purposes only. Always verify with licensed professionals.
Exterior Design Trends | Architectural Design
Im stepping outside the house today and presenting to you some house exterior design trends. This has been something I have been admiring and as a designer I am often brought in to help with these selections. So I thought I would do something a little different and share with you some Exterior Design Trends that we are seeing currently.
Check out more informative Videos
Knowledge Quiz: Exterior Finishes
Open Quiz
5 quick questions - see how much you learned!
1) According to the guide, quality exterior finishes can increase property values by what percentage?
Answer: B
The introduction states that "Research shows that quality exterior finishes can increase property values by 5-12% and significantly impact selling time."
2) What is the minimum overlap requirement for house wrap at horizontal seams?
Answer: A
The "Weather-Resistant Barrier Installation" section specifies "Install with minimum 6″ overlap at horizontal seams, 12″ at corners."
3) What is the minimum ground clearance required for siding installation according to the guide?
Answer: C
The "Professional Siding Installation" section states "Secure starter strips perfectly level...with minimum 6″ clearance above grade for moisture protection."
4) What contingency percentage does the guide recommend budgeting for exterior finishing projects?
Answer: D
The "Hidden Exterior Finishing Costs" section includes the PRO TIP: "Add 25-30% contingency to exterior budgets. Weather delays alone average $2,000-5,000."
5) What is the typical expected lifespan for fiber cement siding?
Answer: B
The "Siding Material Selection and Preparation" section states that fiber cement has a "30-50 year lifespan" and the quick answers mention "Fiber cement: 30-50 years, paint every 15 years."
News And Knowledge
Stay informed with the latest trends, insights, and updates in the real estate world.