Framing 2026: Building the Structural Framework
Framing creates the structural skeleton that defines your building’s shape, strength, and longevity. Studies show that properly executed framing can reduce structural failures by 85% and extend a building’s lifespan by decades. This comprehensive guide explores professional framing techniques, industry standards, and expert strategies to ensure your framework delivers maximum structural integrity and value.
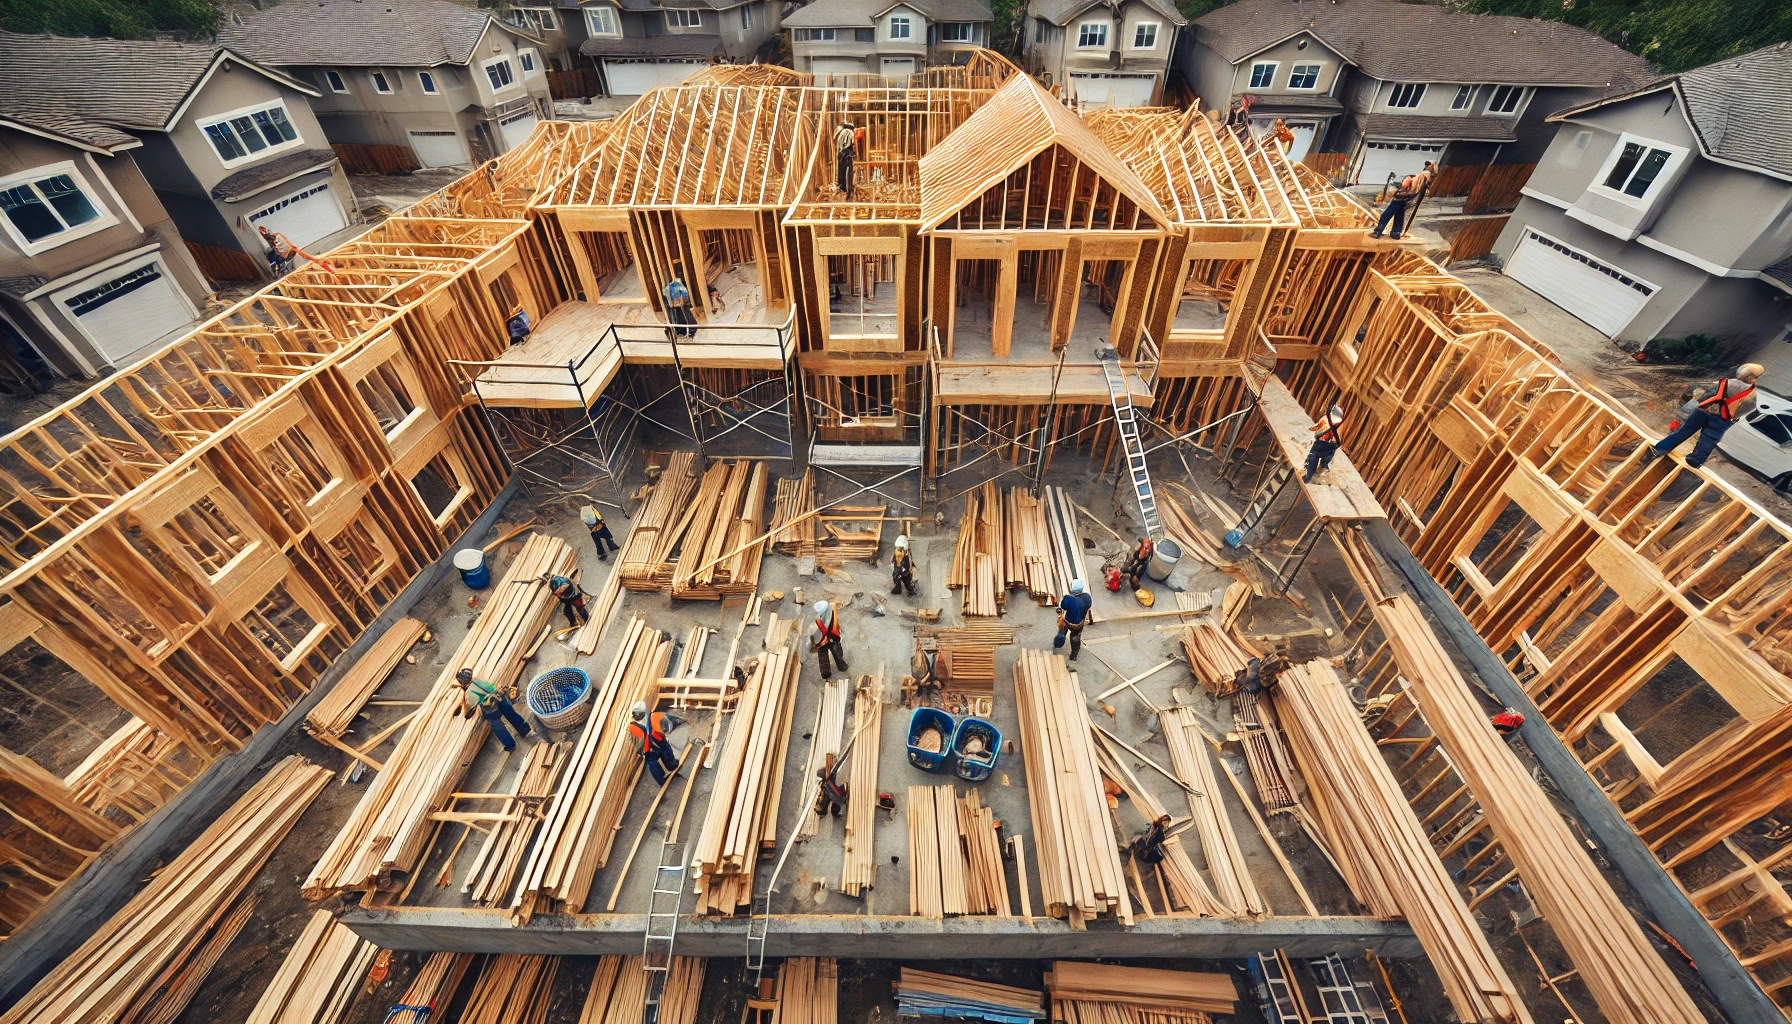
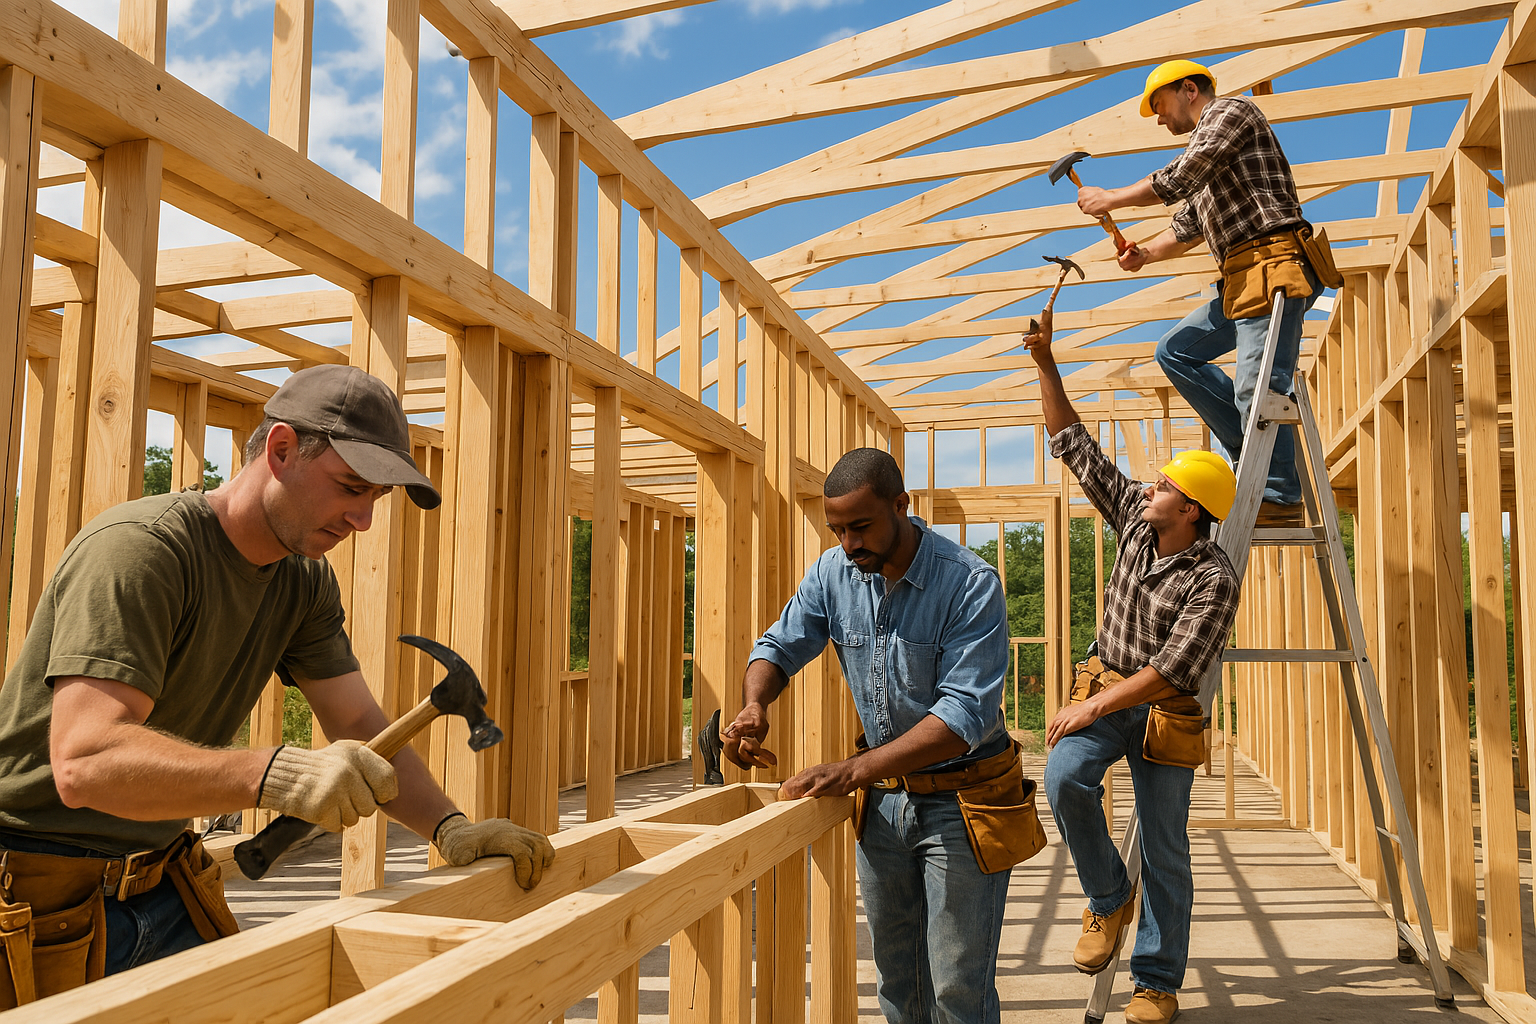
[Image: Professional Framing Construction in Progress]
⚡ Quick Answers: Framing Costs, Lumber Prices & Common Problems (Click for instant answers)
▼🌍 See How Framing Methods Differ in Your Region Materials, techniques, and codes vary dramatically worldwide
▼Key Steps in Framing Work
These are the essential tasks to ensure your building’s framework is sound, level, and engineered to last:
1. Floor System Construction
Create the platform that supports interior walls and living spaces. A properly constructed floor system provides a level, stable base for the entire building while minimizing deflection and vibration.
- Joist installation: Place floor joists at 16″ on center (12″ for heavier loads) using dimensional lumber sized according to span (typically 2×8 to 2×12)
- Rim joist attachment: Install continuous rim joists around the perimeter, fastened with 16d nails at 12″ on center to both foundation and floor joists
- Subflooring application: Secure 3/4″ tongue-and-groove subflooring with construction adhesive and 8d ring-shank nails or 2″ screws at 6″ perimeter/12″ field spacing
2. Wall Framing
Construct exterior and interior walls that define your building’s layout and provide vertical support. Wall framing must be precisely aligned, securely fastened, and engineered to support structural loads.
- Stud placement: Install 2×4 or 2×6 studs (depending on climate and insulation needs) at 16″ on center with doubled top plates for load distribution
- Header sizing: Use properly sized headers over openings (typically 2×6 to 2×12 with 1/2″ plywood spacer) based on span length and supported loads
- Corner construction: Build three-stud corners to provide proper nailing surfaces for interior and exterior sheathing materials
3. Roof Framing
Install the framework that supports the roof covering and transfers loads to the walls. The roof framing system provides crucial protection against the elements while maintaining structural stability.
- Truss installation: Place engineered roof trusses at 24″ on center, secured to top plates with hurricane ties rated for minimum 900 lbs uplift resistance
- Rafter construction: For site-built rafters, use 2×8 to 2×12 lumber (depending on span) with proper bird’s-mouth cuts and ridge connections
- Collar tie placement: Install collar ties on every third rafter pair at upper third of attic space to prevent roof spread under snow loads
4. Sheathing Installation
Apply structural panels to exterior walls and roof deck to provide lateral support and create a base for finishing materials. Proper sheathing significantly increases the structural integrity of the entire building.
- Panel selection: Use minimum 7/16″ OSB or 1/2″ plywood, oriented properly with the strong axis perpendicular to framing members
- Nailing pattern: Fasten with 8d nails at 6″ on center at panel edges and 12″ on center in field for walls; 6″ on center throughout for roof
- Edge support: Provide blocking between studs/rafters at horizontal seams or use H-clips on roof sheathing to support panel edges
5. Window and Door Openings
Frame rough openings for windows and doors with proper sizing and support. Accurate opening framing ensures that fixtures will fit properly and operate smoothly throughout the building’s life.
- Rough opening sizing: Frame openings 1/2″ wider and taller than actual window or door unit, verified square using diagonal measurements
- Header support: Install king studs full-height alongside opening with jack studs beneath header to transfer loads to foundation
- Sill construction: Create sloped windowsills (minimum 5° slope) for water drainage and proper support at door thresholds
6. Advanced Framing Techniques
Implement energy-efficient framing methods that reduce thermal bridging while maintaining structural integrity. These techniques can significantly improve the building’s energy performance.
- Two-stud corners: Use two-stud corners with drywall clips to increase insulation space at typically underinsulated corners
- Insulated headers: Construct headers with rigid foam insulation between lumber components to reduce heat loss through these thermal bridges
- Ladder blocking: Use horizontal ladder framing at interior wall intersections instead of traditional three-stud corners to maximize insulation
7. Framing Inspection
Verify all framing elements meet structural requirements and building codes before installation of mechanical systems or enclosure. This crucial step identifies and corrects issues while they’re still easily accessible.
- Structural verification: Check for crown orientation in studs/joists (high point up), proper fastener type/placement, and load path continuity
- Plumb and level assessment: Verify walls are plumb within 1/8″ over 8 feet and floors level within 1/4″ over 20 feet
- Code compliance: Confirm proper fire blocking, draft stopping, and required structural connections before proceeding to next construction phase
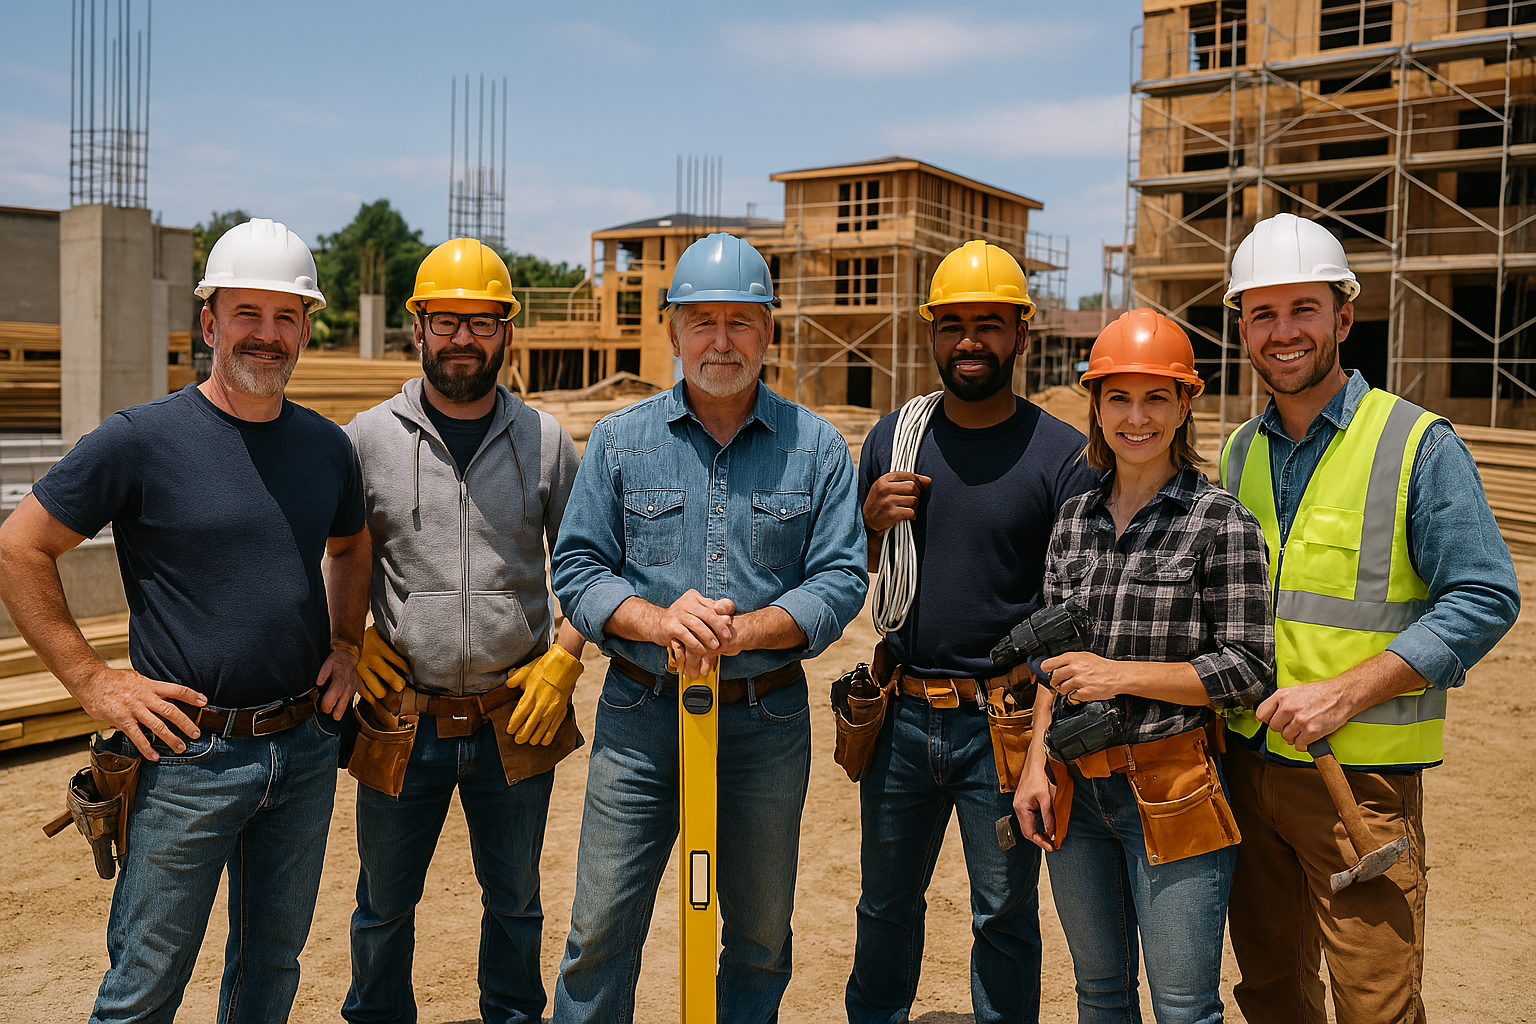
Who Handles Framing Work?
Framing construction requires various specialized professionals working as a coordinated team:
- Framing Contractor: Oversees the entire framing process, coordinates crew activities, and ensures compliance with plans and structural requirements
- Lead Carpenter: Directs day-to-day framing operations, interprets blueprints, and ensures precision in the most important structural elements
- Journeyman Carpenters: Execute complex framing tasks such as stair construction, roof layout, and structural connections
- Apprentice Carpenters: Assist with material preparation, basic framing assembly, and supporting more experienced framers
- Crane Operator: Manages the safe lifting and placement of heavy framing components, particularly roof trusses and large engineered beams
- Structural Engineer: Designs and approves specialized framing connections, ensures load path continuity, and provides solutions for non-standard challenges
Time & Cost Estimates
The timeline and budget for framing work vary based on project size, design complexity, and material choices. Here are detailed estimates for each major phase:
| Framing Component | Estimated Time | Estimated Cost | Key Value Points |
|---|---|---|---|
| Floor System Construction | 2–4 days | $3,500–$12,000 | Creates stable, level platform for all interior elements |
| Wall Framing | 3–6 days | $4,500–$15,000 | Defines building layout and provides vertical support |
| Roof Framing | 2–5 days | $3,500–$14,000 | Protects structure and transfers loads to foundation |
| Sheathing Installation | 2–3 days | $2,000–$5,500 | Provides lateral support and base for exterior materials |
| Window & Door Framing | 1–2 days | $1,500–$4,000 | Ensures properly sized, square openings for fixtures |
| Advanced Techniques | 1–2 days | $1,000–$3,000 | Improves energy efficiency and reduces material waste |
| Total Estimates | 11–22 days | $16,000–$53,500 | Complete structural system with long-term integrity |
These cost estimations provide a general guideline and cover a range from basic to mid-tier builds. They may not reflect costs for high-end or luxury projects. For more precise estimates, consult with professionals based on your specific requirements.
Hidden Framing Costs That Can Destroy Your Budget
These “surprises” hit 71% of framing projects—costs your contractor conveniently forgets to mention:
The Framing “Gotcha” List:
| Hidden Cost | Typical Range | Prevention Strategy |
|---|---|---|
| Lumber Price Spikes 40% swing in 3 months? Common. |
$5,000–$25,000 | Lock in prices with deposit, buy winter lumber futures |
| Engineered Beams “Oh, we need an LVL here.” |
$2,000–$12,000 | Get structural engineer review BEFORE framing starts |
| Foundation Out of Square Now everything’s custom cut. |
$3,000–$8,000 | Verify foundation dimensions yourself before framing |
| Hurricane Clips Not in original bid? Add them. |
$1,500–$4,000 | Specify ALL hardware in contract, not just lumber |
| Crane Rental Trusses don’t fly up alone. |
$2,000–$5,000/day | Confirm equipment costs included, coordinate delivery |
| Sheathing Shortage OSB out of stock? Premium time. |
$3,000–$10,000 | Order ALL materials week before starting |
| Code Changes New energy code = more insulation. |
$2,000–$8,000 | Check code adoption dates, build to NEXT code |
| Weather Delays Rain damage to materials. |
$1,000–$15,000 | Tarp everything, schedule dry season, quick dry-in |
Framing Disasters: Learn From These Expensive Failures
Real framing catastrophes that cost homeowners their dreams—and their money:
🔥 The Lumber Pricing Nightmare
Location: Portland, Oregon | Loss: $78,000 over budget
Started framing April 2021. Lumber prices TRIPLED mid-project. Contractor’s “fixed price” had fine print: “material cost escalation clause.” Choices: pay $78k more or have half-framed skeleton forever.
- Didn’t read contract fine print about material costs
- Started during lumber shortage (pandemic boom)
- No price lock or materials pre-purchase
💨 The Hurricane Code Disaster
Location: Miami, Florida | Loss: $45,000 + 6 month delay
Framer used “standard” connections. Inspector: “Where are the hurricane clips?” Had to tear down roof, add clips to EVERY connection, re-sheath, re-roof. Framer: “You didn’t specify Miami-Dade compliance.”
- Hired out-of-area framer unfamiliar with local codes
- Assumed “to code” meant LOCAL code
- No hardware specified in contract
🏚️ The Mold Mansion
Location: Seattle, Washington | Loss: $95,000 + health issues
Framed in November rain. No tarps. “Wood dries out,” framer said. Closed in wet lumber. Six months later: black mold EVERYWHERE. Had to tear out all framing, start over.
- No weather protection during framing
- Didn’t check moisture content before closing in
- Trusted “it’ll dry out” nonsense
📐 The Engineering Oversight
Location: Denver, Colorado | Loss: $125,000 + lawsuit
DIY plans showed 30′ clear span in great room. Framer: “We can do that with 2x12s.” Massive sag appeared. Engineer: “Needs steel beam or engineered lumber.” Had to shore up, tear out, redesign entire front of house.
- No engineer review of plans
- Framer playing structural engineer
- Ignoring deflection limits for long spans
Framing Money-Saving Secrets the Industry Doesn’t Want You to Know
Veteran framers share how to cut costs 30-40% without sacrificing quality:
🎯 Lumber Buying Secrets
When & How to Buy (Save 20-40%):
- Winter Purchase: December-February lumber is 30% cheaper than spring
- Direct from Mill: Skip lumberyard markup (save 15-25%) on large orders
- Seconds/Utility Grade: For hidden framing, use utility grade (50% savings)
- Bundle Deals: Buy entire “units” vs piece-by-piece (10-15% discount)
Real Example: 2,500 sq ft home lumber package: Spring retail: $38,000 | Winter mill-direct: $24,000
💰 Design for Savings
| Standard Method | Smart Alternative | Savings |
|---|---|---|
| 16″ OC framing everywhere | 24″ OC where allowed | 30% less lumber |
| Site-built rafters | Engineered trusses | 25% labor savings |
| Stick-frame walls | Panelized walls | 40% faster = less labor |
| 2×12 floor joists | Floor trusses | Longer spans, less material |
🔨 Labor-Saving Techniques
Cut Labor Costs 30-50%:
- Pre-cut Packages: Have lumberyard pre-cut everything ($500 cost, save $3,000 labor)
- Modular Design: Design on 2′ increments = no custom cuts
- Single-Story Sections: Frame what you can without scaffolding
- DIY Prep: You sort/stage materials = framers frame only
- Off-Season Crew: Winter framers are hungry for work
⚠️ NEVER DIY: Structural framing, roof work, or anything requiring engineer stamp
🎪 Negotiation Power Moves
- “Labor Only” Bid: You buy materials = save 20-30% markup
- “Cash Discount”: 5-10% off for cash payment (get receipt!)
- “Crew Direct”: Hire lead carpenter’s crew on weekend = 40% savings
- “Package Deal”: Frame + roof + siding with same crew = 15-20% off
- “Winter Special”: Book summer work in winter for lower rates
⚡ Ultimate Power Move: Show up with coffee and donuts daily. Happy framers = better work + inside tips on savings.
Future-Proof Your Framing: Build Once, Modify Forever
Smart framing decisions now save $50,000+ on future additions and modifications:
🏗️ Future Addition Prep
Frame for tomorrow’s dreams at today’s prices:
- Second Story Ready: Use 2×10 floor joists even if code allows 2×8 (+$1,000 now vs $20,000 to reinforce later)
- Dormer Locations: Double rafters where future dormers might go (+$200 per location)
- Addition Walls: Frame exterior walls as temporary with easy-remove sheathing
- Basement Finishing: Install ceiling backing for future drywall while walls are open
- Attic Conversion: Use attic trusses or frame for future floor loads (+$2,000-4,000)
💡 Smart Move: Frame a “future door” to nowhere. Install house wrap over it. Cut through when ready to expand.
🔌 Mechanical/Electrical/Plumbing Space
| Future System | Framing Preparation | Cost Now vs Later |
|---|---|---|
| Central Vacuum | 2×6 interior walls for pipes | $500 vs $5,000 |
| Solar Panels | Reinforced roof zones | $800 vs $8,000 |
| Home Theater | Sound isolation framing | $1,500 vs $15,000 |
| Elevator/Lift | Stacked closets/shaft | $1,000 vs impossible |
🏠 Smart Home & Energy Prep
- Chase Walls: Frame 2×6 walls with 2x4s for future wire runs (+$5/linear foot)
- Backing Everywhere: Add backing for TVs, speakers, cameras while walls open
- Conduit Sleeves: Install sleeves through floors/ceilings for future cables
- HVAC Zones: Frame for future zone dampers and returns
- Battery Wall: Reinforce garage/utility wall for future battery bank
♿ Age-in-Place Features
- 36″ Doors: Frame for 36″ doors even if installing 30″ (+$50/door)
- Bathroom Backing: Install 2×10 blocking for future grab bars
- No-Step Entry: Frame one entrance flush with exterior grade
- Wide Hallways: 42″ minimum for wheelchair access
- Reinforced Ceilings: Backing for future ceiling lifts in bedrooms/baths
📐 Document Your Framing!
Before sheathing/drywall, photograph EVERYTHING:
- Every stud bay with measuring tape visible
- All backing locations marked with spray paint
- Mechanical rough-in locations
- Create a “framing map” showing every modification
This documentation is worth $10,000+ when you need to find that backing or add that outlet!
Framing Cost Calculator: Real Numbers by House Size & Type
Stop getting shocked by framing quotes. Here’s what framing REALLY costs in today’s market:
Framing Cost by Square Footage
| House Type | 1,500 sq ft | 2,000 sq ft | 2,500 sq ft | 3,000 sq ft |
|---|---|---|---|---|
| Simple Ranch | $15,000-22,000 | $20,000-29,000 | $25,000-36,000 | $30,000-43,000 |
| Two-Story | $18,000-26,000 | $24,000-35,000 | $30,000-43,000 | $36,000-52,000 |
| Complex/Custom | $22,000-35,000 | $30,000-47,000 | $37,000-58,000 | $45,000-70,000 |
| Timber Frame | $45,000-75,000 | $60,000-100,000 | $75,000-125,000 | $90,000-150,000 |
Cost Multipliers (Add to Base Price):
- High Snow Load Areas: Add 15-25% (stronger roof structure)
- Seismic Zones: Add 20-30% (extra hardware/connections)
- Hurricane Zones: Add 25-40% (straps, clips, reinforcement)
- Tall Walls (>9′): Add $3-5/sq ft per extra foot
- Steep Site: Add 20-35% (difficult access/delivery)
- Rush Job: Add 30-50% (overtime, priority scheduling)
🔍 Breakdown by Component:
| Floor Framing | $4-8/sq ft |
| Wall Framing | $5-10/sq ft |
| Roof Framing | $4-12/sq ft |
| Sheathing | $2-4/sq ft |
| Labor Only | 40-50% of total |
💡 Current Market Reality:
Lumber prices change weekly. These estimates assume $450-550/thousand board feet. Current prices in your area: Check Random Lengths or call local suppliers. Add 40% contingency in volatile markets!
Framing Q&A: Your Critical Questions Answered
The questions every homeowner asks (but contractors dodge):
Q: “When should I lock in lumber prices?”
A: Watch the futures market. When lumber drops below $400/MBF, BUY IMMEDIATELY. Average price 2020-2024: $650/MBF. Peak: $1,700/MBF. Your framer can store it or you pay the lumberyard to hold it. A $5,000 deposit can lock in prices and save you $20,000-40,000. Best months: November-January when demand is lowest.
Q: “How do I know if my framing is done right?”
A: Check these before sheathing: (1) All walls plumb within 1/4″ over 8 feet, (2) Corners are square – measure diagonals, (3) All hardware installed – count the hurricane clips, (4) No crowned studs in walls, (5) Headers properly sized per plans, (6) Fire blocking installed between floors. Hire independent framing inspector for $300-500. Best money you’ll spend.
Q: “Should I use 2×4 or 2×6 exterior walls?”
A: 2×6 is now standard everywhere except the deep south. Here’s why: 2×6 allows R-19/R-21 insulation vs R-13 in 2×4. Extra cost: $1,000-2,000. Annual energy savings: $400-800. Payback: 2-4 years. Plus: stronger walls, less sound transmission, easier to run plumbing/electrical. Building with 2×4 in 2024 is like using dial-up internet.
Q: “What’s the biggest framing mistake?”
A: Not protecting the lumber from rain. Wet lumber = mold, rot, nail pops, drywall cracks, and warranty nightmares. Close-in wet framing and you’ve built a petri dish. ALWAYS tarp lumber piles, tarp the frame during rain, and check moisture content (must be below 19%) before sheathing. $500 in tarps saves $50,000 in mold remediation.
Q: “How long should framing take?”
A: Typical timeline: 1,500 sq ft ranch = 7-10 days. 2,500 sq ft two-story = 12-16 days. Complex custom = 3-4 weeks. Red flags: Crew of 2 (too small), taking breaks between phases (losing momentum), or “we’ll be done when we’re done” attitude. Good crew of 4-6 framers moves FAST. If framing takes over a month, something’s wrong.
Q: “Should I use steel studs instead of wood?”
A: Steel studs make sense for: interior non-load bearing walls (perfectly straight), basements (no rot/mold), commercial (fire rating), or if you’re in termite country. Downsides: thermal bridging (need continuous insulation), special tools required, harder to modify later, and most residential framers hate them. Cost is similar to wood now. Verdict: Great for specific uses, overkill for most homes.
Best Times to Frame (Save Money, Avoid Problems)
Frame at the right time = lower costs + better quality:
| Region | BEST Months | ACCEPTABLE | AVOID | Why It Matters |
|---|---|---|---|---|
| Northern US/Canada | May-Sep | Apr, Oct | Nov-Mar | Frozen lumber, dangerous conditions |
| Southern US | Oct-May | Sep | Jun-Aug | Extreme heat, lumber warps |
| Pacific Northwest | Jun-Sep | May, Oct | Nov-Apr | Constant rain = mold risk |
| Southwest Desert | Oct-Apr | May, Sep | Jun-Aug | Lumber dries/cracks in heat |
| Midwest | May-Oct | Apr, Nov | Dec-Mar | Wind, snow, temperature swings |
| Hurricane Zones | Nov-May | Oct | Jun-Sep | Framing + hurricane = gone |
🌡️ Weather Rules for Framing:
- Rain: Stop work, tarp everything. NEVER frame in active rain
- Wind over 30mph: Stop work (sheets become sails)
- Below 20°F: Nails don’t hold properly, injuries increase
- Above 100°F: Start at 5am, stop by noon
- Perfect conditions: 50-80°F, low humidity, no rain forecast
Pro Fact: Framers charge 20-40% MORE for bad weather seasons. Time it right!
Cost-Saving Tips
Optimize your framing investment with these expert strategies:
- Optimal material planning: Order framing packages pre-cut to length to reduce waste, typically saving 10-15% on lumber costs
- Modular design implementation: Design your building on 2′ increments to maximize the use of standard material sizes, reducing both waste and labor
- Engineered solutions: Utilize engineered wood products like floor trusses and roof trusses instead of dimensional lumber for longer spans
- Equipment optimization: Rent pneumatic framing nailers and compressors instead of purchasing, and coordinate deliveries to minimize crane rental periods
- Alternative framing methods: Consider 24″ on-center framing instead of 16″ where code allows, reducing lumber usage by approximately 30%
- Strategic scheduling: Schedule framing during seasons when lumber prices typically drop (often late fall through winter in many regions)
Related Construction Guides
Continue your construction journey with these essential guides:
Foundation Work Guide
Must complete before framing. Learn proper foundation types and waterproofing.
Read More →Plumbing Rough-In
Your next step after framing. Plan pipe routes before walls close.
Read More →Electrical Rough-In
Critical phase after framing. Wire your future before insulation.
Read More →Insulation Guide
After MEP rough-ins. Proper insulation in your new frame saves thousands.
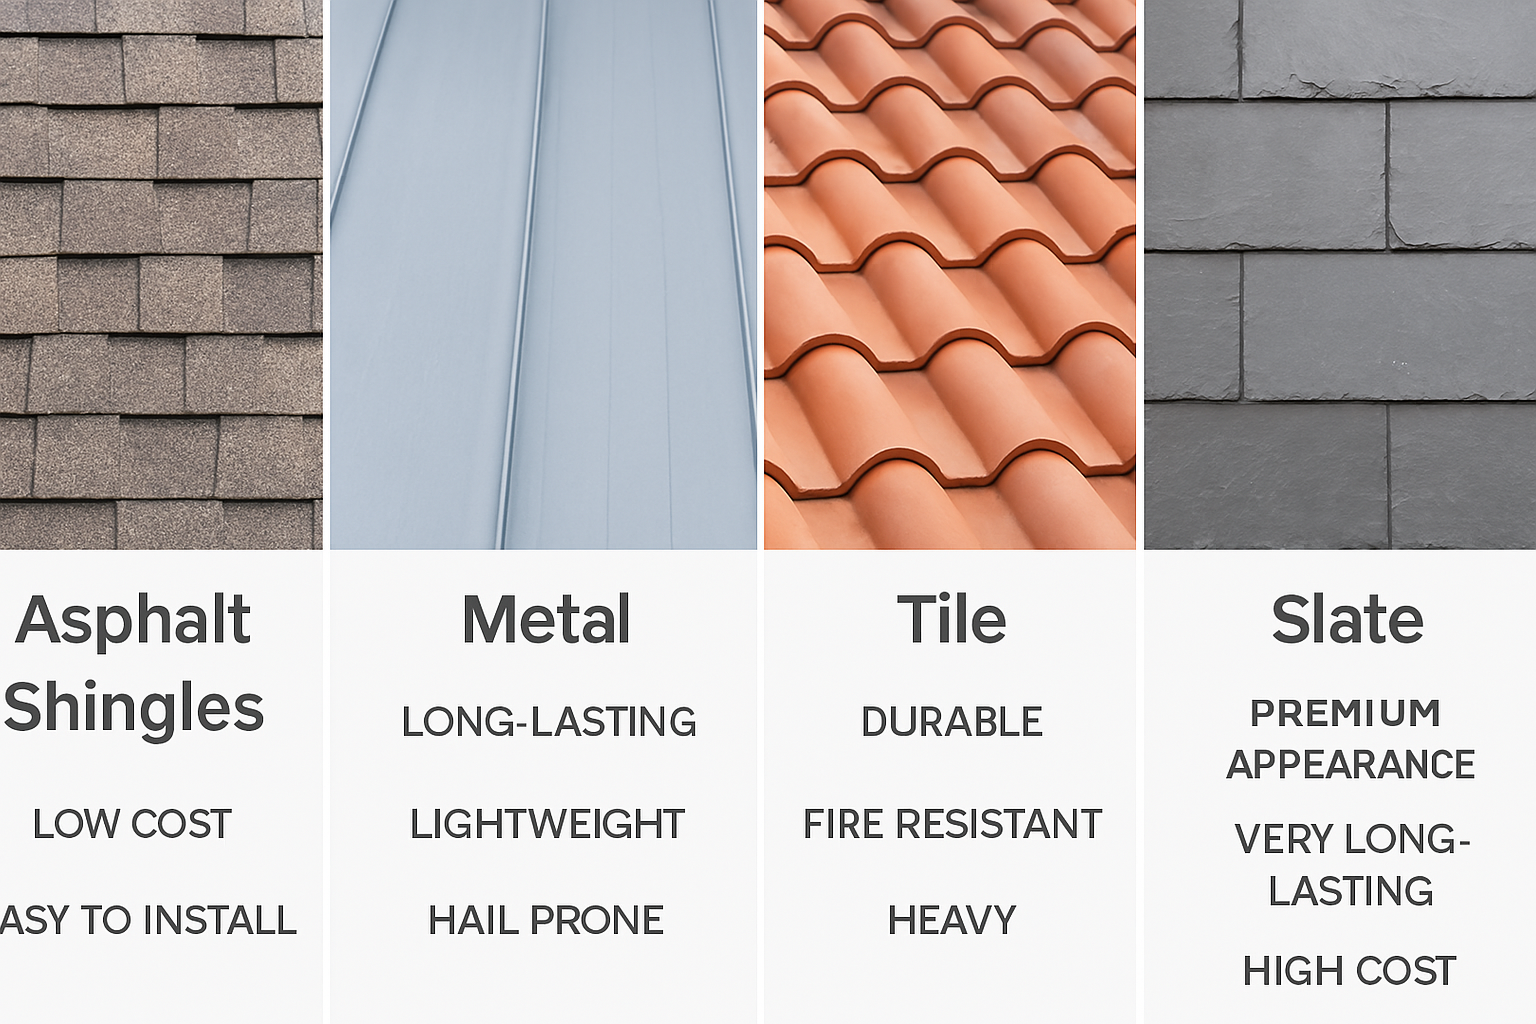
Read More →Roofing Installation
Protect your new frame immediately. Roofing options and timing.
Read More →Complete Build Process
See all 10 construction phases from site prep through landscaping.
Read More →Summary: Your Framing Work Action Plan
1. Prioritize Structural Integrity
Follow proper framing techniques, spacing requirements, and connection details to ensure your building’s framework can withstand both everyday loads and extreme conditions like high winds or seismic events.
2. Assemble a Skilled Team
Work with experienced framing professionals who understand not just assembly techniques but also the structural principles that ensure your building performs as designed for decades.
3. Balance Quality and Efficiency
Implement cost-saving measures and modern framing techniques that reduce material usage without compromising the strength, durability, or energy efficiency of your structure.
A properly framed structure creates the foundation for all subsequent building systems and finishes. Following these professional guidelines ensures your building will maintain its structural integrity for generations while optimizing construction efficiency and material usage.
Execute Your Framing Project With Confidence
Track Your Progress: Monitor your framing milestones with our interactive tools
Stay Notified: Receive alerts for material deliveries, inspections, and weather concerns
Step-by-Step Guidance: Follow detailed instructions on layout, assembly, sheathing, and structural connections
Reduce Stress: Keep all framing specifications and documentation organized in one secure location
Whether you’re building a new home or renovating an existing structure, a properly framed building is essential for structural integrity and long-term performance. Explore our Step-by-Step Builds, Step-by-Step Buys, and Step-by-Step Invest resources for more expert guidance.
When building your own home, always do your due diligence. Consult the professionals you’ve hired—such as your architect, subcontractors, or engineers—and confirm that your work complies with all local building codes and inspections required in your country, state, or province. Builds and Buys is for educational purposes only. Always verify with licensed professionals.
All House Framing EXPLAINED…In Just 12 MINUTES! (House Construction/Framing Members)
We consult with homeowners and property investors nationwide on a range of important home-related issues, including: -Remodels and Renovations -Water Damage -Home Inspection Reports -Estimate and Proposal Analysis -Major Repairs -Contractor Issues
Check out more informative Videos

Knowledge Quiz: Framing
Open Quiz
5 quick questions - see how much you learned!
1) According to the guide, properly executed framing can reduce structural failures by what percentage?
Answer: B
The introduction states that "Studies show that properly executed framing can reduce structural failures by 85% and extend a building's lifespan by decades."
2) What is the standard on-center spacing for wall studs in residential framing?
Answer: C
The "Wall Framing" section specifies "Install 2×4 or 2×6 studs (depending on climate and insulation needs) at 16″ on center."
3) What maximum moisture content percentage should lumber have before sheathing and closing in the framing?
Answer: D
The Q&A section states: "ALWAYS tarp lumber piles, tarp the frame during rain, and check moisture content (must be below 19%) before sheathing."
4) What contingency percentage does the guide recommend adding to framing budgets?
Answer: A
The "Hidden Framing Costs" section includes the PRO TIP: "Add 30% contingency to framing budgets. Lumber is a commodity—prices change daily."
5) According to the guide, what is the primary reason for using 2×6 exterior walls instead of 2×4 walls?
Answer: B
The Q&A section states: "2×6 is now standard everywhere except the deep south. Here's why: 2×6 allows R-19/R-21 insulation vs R-13 in 2×4." It also mentions additional benefits like stronger walls and less sound transmission.
News And Knowledge
Stay informed with the latest trends, insights, and updates in the real estate world.