
Check out our app!
Explore more features on mobile.
Interior Finishes Tasks
This section helps you stay **organized and on track** as you complete the final stages of your build. Interior finishes include **kitchens, bathrooms, flooring, trim, and final details** that bring your home to life. By following structured steps, you can ensure everything is completed efficiently and professionally.
- Stay Organized: Keep track of each step as you move through installations.
- Improve Efficiency: Follow a structured plan to avoid delays and costly mistakes.
- Ensure Quality: Complete each interior detail with precision for a polished final look.
- Track Your Progress: Use checklists to ensure no step is missed.
Whether you’re installing cabinets, finishing flooring, or adding trim, this section keeps you **focused, organized, and confident** as you finalize your home’s interior.

Preparation for Paint
**Prepare surfaces for painting** by cleaning and priming to ensure a smooth and even finish.
Who to Hire:
Painter or Skilled Laborers
Cost-Saving Tips:
- Use a **paint sprayer** for faster application on large surfaces.
- Purchase **paint during promotional sales** for discounts.
Clean Walls and Ceilings
Clean walls and ceilings thoroughly before priming.
Why It Matters: Clean surfaces ensure the paint adheres properly for a smooth, durable finish.
Who to Talk To: Professional cleaners or painting specialists.
Contact Information (E.G. People involved with Task)
Repair Holes or Cracks
Fill any holes or cracks to ensure a smooth surface.
Why It Matters: Repairing imperfections results in a smooth, flawless paint finish.
Who to Talk To: Drywall specialist or handyman.
Contact Information (E.G. People involved with Task)
Apply Primer
Apply primer to the surface to create a smooth and even finish.
Why It Matters: Primer helps paint adhere better and creates a more durable, even finish.
Who to Talk To: Painter or painting contractor.
Contact Information (E.G. People involved with Task)
Painting
**Apply paint to walls, ceilings, and trim** for a clean, fresh finish. Make sure to follow proper techniques for smooth application.
Who to Hire:
Professional Painter
Cost-Saving Tips:
- Consider buying paint in bulk to save on material costs.
- Do the prep work (cleaning, sanding) yourself to reduce labor costs.
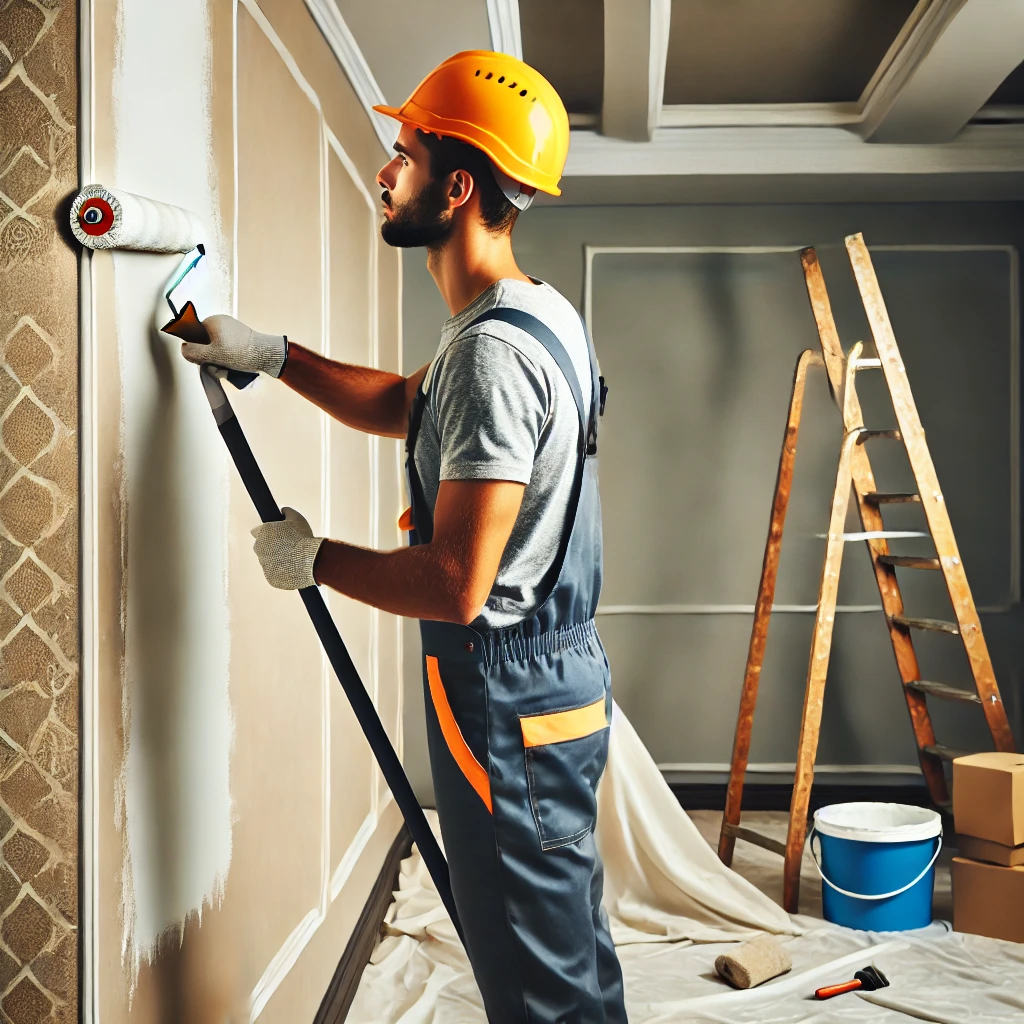
Paint Ceilings First
Start by painting the ceiling and then move on to the walls and trim.
Why It Matters: Painting the ceiling first prevents spills on freshly painted walls and trim.
Who to Talk To: Professional painters can help with precise edge work.
Contact Information (E.G. People involved with Task)
Use Brushes for Edges
Use brushes to handle edges and rollers for larger surfaces for efficiency.
Why It Matters: Using the right tools for each area ensures a more professional finish and saves time.
Who to Talk To: Professional painters or painting supply stores for tool recommendations.
Contact Information (E.G. People involved with Task)
Apply a Second Coat if Needed
Apply a second coat of paint for complete coverage and a smoother finish.
Why It Matters: A second coat ensures an even, flawless finish that lasts longer.
Who to Talk To: Experienced painters can help determine if a second coat is necessary based on paint type.
Contact Information (E.G. People involved with Task)

Subfloor Preparation
**Ensure subfloors are level, clean, and ready for flooring installation.** Proper preparation ensures a durable foundation for your flooring and prevents future issues.
Who to Hire:
Flooring Contractor, General Contractor
Cost-Saving Tips:
- Consider doing the cleaning and leveling yourself to save on labor costs.
- Check for any existing moisture damage before installing new flooring to avoid costly repairs down the road.
Inspect and Repair Subfloors
Inspect and repair cracks or uneven spots to create a smooth surface.
Why It Matters: A stable and level subfloor prevents future flooring issues and ensures a long-lasting finish.
Who to Talk To: Flooring contractor or carpenter.
Contact Information (E.G. People involved with Task)
Clean the Subfloor
Clean the subfloor thoroughly to remove dust, dirt, and debris.
Why It Matters: A clean subfloor ensures proper adhesion for new flooring materials.
Who to Talk To: Flooring installer.
Contact Information (E.G. People involved with Task)
Apply a Moisture Barrier
Install a moisture barrier if necessary to protect the flooring.
Why It Matters: Protects flooring from moisture damage and prevents warping or mold growth.
Who to Talk To: Flooring specialist.
Contact Information (E.G. People involved with Task)
Flooring Installation
**Install the chosen flooring material** based on the specific room's needs and layout. Proper installation ensures durability, comfort, and aesthetic appeal.
Who to Hire:
Flooring Specialist
Cost-Saving Tips:
- Consider DIY installation for less complex flooring types, such as laminate or vinyl.
- Shop for flooring material during sales or clearance events to save on costs.
- Use leftover materials from previous projects to minimize waste and save money.

Measure and Cut Flooring to Fit the Room Layout
Measure the room dimensions and cut flooring material accordingly.
Why It Matters: Precise measurements prevent gaps, misalignment, and wasted materials.
Who to Talk To: Flooring specialist or contractor.
Contact Information (E.G. People involved with Task)
Secure Flooring Using Nails, Glue, or Locking Systems
Install the flooring securely with nails, glue, or locking mechanisms.
Why It Matters: Ensuring a secure fit prevents shifting, creaking, and long-term damage.
Who to Talk To: Flooring specialist or handyman.
Contact Information (E.G. People involved with Task)
Add Baseboards or Trims to Finish
Add the final touches by installing baseboards or trims to complete the flooring installation.
Why It Matters: Baseboards protect flooring edges and provide a polished, professional look.
Who to Talk To: Carpenter or flooring installer.
Contact Information (E.G. People involved with Task)
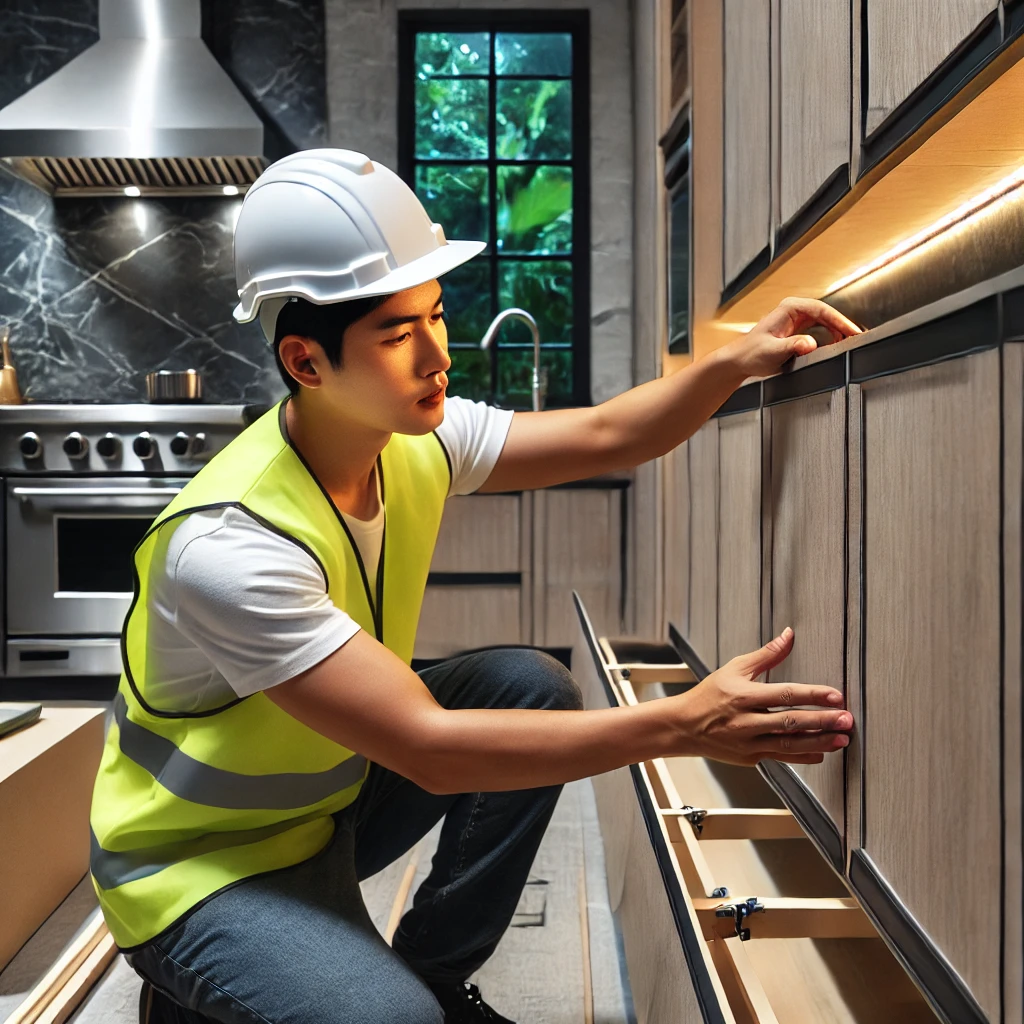
Kitchen Cabinet Installation
Install cabinets for both storage and aesthetic enhancement in the kitchen. Proper installation ensures safety, functionality, and a seamless look.
Who to Hire:
Consider hiring a professional carpenter or kitchen installer to ensure cabinets are installed correctly and securely.
Cost Saving Tips:
1. Consider flat-pack or pre-assembled cabinets to save on installation time and costs.
2. DIY the assembly if you have the skills to avoid professional assembly fees.
3. Shop for sales or discounted cabinets at local suppliers to reduce material costs.
Assemble Cabinets
Assemble cabinets according to the instructions or custom specifications.
Why It Matters: Ensures the cabinets are correctly assembled, reducing errors during installation.
Who to Talk To: Cabinet maker or carpenter.
Contact Information (E.G. People involved with Task)
Secure Cabinets to the Wall
Attach cabinets securely to the walls and ensure proper alignment.
Why It Matters: Proper securing prevents accidents and ensures long-lasting cabinet installation.
Who to Talk To: Carpenter or kitchen installer.
Contact Information (E.G. People involved with Task)
Install Cabinet Hardware
Install necessary hardware such as handles, knobs, and pulls.
Why It Matters: Proper installation of hardware adds functionality and style to the cabinets.
Who to Talk To: Hardware supplier or kitchen installer.
Contact Information (E.G. People involved with Task)
Countertop Installation
Install countertops for workspaces and aesthetics in your kitchen or bathroom. A quality countertop provides durability and adds style to your home.
Who to Hire:
Countertop installer or general contractor.
Cost-Saving Tips:
- Consider granite or quartz for long-term durability at a reasonable price.
- Look for discount or remnant stone slabs for significant savings.
- Do the demolition yourself to reduce labor costs.

Measure and Cut Countertops
Measure countertops and cut to fit perfectly with the cabinets.
Why It Matters: Accurate measurements prevent gaps, misalignment, and unnecessary cuts.
Who to Talk To: Carpenter or countertop specialist.
Contact Information (E.G. People involved with Task)
Secure Countertops
Secure the countertops using adhesive or screws to hold them in place.
Why It Matters: Properly securing the countertop ensures stability and prevents shifting over time.
Who to Talk To: Installer or general contractor.
Contact Information (E.G. People involved with Task)
Seal Countertop Edges
Seal the edges to protect against water damage and spills.
Why It Matters: Sealing the edges prevents water from seeping under the countertop and causing damage.
Who to Talk To: Installer or countertop technician.
Contact Information (E.G. People involved with Task)

Bathroom Fixture Installation
**Install sinks, toilets, showers, and bathtubs** to complete your bathroom setup. Ensuring proper installation prevents leaks and ensures functionality.
Who to Hire:
Plumber or Bathroom Specialist
Cost-Saving Tips:
- Opt for mid-range fixtures to balance quality and affordability.
- Purchase pre-assembled vanities to reduce labor costs.
- Look for bundled fixture sets for better pricing.
Position and Secure Fixtures
Ensure that all fixtures are positioned and securely fastened according to plumbing instructions.
Why It Matters: Proper positioning prevents leaks and ensures efficient water flow.
Who to Talk To: Plumber or bathroom specialist.
Contact Information (E.G. People involved with Task)
Apply Caulk to Seal Edges
Apply caulk around the edges of fixtures to ensure a water-tight seal.
Why It Matters: Prevents water leakage and protects surrounding materials from damage.
Who to Talk To: Plumber or handyman.
Contact Information (E.G. People involved with Task)
Test Fixtures for Proper Functionality
After installation, test all fixtures to ensure they are functioning correctly and leak-free.
Why It Matters: Ensures that fixtures are fully operational before finishing the bathroom installation.
Who to Talk To: Plumber or bathroom installer.
Contact Information (E.G. People involved with Task)
Trim Installation
**Install baseboards, crown molding, and other trims** to add detail and refinement to your home’s interior.
Who to Hire:
Carpenter
Cost-Saving Tips:
- Use pre-finished trims to save on painting costs.
- Buy trims in bulk for multiple rooms to get better pricing.
- Consider DIY installation for simple trim applications.

Measure and Cut Trims
Ensure trims are cut precisely to fit walls and ceilings.
Why It Matters: Proper measurements and cuts prevent gaps and misaligned trims.
Who to Talk To: Carpenter.
Contact Information (E.G. People involved with Task)
Secure Trims with Nails or Adhesive
Attach trims securely using nails or adhesive for a long-lasting fit.
Why It Matters: Ensures trims stay securely attached, preventing future gaps or detachment.
Who to Talk To: Carpenter or handyman.
Contact Information (E.G. People involved with Task)
Fill Gaps and Touch Up with Paint
Seal any gaps with caulk and touch up with paint for a clean, finished look.
Why It Matters: A properly finished trim enhances the overall appearance of the room.
Who to Talk To: Painter or carpenter.
Contact Information (E.G. People involved with Task)

Final Cleaning and Touch-Ups
Clean the interiors and perform touch-ups for a polished look. Ensure all surfaces are spotless and finishes are perfected.
Who to Hire:
Cleaning specialist or general contractor.
Cost-Saving Tips:
Use eco-friendly cleaning products to reduce costs and improve air quality.
Clean all surfaces to remove dust and debris
Clean all surfaces to ensure no dust or debris remains.
Why It Matters: A clean space prevents allergies and ensures a fresh finish to the project.
Who to Talk To: Cleaning service or handyman.
Contact Information (E.G. People involved with Task)
Inspect for any unfinished areas or imperfections
Check for unfinished areas or imperfections that need attention.
Why It Matters: Ensures everything looks professionally finished and flawless.
Who to Talk To: Painter or general contractor.
Contact Information (E.G. People involved with Task)
Address touch-ups as needed
Make any necessary touch-ups to paint or finishes for a polished appearance.
Why It Matters: Ensures the final look is clean, polished, and ready for presentation.
Who to Talk To: Handyman or painter.
Contact Information (E.G. People involved with Task)
Your Tools
Access your tools to manage tasks, update your profile, and track your progress.
Collaboration Feed
Engage with others, share ideas, and find inspiration in the Collaboration Feed.

