Check out our app!
Explore more features on mobile.
HVAC Installation: Proper Heating, Ventilation, and Air Conditioning
HVAC systems are the core climate control infrastructure that determines comfort, air quality, and energy efficiency. Research shows that proper installation can improve system efficiency by 30% and extend equipment lifespan by 5-10 years. This comprehensive guide explores professional installation techniques, equipment selection, and expert strategies to ensure your HVAC system delivers optimal performance and value.
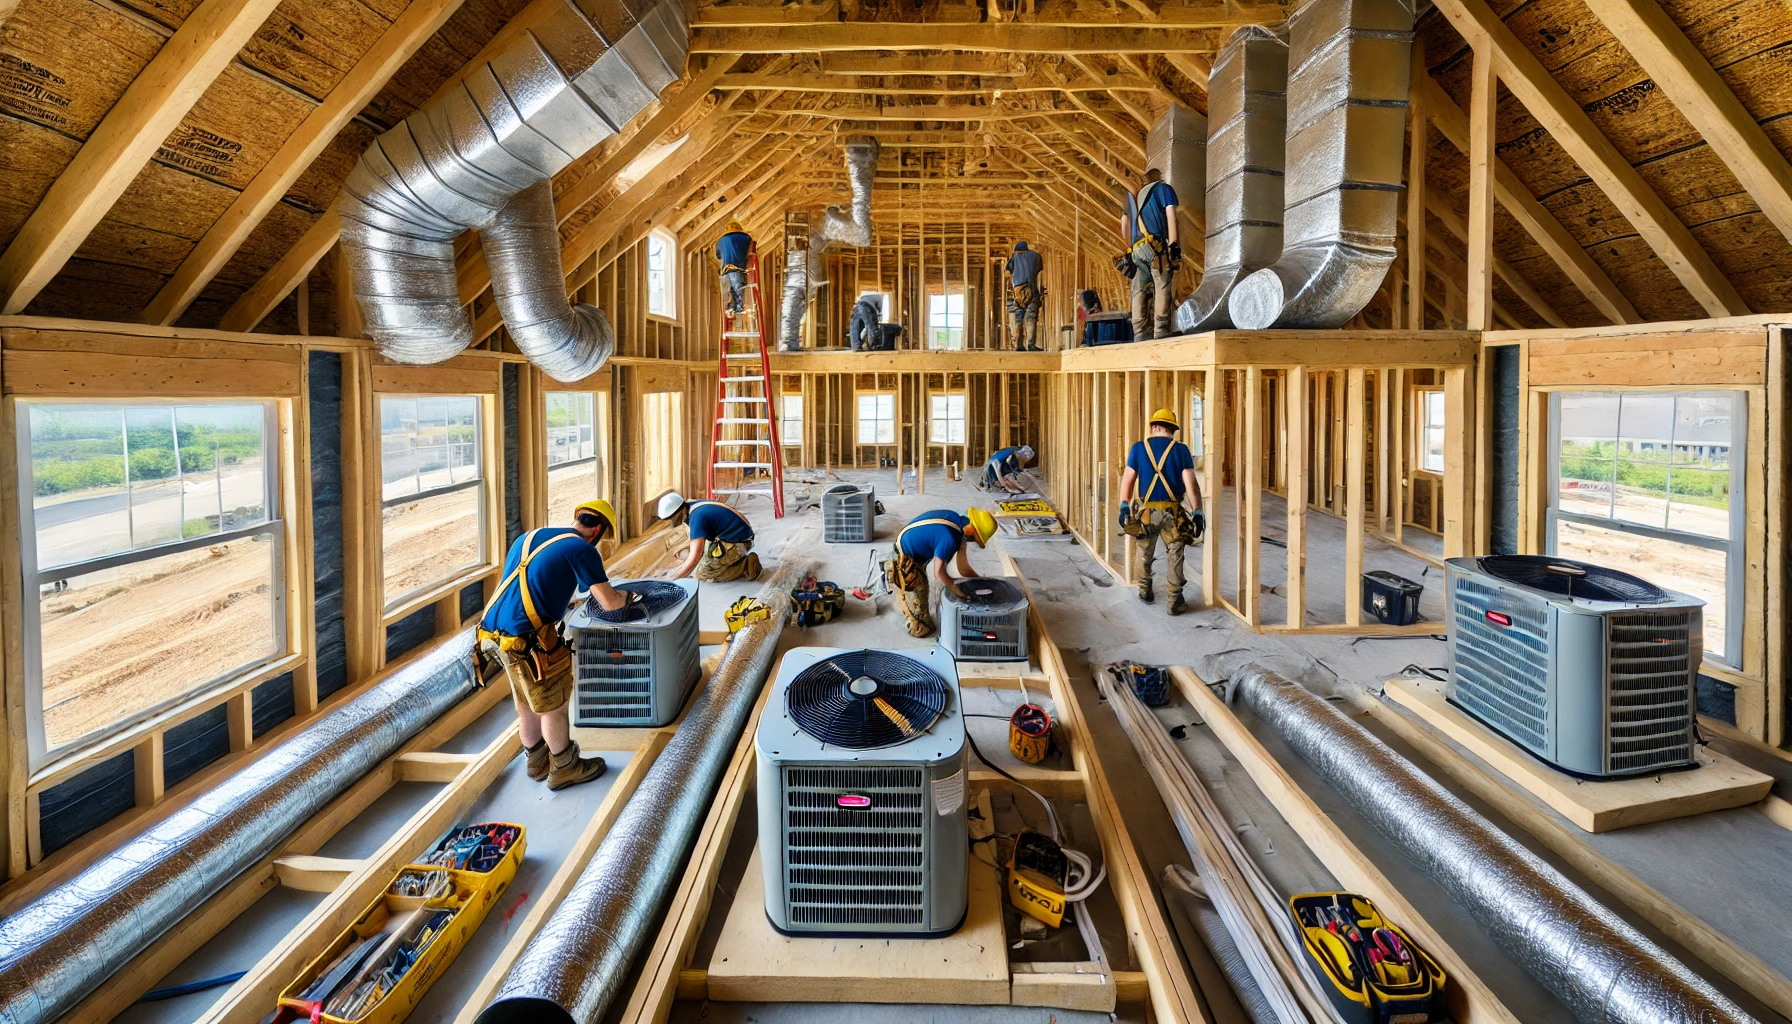
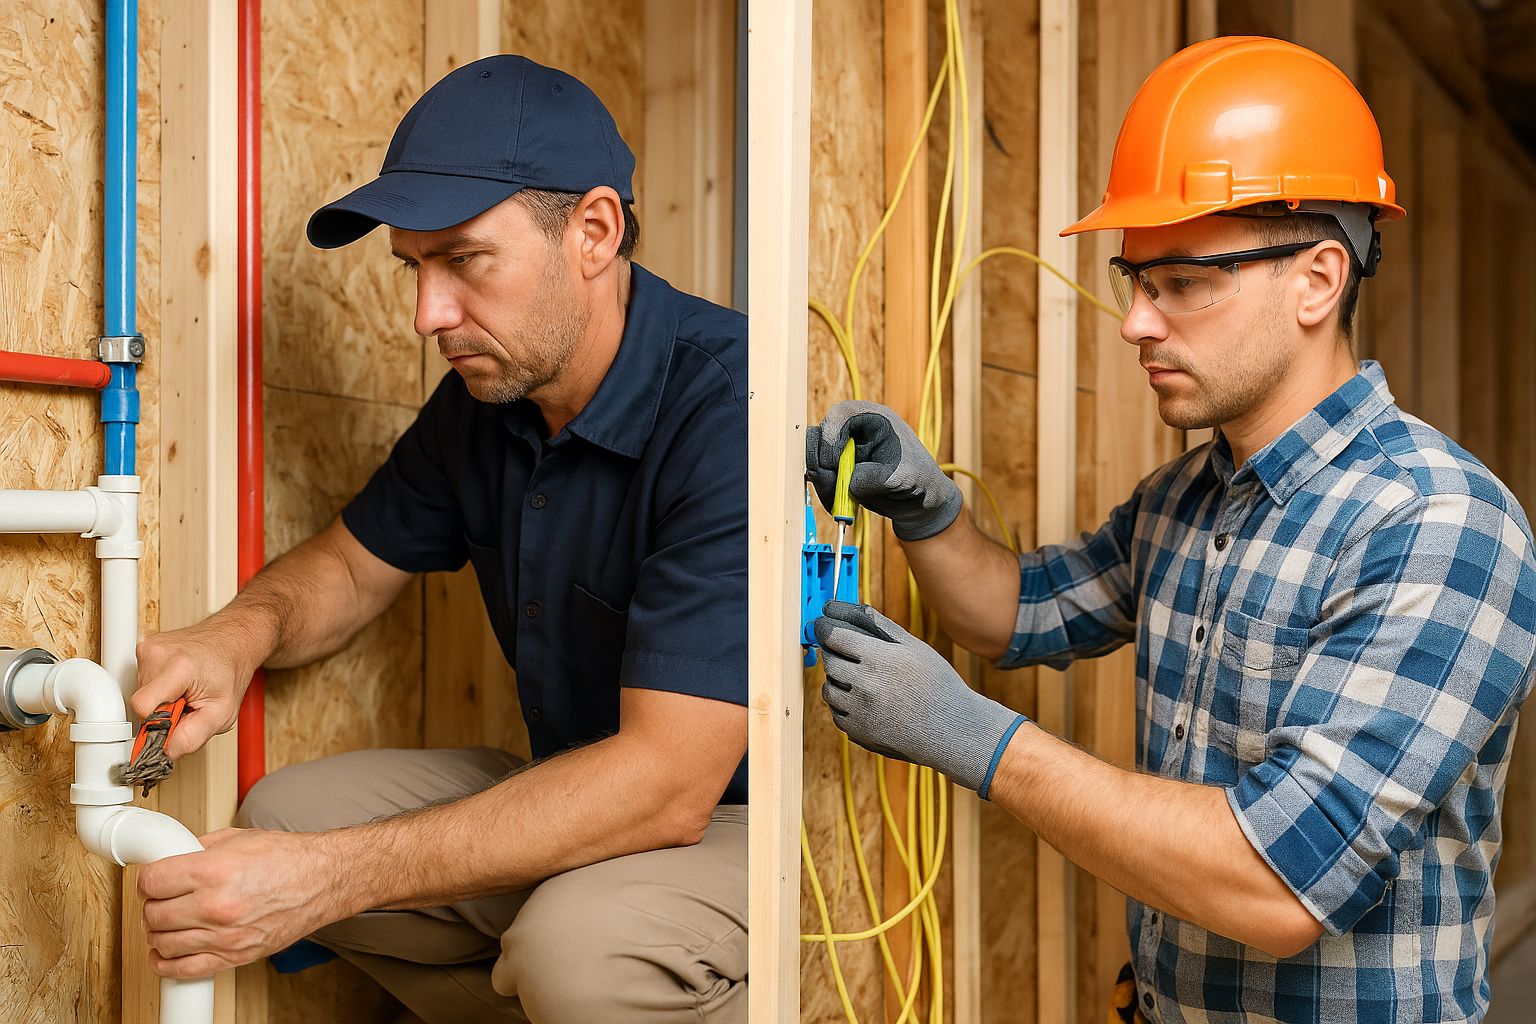
[Image: Professional HVAC System Installation in Progress]
Key Steps in HVAC Installation
These are the critical tasks involved in creating an efficient, properly sized HVAC system:
1. System Design and Load Calculation
Map out the HVAC system layout and select equipment tailored to the building’s specific requirements. This critical planning phase ensures proper system sizing and efficiency for your unique space and climate conditions.
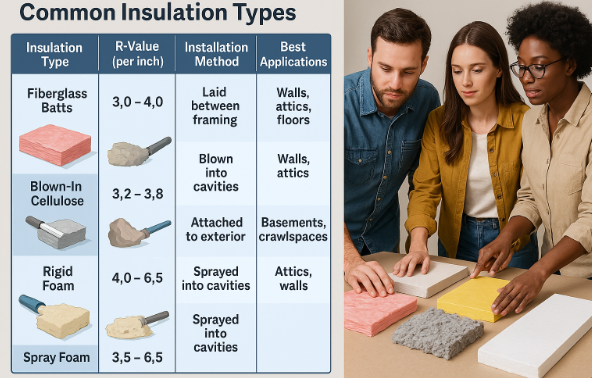
- Heat load calculation: Perform Manual J calculation (ACCA approved method) accounting for square footage, insulation values (R-factors), window specifications, and local climate data
- Equipment sizing: Size units based on BTU requirements (typically 20-25 BTU per square foot for heating in moderate climates) with no more than 15% oversizing to prevent short-cycling
- Zoning considerations: Design separate zones for multi-level homes or areas with different exposure/usage patterns, with dedicated thermostats and damper systems
2. Ductwork Design and Installation
Install properly sized and sealed ducts to ensure efficient distribution of conditioned air throughout the space. The ductwork system is the delivery network for your HVAC system and must be designed for minimal pressure loss and leakage.
- Duct sizing: Calculate using Manual D methodology with velocity limits of 700-900 FPM for supply trunks and 500-700 FPM for branch ducts to minimize noise and pressure loss
- Material selection: Use minimum 26-gauge galvanized steel for main trunks, insulated flexible ducts (R-8 in unconditioned spaces) for branch runs, with maximum flex duct length of 14′
- Sealing methods: Seal all duct seams with mastic (not duct tape), achieving maximum 6% leakage in supply ducts and 4% in return ducts under testing at 25 Pa pressure
3. Equipment Installation
Set up the primary heating and cooling units, ensuring proper connections to ducts, power sources, and fuel lines. This phase establishes the core mechanical components of your climate control system.
- Unit placement: Position outdoor condensers with minimum 24″ clearance on three sides, 60″ service side clearance, on level pads elevated 3″ above grade with proper slope for drainage
- Line set installation: Install refrigerant lines with proper sizing (typically 3/8″ liquid line, 3/4″-7/8″ suction line), maximum 50′ length, insulated fully with minimum 3/8″ wall thickness
- Condensate management: Install primary and secondary drain lines (3/4″ PVC) with minimum 1/4″ per foot slope, P-traps at air handlers, and safety switches to shut down system if drains clog
4. Ventilation System Integration
Incorporate proper ventilation systems to ensure adequate fresh air exchange and maintain indoor air quality. Modern energy-efficient homes require dedicated ventilation to prevent stale air and moisture problems.
- Fresh air requirements: Provide minimum 0.35 air changes per hour or 15 CFM per person according to ASHRAE 62.2 standards for residential applications
- ERV/HRV installation: Install energy or heat recovery ventilators in tightly sealed homes to exchange air while recovering up to 80% of heating/cooling energy
- Exhaust ventilation: Connect bathroom fans (minimum 50 CFM) and kitchen hoods (minimum 100 CFM) to dedicated ductwork venting directly outdoors with backdraft dampers
5. Control System Setup
Install and program thermostats and control systems to enable precise temperature management and system operation. Modern controls are the interface between users and the HVAC system, offering both comfort and efficiency benefits.
- Thermostat placement: Install on interior walls away from heat sources, supply registers, and direct sunlight at 48″-52″ above finished floor
- Wiring specifications: Use minimum 18-gauge wire for thermostats with dedicated wire bundles for each zone controller, properly color-coded for trouble-free service
- Programming options: Configure setback schedules (typically 7°-10°F for heating, 4°-7°F for cooling during unoccupied periods) to optimize energy usage patterns
6. System Balancing and Commissioning
Adjust and balance the system to achieve even airflow and consistent temperature distribution throughout all spaces. Proper commissioning ensures the system operates as designed and delivers the expected comfort and efficiency.
- Airflow verification: Measure and adjust supply registers to within 10% of design values using flow hood or anemometer, achieving minimum 400 CFM per ton of cooling
- Refrigerant charge: Verify proper refrigerant charge using subcooling method (10°-12°F typical target) or superheat method (8°-12°F typical) depending on metering device
- System startup sequence: Follow manufacturer-specific procedures for initial startup, including verification of safety controls, proper fuel pressure for combustion units, and thermostat operation
Who Handles HVAC Installation?
HVAC installation requires specialized professionals with proper training, certification, and experience:
- HVAC Design Engineer: Performs load calculations, system sizing, and creates detailed specifications based on building characteristics and local climate conditions
- NATE-Certified Technicians: Skilled professionals with North American Technician Excellence certification who install equipment according to manufacturer specifications and industry best practices
- Sheet Metal Specialists: Fabricate and install custom ductwork, ensuring proper sizing, minimal leakage, and efficient airflow throughout the distribution system
- Licensed Refrigeration Technicians: Handle refrigerant management, including system evacuation, charging, and leak testing in compliance with EPA regulations
- Controls Specialists: Install and program thermostats, zoning systems, and advanced control interfaces for optimal system performance
- Mechanical Inspector: Verifies that all installations meet local building codes and safety requirements before system operation
- Commissioning Agent: Performs comprehensive testing to ensure the system operates according to design specifications and provides documentation of performance metrics
Time & Cost Estimates
The timeline and budget for HVAC installation vary based on system complexity, building size, and equipment quality. Here are detailed estimates for each major phase:
| HVAC Component | Estimated Time | Estimated Cost | Key Value Points |
|---|---|---|---|
| System Design & Load Calculation | 1–2 days | $1,200–$3,500 | Ensures proper sizing and prevents costly oversizing/undersizing |
| Ductwork Installation | 2–4 days | $2,500–$6,800 | Creates efficient air distribution network with minimal losses |
| Equipment Installation | 1–3 days | $3,200–$12,000 | Provides core heating/cooling capacity with proper connections |
| Ventilation Integration | 1–2 days | $1,500–$4,500 | Ensures proper fresh air exchange and moisture control |
| Control System Setup | 0.5–1 day | $400–$2,200 | Enables precise temperature management and programming |
| Balancing & Commissioning | 1–2 days | $800–$2,500 | Verifies proper operation and optimizes performance |
| Total Estimates | 6.5–14 days | $9,600–$31,500 | Complete climate control system with efficiency and comfort |
These cost estimations provide a general guideline and cover a range from basic to mid-tier builds. They may not reflect costs for high-end or luxury projects. For more precise estimates, consult with professionals based on your specific requirements.
Cost-Saving Tips
Optimize your HVAC investment with these expert strategies:
- Equipment efficiency selection: Choose high-efficiency units (minimum 16 SEER for cooling, 95% AFUE for heating) that qualify for utility rebates and tax incentives, often offsetting 10-30% of installation costs
- Duct optimization: Design compact duct layouts with minimal bends and transitions, reducing both material costs and long-term operating expenses by improving system efficiency by 10-15%
- Multi-stage equipment: Consider two-stage or variable capacity systems that may cost 15-20% more initially but can reduce energy consumption by 25-35% over single-stage units
- Zoning implementation: Install zoning systems that allow independent control of different areas, reducing energy usage by up to 30% by conditioning only occupied spaces
- Seasonal timing: Schedule installations during off-peak seasons (typically spring or fall) when HVAC contractors offer promotional pricing and have greater availability
- Preventive accessibility: Ensure easy access to components requiring regular maintenance, reducing long-term service costs by 15-20% over the system’s lifespan
Summary: Your HVAC Installation Action Plan
1. Prioritize Proper System Design
Invest in professional load calculations and system design to ensure your HVAC equipment is properly sized for your specific building. This prevents both performance issues and excessive energy consumption while extending equipment life.
2. Focus on Distribution Quality
Ensure ductwork is properly sized, sealed, and insulated as this often-overlooked component can reduce system efficiency by up to 30% if poorly executed. Quality distribution systems deliver comfort to every space while minimizing energy losses.
3. Verify Performance Through Commissioning
Require comprehensive testing and balancing of the completed system to confirm it operates according to design specifications. This final quality control step ensures you receive the comfort, efficiency, and reliability you’ve invested in.
A properly installed HVAC system is essential for comfort, efficiency, and indoor air quality. Following these professional guidelines ensures your climate control system will provide years of reliable performance while minimizing operating costs.
Complete Your HVAC Project With Confidence
Track Your Progress: Monitor your HVAC installation milestones with our interactive tools
Stay Notified: Receive alerts for equipment deliveries, inspection schedules, and commissioning tests
Step-by-Step Guidance: Follow detailed instructions on system design, equipment selection, and installation verification
Reduce Stress: Keep all HVAC specifications and warranty information organized in one secure location
Whether you’re installing a new HVAC system or upgrading existing equipment, professional installation is essential for optimal performance, efficiency, and comfort. Explore our Step-by-Step Builds, Step-by-Step Buys, and Step-by-Step Invest resources for more expert guidance.
When building your own home, always do your due diligence. Consult the professionals you’ve hired—such as your architect, subcontractors, or engineers—and confirm that your work complies with all local building codes and inspections required in your country, state, or province. Builds and Buys is for educational purposes only. Always verify with licensed professionals.
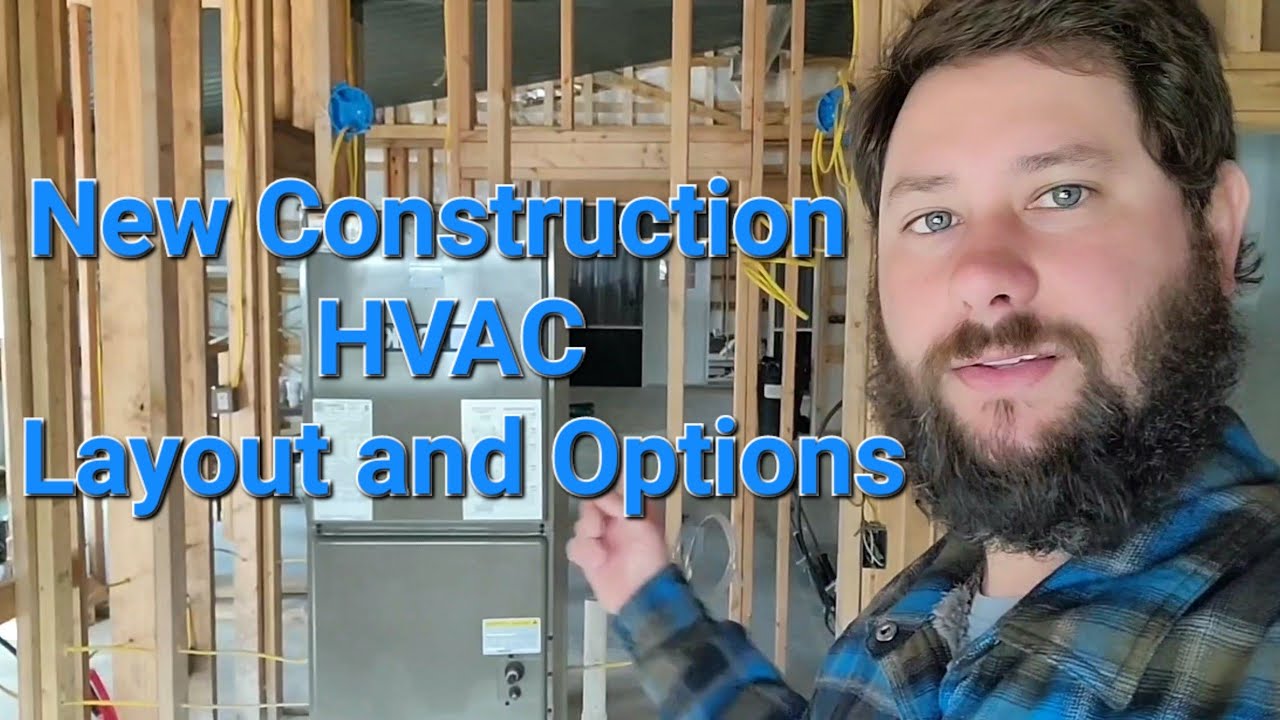
HVAC Heating & Air Rough-In on New Construction | Building A $350,000 Custom House
In today’s episode, we were able to do the heating and air rough-in!! HVAC is a very important step of the way and getting this done gets me one step closer to getting this house built. Building a house is not easy, but it is most definitely worth it!! Enjoy the video y’all!!
Check out more informative Videos
News And Knowledge
Stay informed with the latest trends, insights, and updates in the real estate world.

Your Tools
Access your tools to manage tasks, update your profile, and track your progress.


Collaboration Feed
Engage with others, share ideas, and find inspiration in the Collaboration Feed.