Check out our app!
Explore more features on mobile.
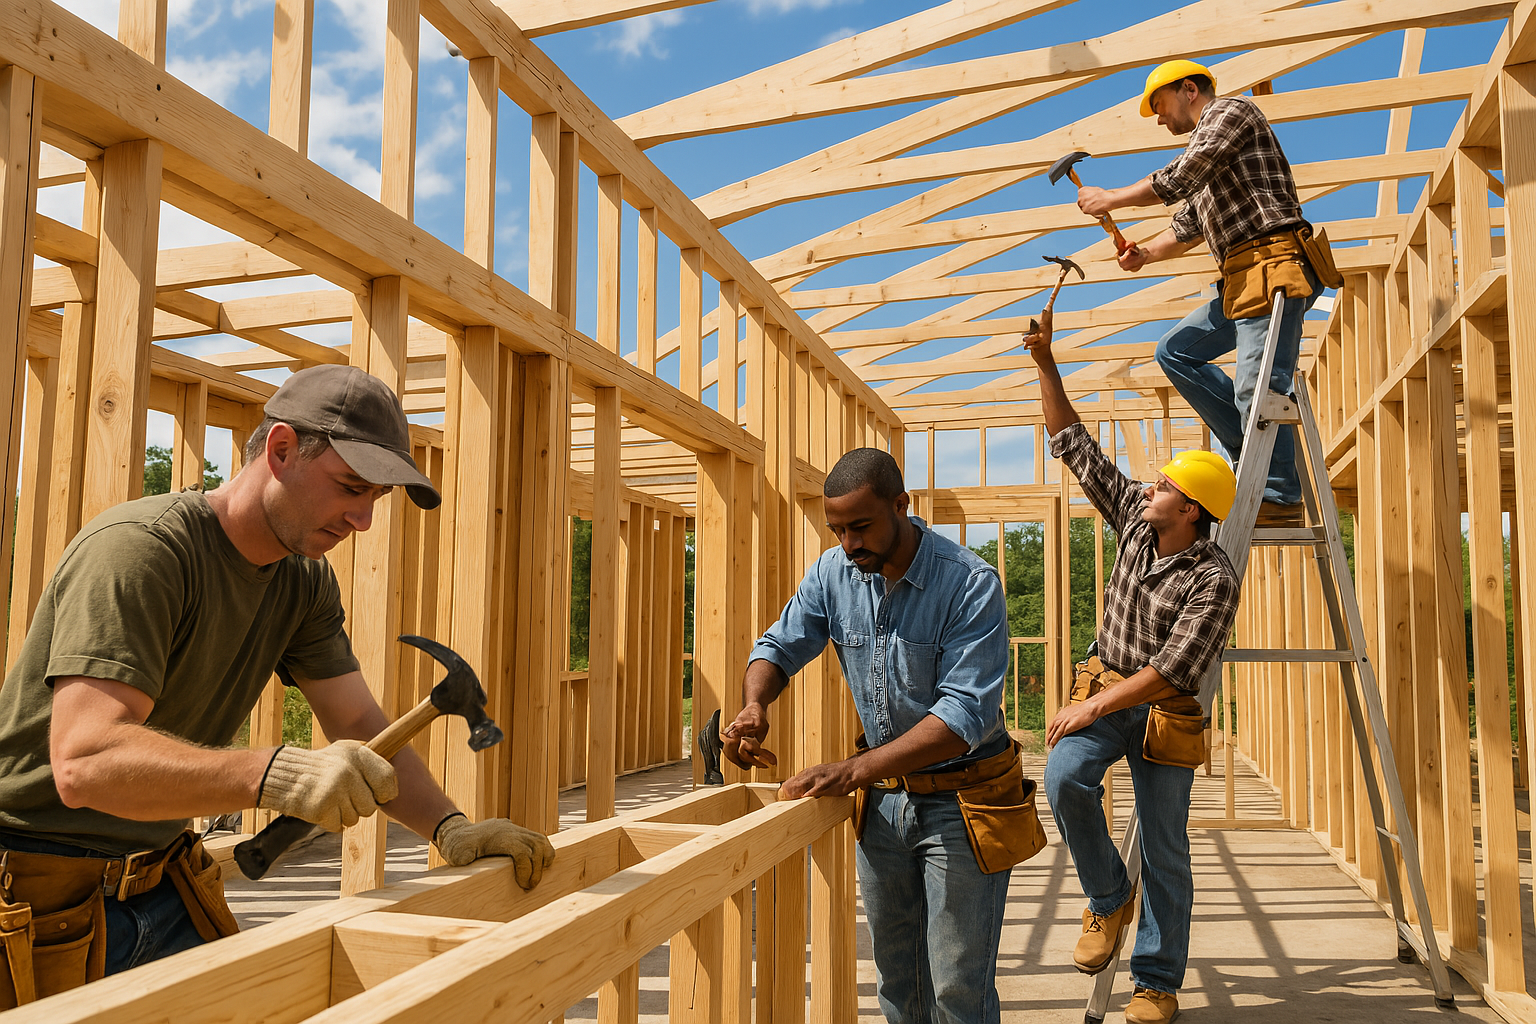
Framing: Building the Structural Framework
Framing creates the structural skeleton that defines your building’s shape, strength, and longevity. Studies show that properly executed framing can reduce structural failures by 85% and extend a building’s lifespan by decades. This comprehensive guide explores professional framing techniques, industry standards, and expert strategies to ensure your framework delivers maximum structural integrity and value.
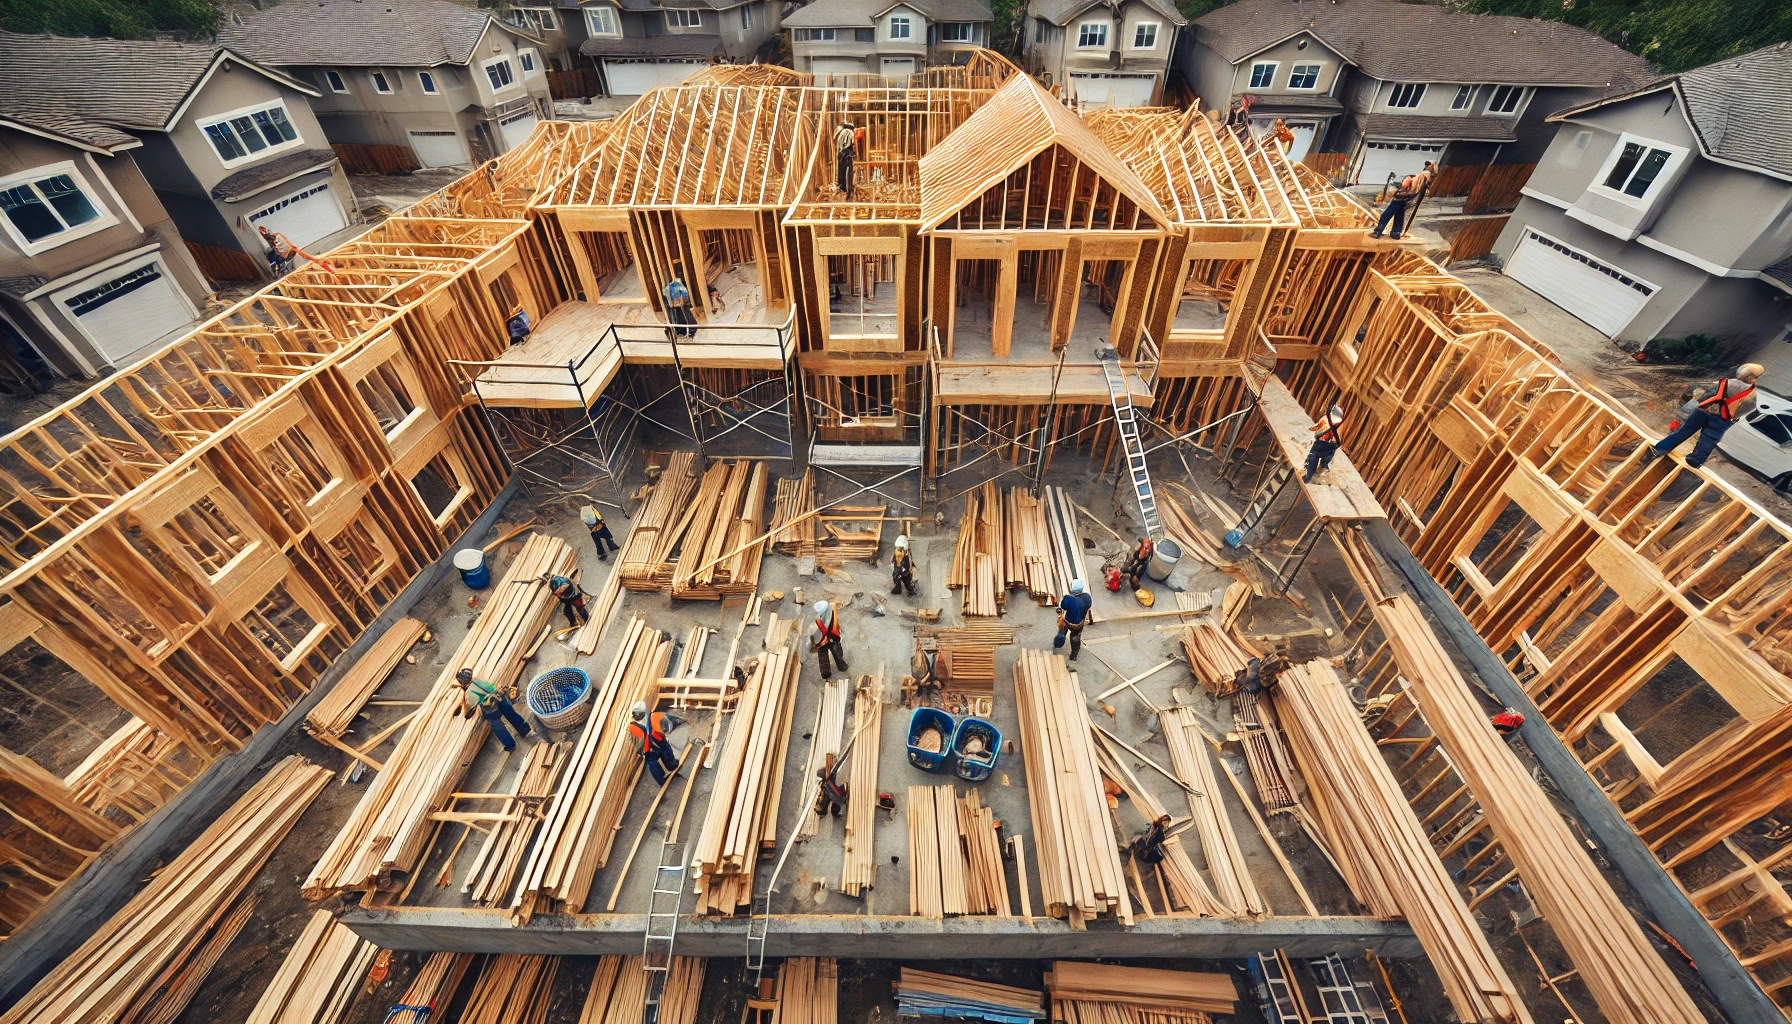
[Image: Professional Framing Construction in Progress]
Key Steps in Framing Work
These are the essential tasks to ensure your building’s framework is sound, level, and engineered to last:
1. Floor System Construction
Create the platform that supports interior walls and living spaces. A properly constructed floor system provides a level, stable base for the entire building while minimizing deflection and vibration.
- Joist installation: Place floor joists at 16″ on center (12″ for heavier loads) using dimensional lumber sized according to span (typically 2×8 to 2×12)
- Rim joist attachment: Install continuous rim joists around the perimeter, fastened with 16d nails at 12″ on center to both foundation and floor joists
- Subflooring application: Secure 3/4″ tongue-and-groove subflooring with construction adhesive and 8d ring-shank nails or 2″ screws at 6″ perimeter/12″ field spacing
2. Wall Framing
Construct exterior and interior walls that define your building’s layout and provide vertical support. Wall framing must be precisely aligned, securely fastened, and engineered to support structural loads.
- Stud placement: Install 2×4 or 2×6 studs (depending on climate and insulation needs) at 16″ on center with doubled top plates for load distribution
- Header sizing: Use properly sized headers over openings (typically 2×6 to 2×12 with 1/2″ plywood spacer) based on span length and supported loads
- Corner construction: Build three-stud corners to provide proper nailing surfaces for interior and exterior sheathing materials
3. Roof Framing
Install the framework that supports the roof covering and transfers loads to the walls. The roof framing system provides crucial protection against the elements while maintaining structural stability.
- Truss installation: Place engineered roof trusses at 24″ on center, secured to top plates with hurricane ties rated for minimum 900 lbs uplift resistance
- Rafter construction: For site-built rafters, use 2×8 to 2×12 lumber (depending on span) with proper bird’s-mouth cuts and ridge connections
- Collar tie placement: Install collar ties on every third rafter pair at upper third of attic space to prevent roof spread under snow loads
4. Sheathing Installation
Apply structural panels to exterior walls and roof deck to provide lateral support and create a base for finishing materials. Proper sheathing significantly increases the structural integrity of the entire building.
- Panel selection: Use minimum 7/16″ OSB or 1/2″ plywood, oriented properly with the strong axis perpendicular to framing members
- Nailing pattern: Fasten with 8d nails at 6″ on center at panel edges and 12″ on center in field for walls; 6″ on center throughout for roof
- Edge support: Provide blocking between studs/rafters at horizontal seams or use H-clips on roof sheathing to support panel edges
5. Window and Door Openings
Frame rough openings for windows and doors with proper sizing and support. Accurate opening framing ensures that fixtures will fit properly and operate smoothly throughout the building’s life.
- Rough opening sizing: Frame openings 1/2″ wider and taller than actual window or door unit, verified square using diagonal measurements
- Header support: Install king studs full-height alongside opening with jack studs beneath header to transfer loads to foundation
- Sill construction: Create sloped windowsills (minimum 5° slope) for water drainage and proper support at door thresholds
6. Advanced Framing Techniques
Implement energy-efficient framing methods that reduce thermal bridging while maintaining structural integrity. These techniques can significantly improve the building’s energy performance.
- Two-stud corners: Use two-stud corners with drywall clips to increase insulation space at typically underinsulated corners
- Insulated headers: Construct headers with rigid foam insulation between lumber components to reduce heat loss through these thermal bridges
- Ladder blocking: Use horizontal ladder framing at interior wall intersections instead of traditional three-stud corners to maximize insulation
7. Framing Inspection
Verify all framing elements meet structural requirements and building codes before installation of mechanical systems or enclosure. This crucial step identifies and corrects issues while they’re still easily accessible.
- Structural verification: Check for crown orientation in studs/joists (high point up), proper fastener type/placement, and load path continuity
- Plumb and level assessment: Verify walls are plumb within 1/8″ over 8 feet and floors level within 1/4″ over 20 feet
- Code compliance: Confirm proper fire blocking, draft stopping, and required structural connections before proceeding to next construction phase
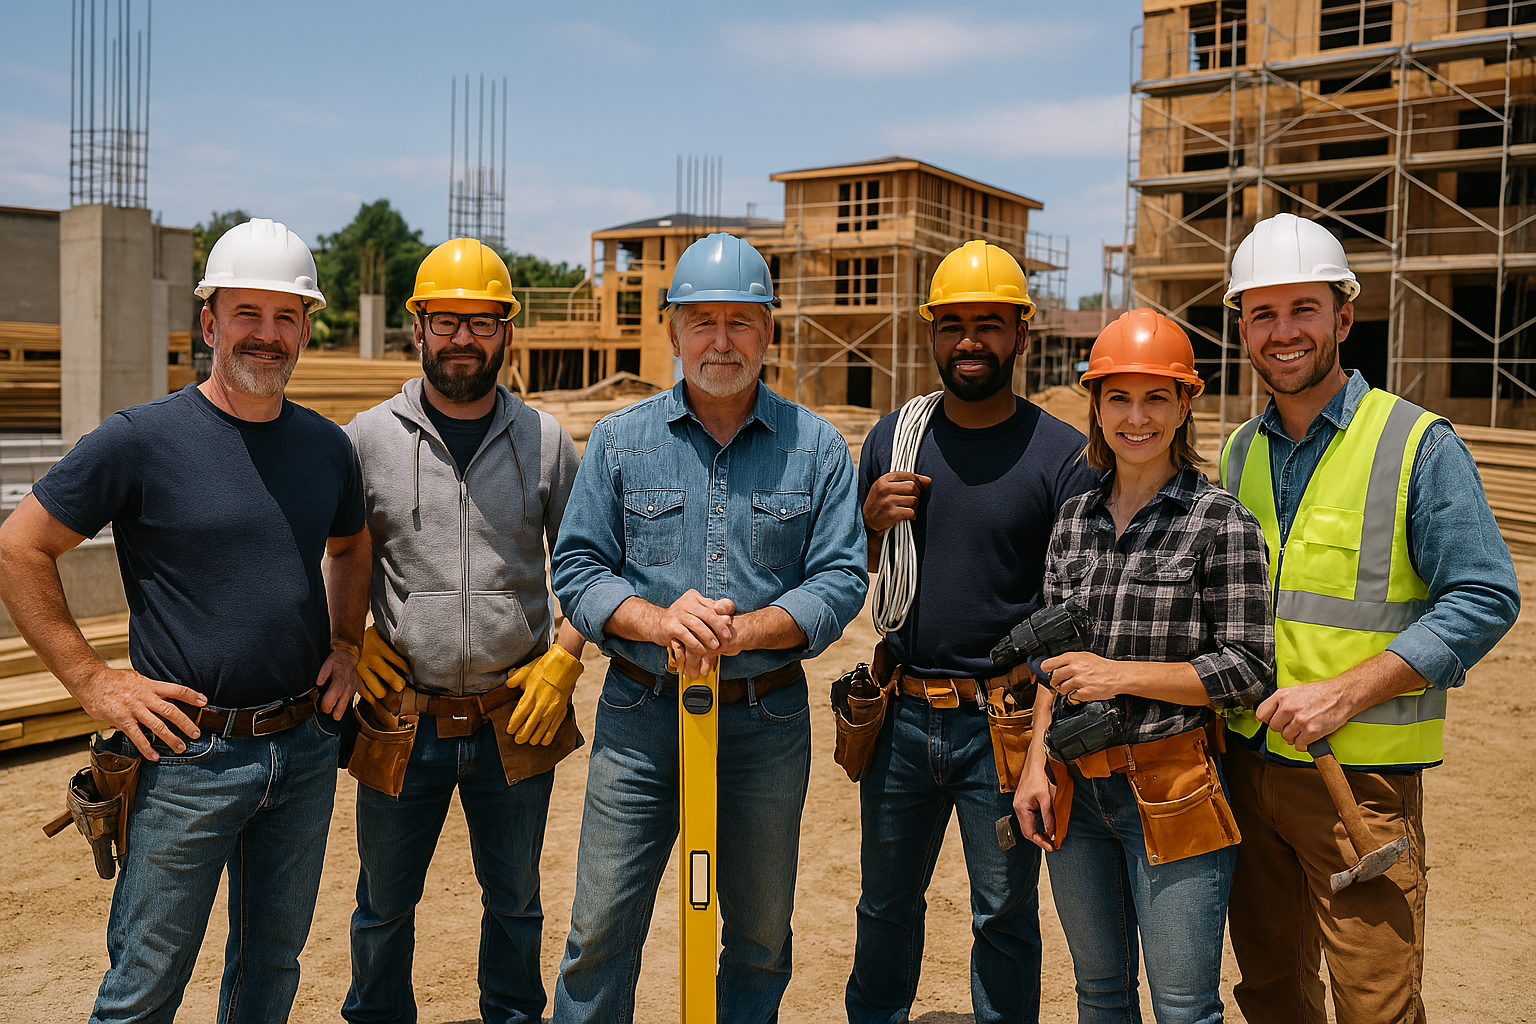
Who Handles Framing Work?
Framing construction requires various specialized professionals working as a coordinated team:
- Framing Contractor: Oversees the entire framing process, coordinates crew activities, and ensures compliance with plans and structural requirements
- Lead Carpenter: Directs day-to-day framing operations, interprets blueprints, and ensures precision in the most important structural elements
- Journeyman Carpenters: Execute complex framing tasks such as stair construction, roof layout, and structural connections
- Apprentice Carpenters: Assist with material preparation, basic framing assembly, and supporting more experienced framers
- Crane Operator: Manages the safe lifting and placement of heavy framing components, particularly roof trusses and large engineered beams
- Structural Engineer: Designs and approves specialized framing connections, ensures load path continuity, and provides solutions for non-standard challenges
Time & Cost Estimates
The timeline and budget for framing work vary based on project size, design complexity, and material choices. Here are detailed estimates for each major phase:
| Framing Component | Estimated Time | Estimated Cost | Key Value Points |
|---|---|---|---|
| Floor System Construction | 2–4 days | $3,500–$12,000 | Creates stable, level platform for all interior elements |
| Wall Framing | 3–6 days | $4,500–$15,000 | Defines building layout and provides vertical support |
| Roof Framing | 2–5 days | $3,500–$14,000 | Protects structure and transfers loads to foundation |
| Sheathing Installation | 2–3 days | $2,000–$5,500 | Provides lateral support and base for exterior materials |
| Window & Door Framing | 1–2 days | $1,500–$4,000 | Ensures properly sized, square openings for fixtures |
| Advanced Techniques | 1–2 days | $1,000–$3,000 | Improves energy efficiency and reduces material waste |
| Total Estimates | 11–22 days | $16,000–$53,500 | Complete structural system with long-term integrity |
These cost estimations provide a general guideline and cover a range from basic to mid-tier builds. They may not reflect costs for high-end or luxury projects. For more precise estimates, consult with professionals based on your specific requirements.
Cost-Saving Tips
Optimize your framing investment with these expert strategies:
- Optimal material planning: Order framing packages pre-cut to length to reduce waste, typically saving 10-15% on lumber costs
- Modular design implementation: Design your building on 2′ increments to maximize the use of standard material sizes, reducing both waste and labor
- Engineered solutions: Utilize engineered wood products like floor trusses and roof trusses instead of dimensional lumber for longer spans
- Equipment optimization: Rent pneumatic framing nailers and compressors instead of purchasing, and coordinate deliveries to minimize crane rental periods
- Alternative framing methods: Consider 24″ on-center framing instead of 16″ where code allows, reducing lumber usage by approximately 30%
- Strategic scheduling: Schedule framing during seasons when lumber prices typically drop (often late fall through winter in many regions)
Summary: Your Framing Work Action Plan
1. Prioritize Structural Integrity
Follow proper framing techniques, spacing requirements, and connection details to ensure your building’s framework can withstand both everyday loads and extreme conditions like high winds or seismic events.
2. Assemble a Skilled Team
Work with experienced framing professionals who understand not just assembly techniques but also the structural principles that ensure your building performs as designed for decades.
3. Balance Quality and Efficiency
Implement cost-saving measures and modern framing techniques that reduce material usage without compromising the strength, durability, or energy efficiency of your structure.
A properly framed structure creates the foundation for all subsequent building systems and finishes. Following these professional guidelines ensures your building will maintain its structural integrity for generations while optimizing construction efficiency and material usage.
Execute Your Framing Project With Confidence
Track Your Progress: Monitor your framing milestones with our interactive tools
Stay Notified: Receive alerts for material deliveries, inspections, and weather concerns
Step-by-Step Guidance: Follow detailed instructions on layout, assembly, sheathing, and structural connections
Reduce Stress: Keep all framing specifications and documentation organized in one secure location
Whether you’re building a new home or renovating an existing structure, a properly framed building is essential for structural integrity and long-term performance. Explore our Step-by-Step Builds, Step-by-Step Buys, and Step-by-Step Invest resources for more expert guidance.
When building your own home, always do your due diligence. Consult the professionals you’ve hired—such as your architect, subcontractors, or engineers—and confirm that your work complies with all local building codes and inspections required in your country, state, or province. Builds and Buys is for educational purposes only. Always verify with licensed professionals.
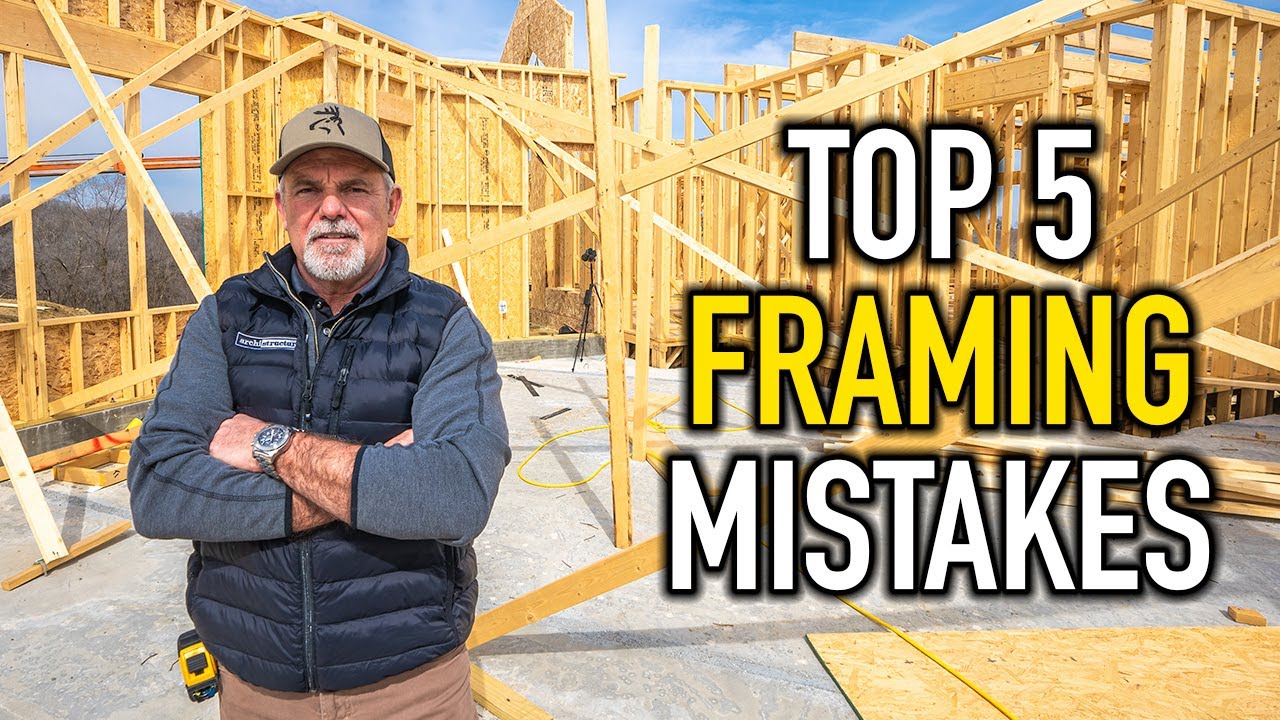
All House Framing EXPLAINED…In Just 12 MINUTES! (House Construction/Framing Members)
We consult with homeowners and property investors nationwide on a range of important home-related issues, including: -Remodels and Renovations -Water Damage -Home Inspection Reports -Estimate and Proposal Analysis -Major Repairs -Contractor Issues
Check out more informative Videos

News And Knowledge
Stay informed with the latest trends, insights, and updates in the real estate world.
Your Tools
Access your tools to manage tasks, update your profile, and track your progress.


Collaboration Feed
Engage with others, share ideas, and find inspiration in the Collaboration Feed.