Check out our app!
Explore more features on mobile.
Exterior Finishes: Enhancing the Curb Appeal of Your Home
Exterior finishes form your home’s critical first impression and weather defense system. Research shows that quality exterior finishes can increase property values by 5-12% and significantly impact selling time, with homes selling up to 70% faster when featuring superior curb appeal. This comprehensive guide explores professional installation techniques, material selection, and expert strategies to ensure your exterior delivers maximum visual appeal, weather protection, and long-term value.
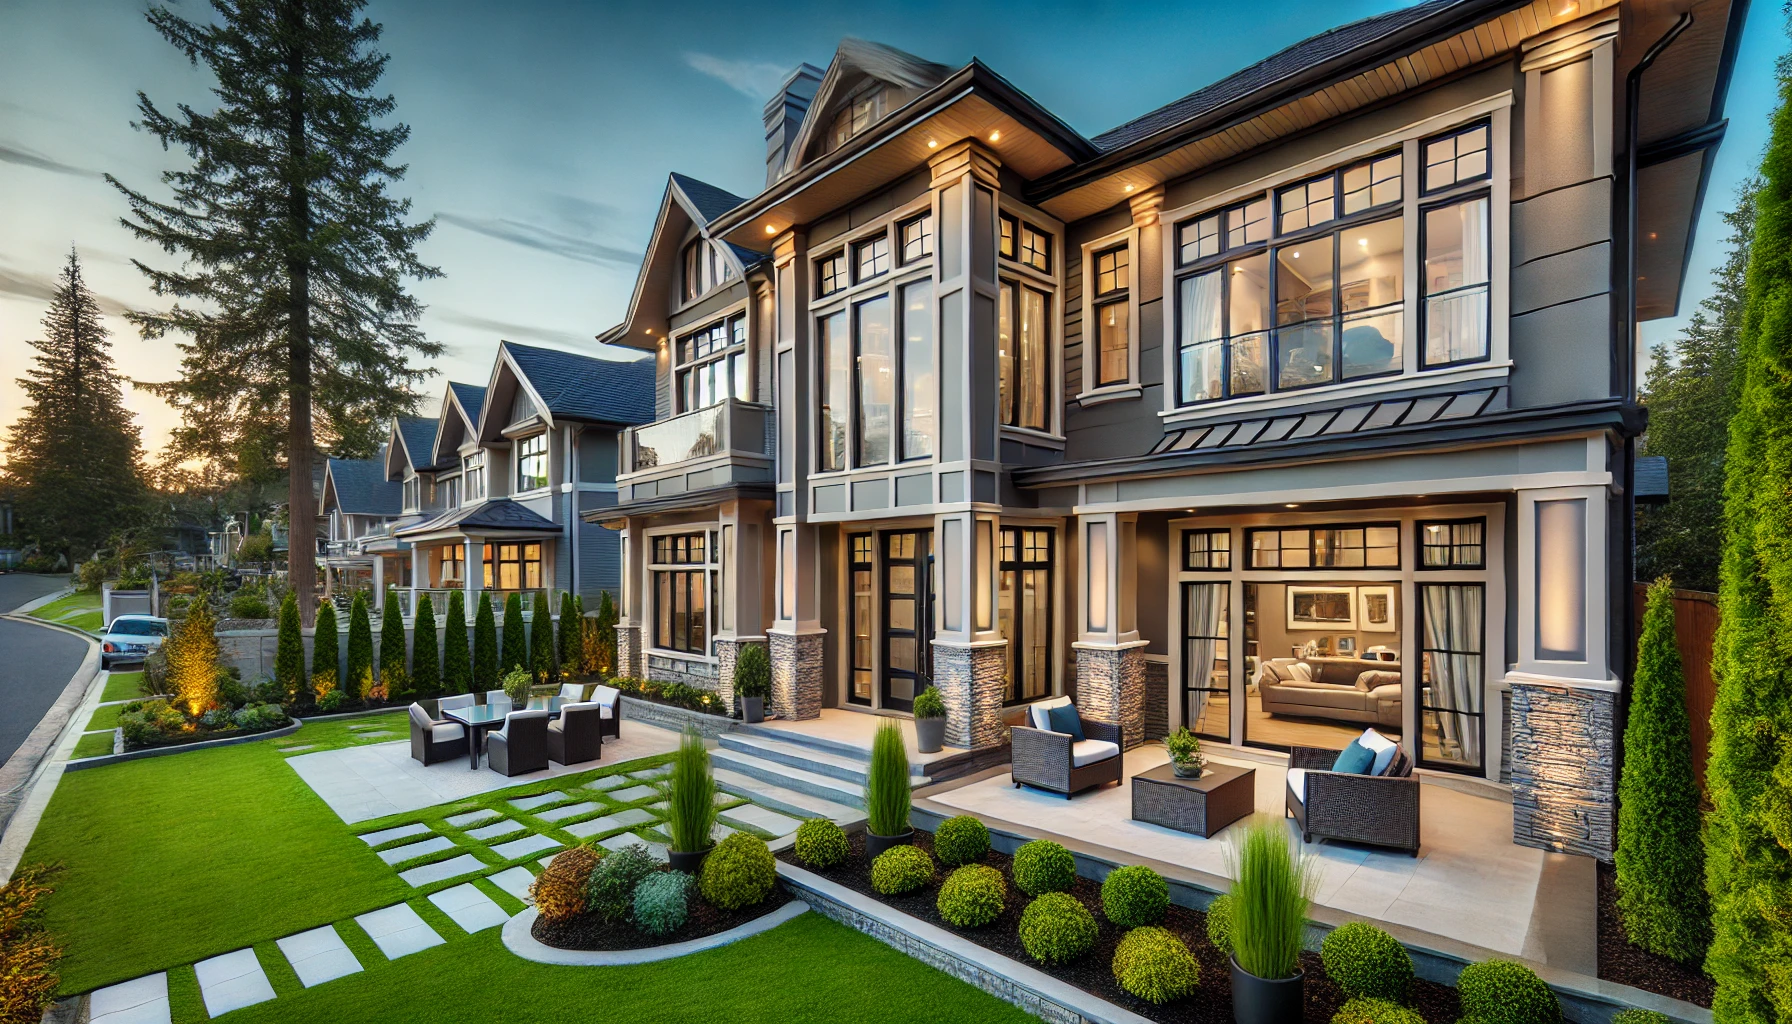
[Image: Professional Exterior Finishing Work in Progress]
Key Steps in Exterior Finishes
These are the critical steps involved in creating a beautiful, weather-resistant exterior that enhances your property’s value:
1. Weather-Resistant Barrier Installation
Install house wrap and flashing to create a critical moisture barrier underneath siding materials. This essential weather-proofing layer prevents water infiltration while allowing the building to breathe.
- House wrap application: Install with minimum 6″ overlap at horizontal seams, 12″ at corners, secured with cap nails (not staples) every 12″-18″, with all seams taped using manufacturer-approved tape
- Flashing installation: Apply self-adhesive flashing at windows and doors in proper sequence (sill → jambs → head) with minimum 1″ overlap onto face of house wrap, extending minimum 4″ beyond openings
- Penetration treatment: Seal all utility penetrations with specialized flashing boots or flexible flashing tape with minimum 1″ overlap onto house wrap, creating watertight barrier
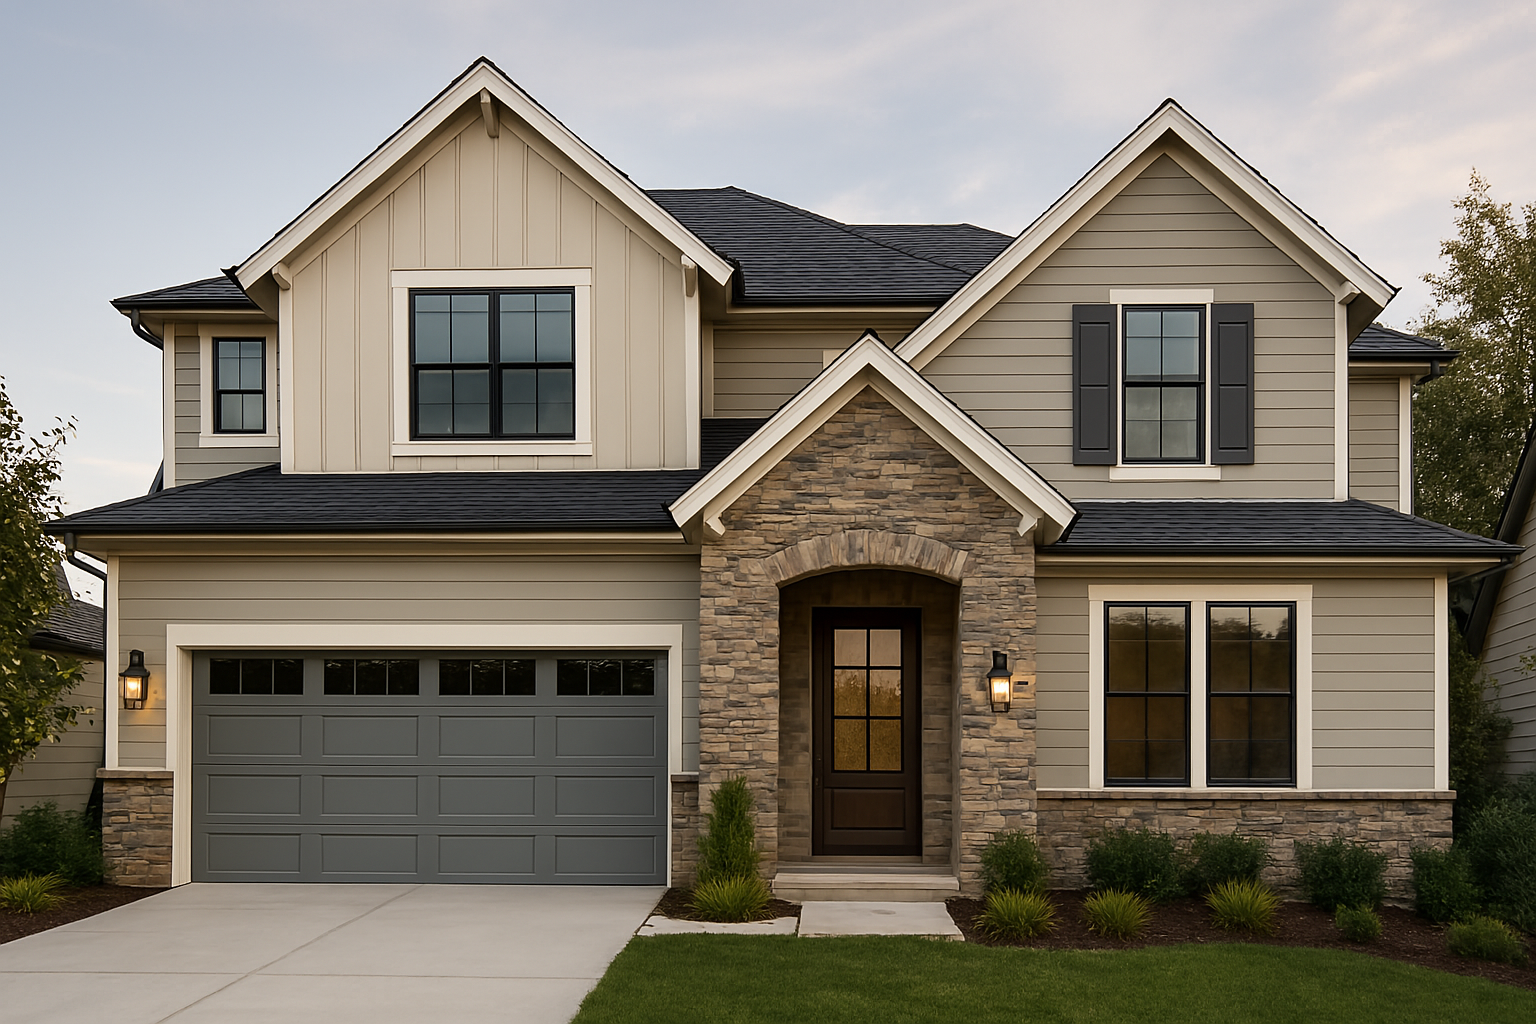
2. Siding Material Selection and Preparation
Choose appropriate siding materials based on climate, aesthetic preferences, maintenance requirements, and budget considerations. Proper material selection dramatically impacts both appearance and long-term performance.
- Material options: Evaluate fiber cement (30-50 year lifespan, fire-resistant), vinyl (20-40 year lifespan, low maintenance), engineered wood (30+ year warranty, authentic appearance), natural wood (traditional appearance, higher maintenance), or stucco (extremely durable, regional appropriateness)
- Climate considerations: Select materials rated for your specific climate zone – impact-resistant in hail-prone areas, fade-resistant in high-UV regions, freeze-thaw resistant in cold climates
- Acclimation requirements: Allow natural wood siding to acclimate on-site for minimum 72 hours, fiber cement for 24-48 hours prior to installation to prevent warping or improper fit
3. Professional Siding Installation
Install siding materials with proper techniques to ensure weather protection, optimal appearance, and maximum lifespan. Installation quality directly impacts both performance and aesthetic appeal.
- Starter strip installation: Secure starter strips perfectly level (maximum 1/8″ deviation over 20′) at foundation, with minimum 6″ clearance above grade for moisture protection
- Panel installation: Install with precise spacing (1/8″ gap for fiber cement, 1/4″ for wood, manufacturer-specified overlap for vinyl) using appropriate fasteners (galvanized/stainless for wood, roofing nails for fiber cement, specialized clips for vinyl)
- Cutting techniques: Use specialized tools for dust control (fiber cement shears or circular saw with HEPA vacuum), score-and-snap methods for vinyl, carbide-tipped blades for engineered wood
4. Exterior Trim and Detail Work
Install corner boards, window/door trim, fascia, soffits, and decorative elements to enhance architectural features and provide critical protection at vulnerable transition points.
- Corner installation: Apply corner boards/trim prior to siding with minimum 2″ wider profile than siding exposure, secured every 16″ with proper flashing behind, leaving 1/8″ gap at bottom for water release
- Window/door trim: Install in specific sequence (sill → jambs → head) with proper slope on horizontal elements (minimum 5° pitch for water shedding) and proper caulking at all transitions
- Fascia and soffit application: Install continuous soffit ventilation (minimum 1 square foot of ventilation per 150 square feet of attic space) with solid blocking at fire separations, using specialized vented panels for proper airflow
5. Exterior Surface Preparation and Painting
Prepare and paint exterior surfaces to provide both protection and aesthetic appeal. Proper preparation is critical for paint adhesion and longevity in challenging outdoor environments.
- Surface cleaning: Power wash at 1500-2000 PSI with appropriate cleaning solutions (TSP substitute for general cleaning, diluted bleach solution for mildew), allowing full drying time (24-48 hours) before painting
- Primer application: Apply appropriate primer for substrate (oil-based for weathered wood, acrylic for fiber cement, bonding primer for properly prepared glossy surfaces) with brush/roller/sprayer as appropriate
- Paint selection: Use 100% acrylic exterior paint (minimum 2 coats) with proper sheen selection (satin/semi-gloss for trim, flat/low-luster for siding) and adequate dry time between coats (4-6 hours minimum, longer in humid conditions)
6. Outdoor Living Space Construction
Design and build decks, porches, and patios that extend your living space while complementing your home’s exterior design. These features add significant functionality and value to your property.
- Deck construction: Build with proper structural connections (minimum 1/2″ galvanized or stainless through-bolts at ledger attachment to house), code-compliant guardrails (36″ minimum height for residential, maximum 4″ spacing between balusters), and proper joist spacing for selected decking (12″-16″ for composite, 16″ for standard pressure-treated, 12″ for perpendicular installation pattern)
- Patio installation: Prepare base with minimum 4″-6″ of compacted gravel, 1″ sand bed, proper slope for drainage (1/4″ per foot away from house), using appropriate materials for climate (freeze-thaw resistant in cold regions)
- Design integration: Incorporate design elements that complement main structure through matching materials, complementary colors, and architectural detail repetition for cohesive appearance
7. Final Sealing and Weather Protection
Apply appropriate caulking, sealants, and protection measures to vulnerable areas. Proper sealing extends the life of exterior finishes and prevents moisture intrusion that can damage the building envelope.
- Caulking application: Use high-quality exterior-grade silicone or polyurethane caulk (minimum 35-year rating) at all material transitions, focusing on upward-facing joints and areas susceptible to water entry
- Expansion joint treatment: Install proper expansion joints every 12′-16′ for stucco or masonry veneers, backed with backer rod and sealed with flexible sealant rated for 50% movement capacity
- Weather protection verification: Confirm all wall penetrations are properly flashed and sealed, with kick-out flashing at roof-wall intersections and proper drip edges at all horizontal terminations
Who Handles Exterior Finishes?
Exterior finishing requires specialized professionals with proper training, equipment, and expertise:
- Siding Contractors: Specialize in the installation of specific siding materials with knowledge of proper flashing, fastening, and detailing techniques for weather-tight installation
- Exterior Trim Carpenters: Install decorative and functional trim elements with precision joints, proper flashing integration, and weather-resistant attachment methods
- Stucco Applicators: Apply traditional or synthetic stucco systems with proper substrate preparation, control joint installation, and multi-layer application techniques
- Exterior Painters: Prepare, prime, and paint exterior surfaces using specialized equipment, proper surface preparation methods, and appropriate product selection for climate conditions
- Masonry Contractors: Install stone, brick, and other masonry veneer products with proper moisture barriers, weep systems, and structural attachments
- Deck and Outdoor Living Specialists: Design and construct code-compliant decks, porches, and outdoor living spaces that integrate with the home’s architecture and provide functional extensions of the living area
- Building Envelope Consultants: Provide expert advice on moisture management, flashing details, and proper integration of all exterior components to prevent water intrusion
Time & Cost Estimates
The timeline and budget for exterior finishing work vary based on home size, material selections, and architectural complexity. Here are detailed estimates for each major phase:
| Exterior Component | Estimated Time | Estimated Cost | Key Value Points |
|---|---|---|---|
| Weather Barrier Installation | 2–4 days | $1,800–$4,200 | Creates critical moisture protection beneath siding |
| Siding Installation | 5–12 days | $9,000–$28,000 | Provides primary weather protection and visual impact |
| Exterior Trim Work | 3–7 days | $3,500–$12,000 | Adds architectural detail and protects transitions |
| Exterior Painting | 4–8 days | $4,000–$12,500 | Creates finished appearance and weather protection |
| Deck/Porch Construction | 5–14 days | $6,500–$22,000 | Extends living space and enhances functionality |
| Final Sealing/Detailing | 1–3 days | $800–$2,500 | Ensures water-tight transitions between components |
| Total Estimates | 20–48 days | $25,600–$81,200 | Complete exterior system with weather protection |
These cost estimations provide a general guideline and cover a range from basic to mid-tier builds. They may not reflect costs for high-end or luxury projects. For more precise estimates, consult with professionals based on your specific requirements.
Cost-Saving Tips
Optimize your exterior finishing investment with these expert strategies:
- Material selection strategy: Consider vinyl siding for primary elevations (approximately $4-$7 per sq.ft installed) compared to fiber cement ($9-$12 per sq.ft installed) or natural wood ($8-$14 per sq.ft installed), potentially saving 30-50% on material costs
- Architectural focusing: Concentrate premium materials and detailed trim work on the front elevation where visual impact is greatest, using simpler approaches on less visible elevations while maintaining a cohesive design
- Phased implementation: Complete weatherproofing and siding work initially, then phase in exterior amenities like decks and patios over time to distribute costs while maintaining property protection
- Maintenance reduction approach: Select low-maintenance options (vinyl, fiber cement, composite decking) that eliminate recurring painting/staining costs, potentially saving $8,000-$15,000 over a 15-year period
- Energy efficiency incentives: Incorporate insulated siding products or continuous insulation that may qualify for energy rebates or tax incentives, offsetting 10-30% of material costs while improving building performance
- Off-season scheduling: Book exterior work during contractors’ slower seasons (typically late fall or winter in many regions) to secure 10-15% discounts on labor while ensuring greater contractor availability
Summary: Your Exterior Finishes Action Plan
1. Prioritize Weather Protection
Focus first on creating a complete weather-resistant barrier system with proper flashing, house wrap, and water management details. These critical components prevent moisture intrusion that can compromise your entire building envelope and lead to costly repairs.
2. Select Materials for Your Specific Climate
Choose exterior materials specifically engineered for your local conditions, whether that’s high-UV exposure, extreme temperature fluctuations, heavy precipitation, or coastal salt exposure. The right materials will maintain their appearance and performance far longer in challenging environments.
3. Invest in Quality Installation
Partner with experienced contractors who specialize in your specific siding material and exterior finish systems. Proper installation techniques often matter more than the materials themselves in determining long-term performance and appearance.
Your home’s exterior finishes provide both critical protection and significant visual impact. Following these professional guidelines ensures that your exterior will maintain its appearance, resist weather damage, and enhance your property’s value for years to come.
Complete Your Exterior Finishes With Confidence
Track Your Progress: Monitor your exterior finishing milestones with our interactive tools
Stay Notified: Receive alerts for material deliveries, contractor scheduling, and critical inspection points
Step-by-Step Guidance: Follow detailed instructions on proper installation techniques, material selection, and quality verification
Reduce Stress: Keep all specifications, warranty information, and maintenance guidelines organized in one secure location
Whether you’re completing a new build or renovating an existing home, professional exterior finishes transform your property’s appearance while providing essential protection against the elements. Explore our Step-by-Step Builds, Step-by-Step Buys, and Step-by-Step Invest resources for more expert guidance.
When building your own home, always do your due diligence. Consult the professionals you’ve hired—such as your architect, subcontractors, or engineers—and confirm that your work complies with all local building codes and inspections required in your country, state, or province. Builds and Buys is for educational purposes only. Always verify with licensed professionals.
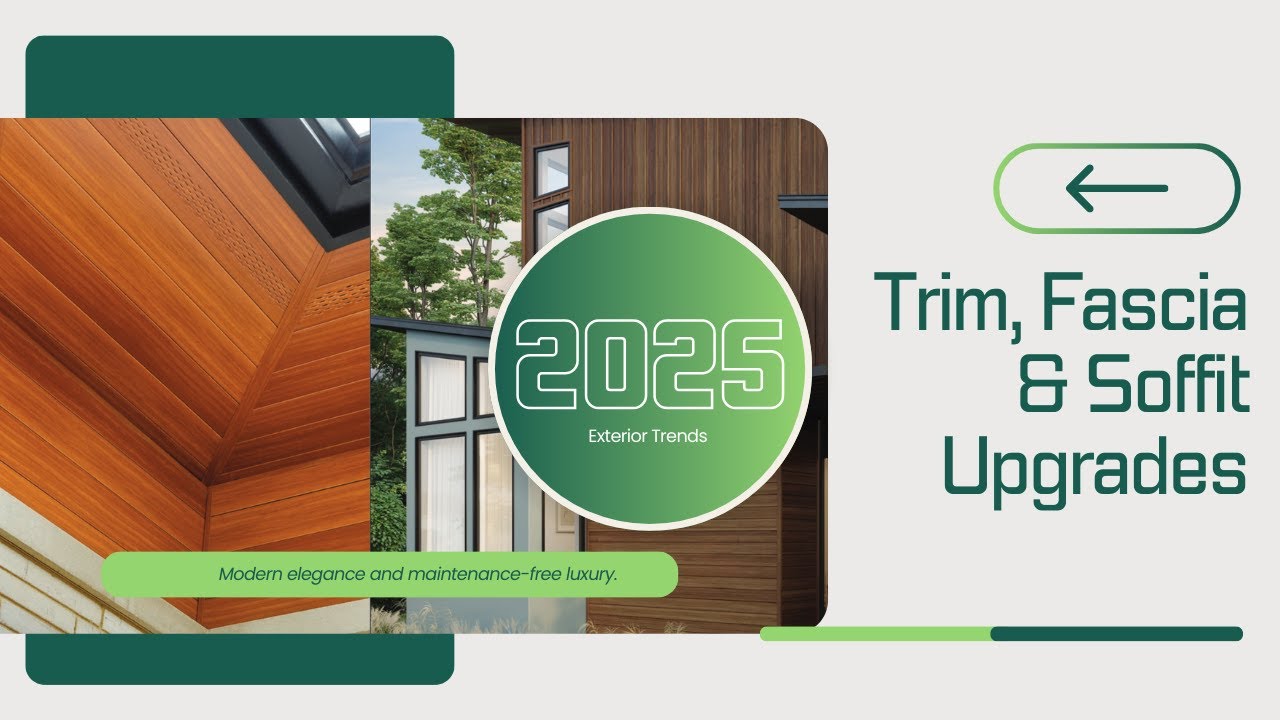
Exterior Design Trends | Architectural Design
Im stepping outside the house today and presenting to you some house exterior design trends. This has been something I have been admiring and as a designer I am often brought in to help with these selections. So I thought I would do something a little different and share with you some Exterior Design Trends that we are seeing currently.
Check out more informative Videos

News And Knowledge
Stay informed with the latest trends, insights, and updates in the real estate world.


Your Tools
Access your tools to manage tasks, update your profile, and track your progress.


Collaboration Feed
Engage with others, share ideas, and find inspiration in the Collaboration Feed.