Framing Task Page
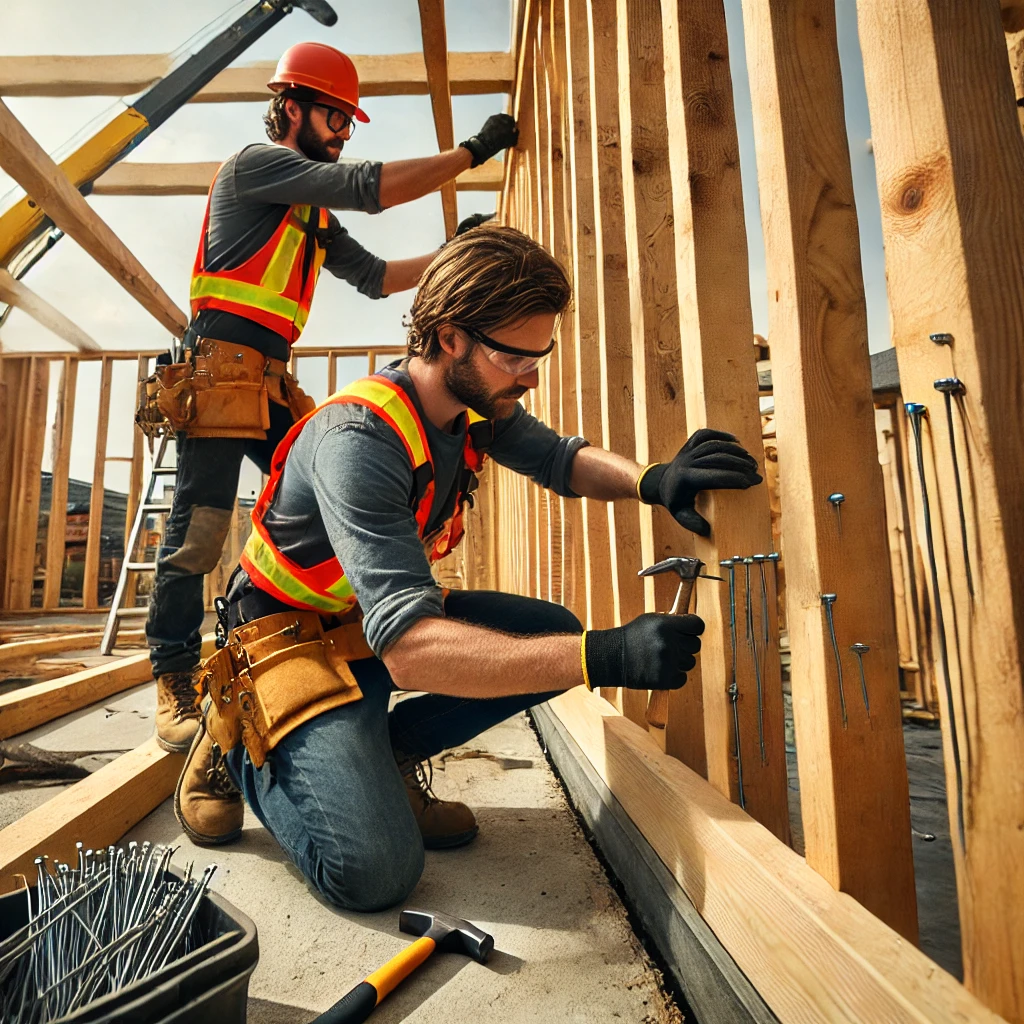
This section walks you through the **step-by-step process** of constructing the structural frame for your building. Proper framing ensures **stability, durability, and alignment** for walls, floors, and roofs.
- Track Your Progress: Mark each stage of framing completion to stay organized.
- Stay Notified: Receive alerts for inspections, material deliveries, and key construction phases.
- Step-by-Step Guidance: Follow detailed instructions for wall framing, floor joist installation, and roof trusses.
- Ensure Structural Strength: Learn best practices to reinforce framing and prevent alignment issues.
Whether you're constructing **a single-story home, multi-level building, or adding structural reinforcements**, this section provides the essential guidance to **build a secure and lasting frame**.

Wall and Floor Framing
This section helps you track and complete the **essential tasks** required for **wall and floor framing**. Use this guide to **measure, cut, and assemble framing components** to ensure structural stability.
Who to Hire:
Framing Carpenter, General Contractor, Structural Engineer
Cost-Saving Tips:
- Use **pre-cut lumber** or engineered wood products to save time and reduce waste.
- Rent framing tools like **nail guns and saws** instead of purchasing them for a one-time project.
- Plan the framing layout carefully to minimize material waste and optimize efficiency.
Measure and Mark the Layout for Walls and Floors
Measure and mark the locations for walls and floors according to the blueprint.
Why It Matters: Ensures framing is aligned correctly, preventing costly misalignments.
Who to Talk To: General Contractor, Framing Carpenter.
Contact Information (E.G. People involved with Task)
Cut Studs and Joists to the Specified Dimensions
Cut the necessary studs and joists to the required dimensions for framing.
Why It Matters: Precise cutting ensures structural integrity and prevents material waste.
Who to Talk To: Framing Carpenter, Site Supervisor.
Contact Information (E.G. People involved with Task)
Assemble Wall Sections and Install Floor Joists
Assemble the wall sections and install the floor joists to complete the framing.
Why It Matters: Ensures stability and load-bearing capacity for the building structure.
Who to Talk To: Framing Contractor, Structural Engineer.
Contact Information (E.G. People involved with Task)
Roof Framing
Construct the roof structure, including **rafters and trusses**. Follow these steps for **proper installation** to ensure a secure and well-supported roof.
Who to Hire:
Roof Framing Contractor, Framing Carpenter, Structural Engineer
Cost-Saving Tips:
- Use **pre-fabricated trusses** to save labor time and reduce costs.
- Buy **lumber in bulk** for cost savings on rafters and joists.
- Rent a **nail gun and saws** instead of purchasing them for one-time use.

Measure and Cut Rafters or Install Pre-Fabricated Trusses
Measure and cut rafters or install pre-fabricated trusses to the specified dimensions.
Why It Matters: Ensures the roof structure is properly supported and aligned for stability.
Who to Talk To: Roof Framing Contractor, Structural Engineer.
Contact Information (E.G. People involved with Task)
Secure Rafters or Trusses to Wall Plates
Ensure the rafters or trusses are securely fixed to the wall plates.
Why It Matters: Prevents shifting or collapse and ensures the roof withstands high winds and loads.
Who to Talk To: Framing Contractor, Roofing Specialist.
Contact Information (E.G. People involved with Task)
Install Sheathing (Plywood or OSB) Over the Roof Frame
Install plywood or OSB sheathing over the roof frame for stability and to support the roof covering.
Why It Matters: Provides structural stability and a solid base for the roofing materials.
Who to Talk To: Roofing Contractor, Framing Specialist.
Contact Information (E.G. People involved with Task)

Sheathing Installation
Attach sheets of **plywood or OSB** to the exterior walls and roof. Follow these steps to ensure proper **alignment, fastening, and structural integrity**.
Who to Hire:
Framing Contractor, Carpenter, General Contractor
Cost-Saving Tips:
- Buy **pre-cut sheathing panels** to reduce cutting time and minimize material waste.
- Use **OSB sheathing** instead of plywood for a budget-friendly alternative.
- Rent a **nail gun** to speed up installation instead of hammering each nail manually.
Cut and Fit Sheathing Panels to the Appropriate Size
Measure and cut the sheathing panels to fit the structure.
Why It Matters: Properly cut panels ensure structural strength and prevent misalignment.
Who to Talk To: Framing Contractor, Carpenter.
Contact Information (E.G. People involved with Task)
Nail or Screw Panels to the Framing
Attach the cut panels securely to the framing with nails or screws.
Why It Matters: A secure attachment prevents movement and reinforces the structure.
Who to Talk To: Framing Contractor, General Contractor.
Contact Information (E.G. People involved with Task)
Ensure Panels Are Flush and Free of Gaps
Check that all panels are aligned correctly and flush with each other.
Why It Matters: Proper alignment strengthens the structure and improves weather resistance.
Who to Talk To: Site Supervisor, Carpenter.
Contact Information (E.G. People involved with Task)
Temporary Bracing
Add **temporary supports** to ensure the structure remains stable during construction. Follow these steps to properly **install, secure, and remove** bracing.
Who to Hire:
Framing Contractor, Site Supervisor, General Contractor
Cost-Saving Tips:
- Use **reclaimed lumber** for temporary bracing to cut costs.
- Rent **adjustable bracing supports** instead of purchasing them for short-term use.
- Plan bracing removal carefully to **reuse materials** elsewhere on-site.

Install Diagonal Bracing to Stabilize Walls
Install temporary diagonal bracing to stabilize the walls during construction.
Why It Matters: Prevents structural movement and ensures the frame remains level and plumb.
Who to Talk To: Framing Contractor, Site Supervisor.
Contact Information (E.G. People involved with Task)
Secure Braces Using Nails or Screws
Ensure that the braces are securely attached with nails or screws to prevent movement.
Why It Matters: Proper fastening keeps the structure stable and prevents collapse during high winds or shifts.
Who to Talk To: Carpenter, General Contractor.
Contact Information (E.G. People involved with Task)
Remove Braces After Framing is Completed and Stable
Once the framing is done and stable, remove the temporary braces.
Why It Matters: Prevents unnecessary obstructions once the structure is self-supporting.
Who to Talk To: Site Supervisor, Framing Crew.
Contact Information (E.G. People involved with Task)

Windows and Door Frames
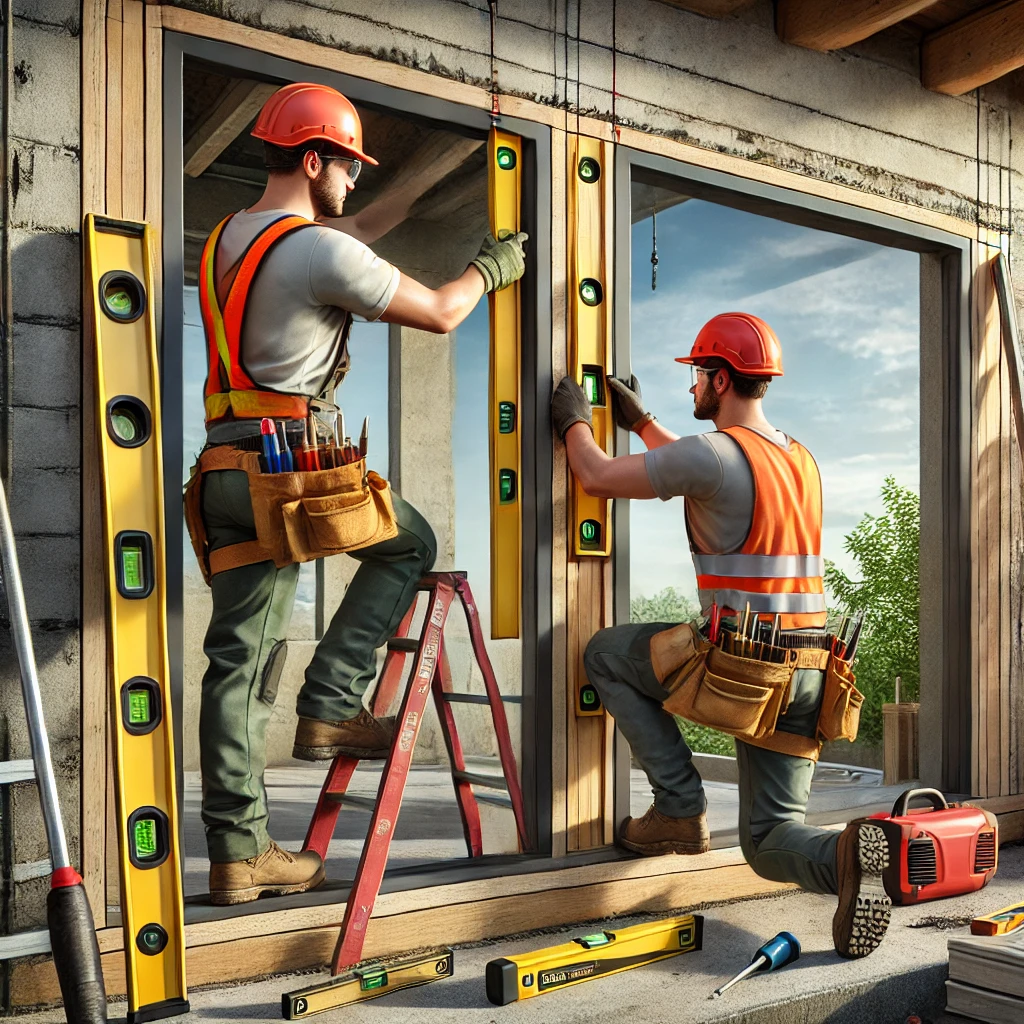
Install frames for windows and doors into the wall structure. Follow these steps to ensure correct installation.
Who to Hire:
Framing Carpenter, General Contractor, Window and Door Installer
Cost-Saving Tips:
- Buy Use **pre-framed window and door units** to speed up installation.
- Use Buy **standard-sized windows and doors** to avoid costly custom orders.
- Rent a **nail gun** to speed up installation instead of hammering each nail manually.
Measure and Mark Locations for Windows and Doors
Measure and mark where the windows and doors will be installed.
Why It Matters: Proper measurements prevent misalignment and ensure a smooth window and door installation.
Who to Talk To: Framing Carpenter, Site Supervisor.
Contact Information (E.G. People involved with Task)
Install Rough Openings Using Headers, Trimmers, and Sill Plates
Install headers, trimmers, and sill plates to form rough openings for the windows and doors.
Why It Matters: Ensures window and door openings are structurally sound and capable of supporting loads.
Who to Talk To: Framing Contractor, General Contractor.
Contact Information (E.G. People involved with Task)
Ensure All Frames Are Level and Plumb
Double-check that all window and door frames are level and plumb for correct installation.
Why It Matters: Ensures that doors and windows function correctly without gaps or misalignment.
Who to Talk To: Framing Carpenter, Window and Door Installer.


