💡 Recessed Lighting Cost Guide 2026
Modern illumination solutions with professional installation pricing
💰 Recessed Lighting Cost Overview
Per Light
6-Light Package
New Construction
Retrofit Install
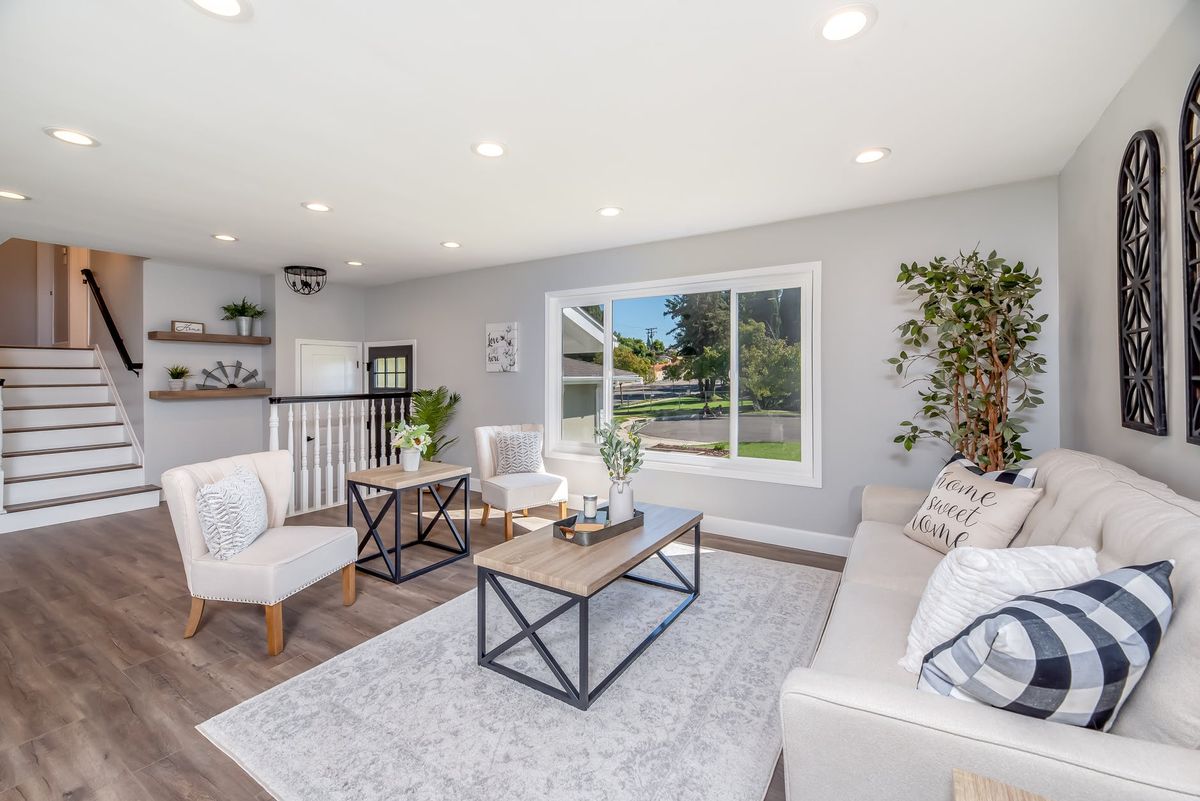
Professional Recessed Lighting Installation Example
Recessed Lighting Types & Pricing
Complete breakdown of can lights, LED options, and smart features
Recessed Light Types & Costs
| Light Type | Fixture Cost | Installation | Total Per Light | Energy Use |
|---|---|---|---|---|
| Standard LED Can | $20 – $40 | $100 – $150 | $120 – $190 | 9-15 watts |
| Smart LED | $40 – $80 | $100 – $150 | $140 – $230 | 9-15 watts |
| Gimbal/Adjustable | $30 – $60 | $120 – $170 | $150 – $230 | 10-20 watts |
| Ultra-Thin LED | $25 – $50 | $80 – $120 | $105 – $170 | 6-12 watts |
| IC-Rated (Insulation) | $35 – $60 | $120 – $180 | $155 – $240 | 10-15 watts |
| Wet-Rated (Shower) | $40 – $80 | $150 – $200 | $190 – $280 | 10-15 watts |
| High-Output | $50 – $100 | $120 – $180 | $170 – $280 | 20-30 watts |
| Color-Changing RGB | $60 – $120 | $120 – $180 | $180 – $300 | 12-20 watts |
Critical Installation Considerations
Electrical capacity check first! Each circuit handles 10-12 lights maximum. New circuit installation adds $300-500. Attic access saves 30-50% on labor. No attic access requires cutting/patching drywall ($50-100 per light extra). Insulation contact (IC) rating required near insulation. Air-tight (AT) rating for energy efficiency. Dimmer compatibility crucial – check LED specs. Junction boxes required by code. Spacing typically 4-6 feet apart. Never install closer than 18″ to walls. Sloped ceiling kits add $20-40 per fixture. Consider future smart home integration!
Room-by-Room Lighting Plans
Optimal recessed lighting layouts for every space
Recommended Light Quantities by Room
| Room Type | Room Size | # of Lights | Spacing | Total Cost |
|---|---|---|---|---|
| Living Room | 15×20 ft | 6-8 lights | 5-6 ft apart | $900 – $1,600 |
| Kitchen | 12×15 ft | 6-10 lights | 4-5 ft apart | $900 – $2,000 |
| Master Bedroom | 14×16 ft | 4-6 lights | 6-7 ft apart | $600 – $1,200 |
| Bathroom | 8×10 ft | 2-4 lights | 4-5 ft apart | $400 – $1,000 |
| Hallway | 4×20 ft | 3-4 lights | 6-8 ft apart | $450 – $800 |
| Home Office | 10×12 ft | 4 lights | 5-6 ft apart | $600 – $800 |
Installation Complexity Factors
| Factor | Easy Install | Moderate | Difficult | Cost Impact |
|---|---|---|---|---|
| Ceiling Type | Drywall, attic access | Plaster, limited access | Concrete, no access | +$0-100/light |
| Wiring | Existing switch | New switch needed | New circuit required | +$0-500 total |
| Ceiling Height | 8-9 feet | 10-12 feet | Vaulted/Cathedral | +$0-50/light |
| Obstacles | Clear joist space | Some pipes/ducts | Major rerouting | +$0-200/light |
Light Size & Style Options
Choosing the right size and trim for your space
Popular Recessed Light Sizes
4-Inch Lights
Best for:
• Task lighting
• Accent lighting
• Small rooms
• Modern look
Output: 400-800 lumens
Cost: $100-150/light
5-Inch Lights
Versatile option:
• General lighting
• Medium rooms
• Good coverage
• Popular choice
Output: 600-1000 lumens
Cost: $120-180/light
6-Inch Lights
Traditional size:
• Maximum light
• Large rooms
• High ceilings
• Classic look
Output: 800-1400 lumens
Cost: $150-200/light
Trim Styles
Options include:
• Baffle (reduces glare)
• Reflector (more light)
• Gimbal (adjustable)
• Decorative
Cost add: $10-50
Impact: Style & function
Color Temperature
Light warmth:
• 2700K – Warm white
• 3000K – Soft white
• 4000K – Cool white
• 5000K – Daylight
Living rooms: 2700-3000K
Kitchens: 3000-4000K
Dimming Options
Control types:
• Standard dimmer: $20-40
• Smart dimmer: $40-80
• 0-10V dimming: $60-100
• Scene control: $100+
Note: LED compatibility key
Saves: Energy & bulb life
Installation Process & Timeline
What to expect during recessed lighting installation
Typical Installation Timeline
| Phase | Time per Light | 6-Light Project | Tasks | Mess Level |
|---|---|---|---|---|
| Planning | 5-10 min | 30-60 min | Layout, marking | None |
| Cutting | 10-15 min | 1-1.5 hours | Hole saw work | Moderate dust |
| Wiring | 20-30 min | 2-3 hours | Running cables | Low |
| Mounting | 10-15 min | 1-1.5 hours | Securing fixtures | Low |
| Testing | 5 min | 30 min | Function check | None |
| Total | 50-75 min | 5-7 hours | Complete install | – |
Real Estate Investment Analysis
Recessed lighting ROI for property value
Primary Residence
Value add:
• Modernizes dated rooms
• 70-80% cost recovery
• Energy savings bonus
Priority rooms: Kitchen, living
Budget: Quality over quantity
Rental Property
Practical benefits:
• Low maintenance LEDs
• No fixtures to damage
• Modern appeal
Focus: Common areas
Skip: Bedrooms usually
Fix & Flip
Quick impact:
• Shows modern updates
• Photographs well
• Expected by buyers
Min install: Kitchen + living
ROI: 80-100%
DIY vs Professional Installation
Understanding when to tackle it yourself
Installation Method Comparison
DIY Considerations
Requirements:
• Electrical knowledge
• Attic access ideal
• Basic tools: $150
• Time: 2x professional
Savings: 50-60%
Risk: Code violations
Professional Benefits
Advantages:
• Code compliance guaranteed
• Warranty included
• Problem solving
• Clean installation
Time: One day typical
Peace of mind: Worth it
Electrical Requirements
Code basics:
• 15-amp circuit typical
• GFCI in wet areas
• Junction box each light
• Proper wire gauge
Permit: Usually required
Cost: $50-200
DIY Tool List
Essential tools:
• Hole saw kit: $30-60
• Wire stripper: $20
• Voltage tester: $20
• Fish tape: $30
• Stud finder: $40
Total: $140-200
Common DIY Mistakes
Avoid these:
• Wrong hole placement
• Overloading circuits
• Poor wire connections
• Ignoring insulation
• Uneven spacing
Result: Costly fixes
Hybrid Approach
Best of both:
• Electrician runs wiring
• DIY cut holes
• DIY install trims
• Pro final connections
Saves: 30-40%
Safety: Maintained
Money-Saving Strategies
Bright ideas for budget-friendly lighting upgrades
Bulk Purchasing
Buy all lights at once for 20-30% discount. Same brand/model ensures consistency. Online retailers often cheaper than stores. Contractor packs save money. Watch for LED rebates from utility companies.
Strategic Installation
Do all rooms at once – saves mobilization costs. Combine with other electrical work. Install during renovation for easy access. Use existing switch locations when possible. Retrofit kits avoid ceiling damage.
Smart Alternatives
LED retrofit kits for existing cans save 70%. Wireless switches avoid rewiring costs. Battery-powered under-cabinet lights for tasks. Track lighting easier in some situations. Solar tubes for natural light.
Energy Incentives
Check utility rebates – often $5-10 per LED. Energy Star fixtures qualify for tax credits. Calculate 75% energy savings over incandescent. Smart controls increase savings. Document for home sale value.
Prioritize Rooms
Kitchen provides most value – start there. Skip closets and utility spaces. Living areas next priority. Bathrooms need fewer lights. Bedrooms often fine with lamps.
Installation Timing
New construction 50% cheaper than retrofit. During drywall phase ideal. Before insulation goes in. Combine with ceiling repairs. Winter rates often lower.
Frequently Asked Questions
Expert answers about recessed lighting
💡 Ready to Brighten Your Living Space?
Find qualified electricians for your recessed lighting project

Knowledge Quiz: Recessed Lighting Cost Guide
Open Quiz
5 quick questions - see how much you learned!
1) What is the typical cost per recessed light for standard installation?
Answer: B
The "Recessed Lighting Cost Overview" lists $150 – $200 per light for standard installation. Retrofit installs can run higher depending on access and ceiling repairs.
2) What is the typical cost range for the most common 6-light recessed lighting package?
Answer: C
Your guide calls out the 6-light package as most common at $800 – $1,200. The timeline also estimates a 6-light project typically takes about 5–7 hours.
3) CRITICAL: How many recessed lights can a typical circuit handle before you risk overload?
Answer: A
The "Critical Installation Considerations" warn that each circuit handles 10–12 lights maximum. If you need more, a new circuit may be required, adding $300–$500.
4) CRITICAL: What extra cost may be added per light if there is NO attic access for wiring?
Answer: D
The guide states that no attic access requires cutting and patching drywall, which adds $50–$100 per light extra. Attic access can save 30–50% on labor.
5) CRITICAL: How far from walls should recessed lights be installed (minimum distance)?
Answer: B
Your spacing rules include: lights typically 4–6 feet apart and never closer than 18" to walls. This avoids harsh “wall wash” glare and keeps lighting even.
🏠 More Living Room Improvement Guides
Explore our complete living room renovation library
View All Living Room Guides (20) ▼
🏠 Flooring & Surfaces
💡 Lighting & Electrical
🪟 Windows & Doors
🔥 Fireplace & Focal Points
📚 Built-Ins & Storage
🏛️ Architectural Features
Last updated: Jan 2026
Sources: National Electrical Contractors Association, Energy Star, Lutron Lighting Control, CNET Smart Home Reviews, Professional Electrician Surveys 2026, Builds and Buys Research Team