🏛️ Tray Ceiling Cost Guide 2026
Complete pricing for adding elegance and height to your bedroom
💰 Tray Ceiling Cost Overview
Basic Tray
With Lighting
Decorative
Per Square Foot
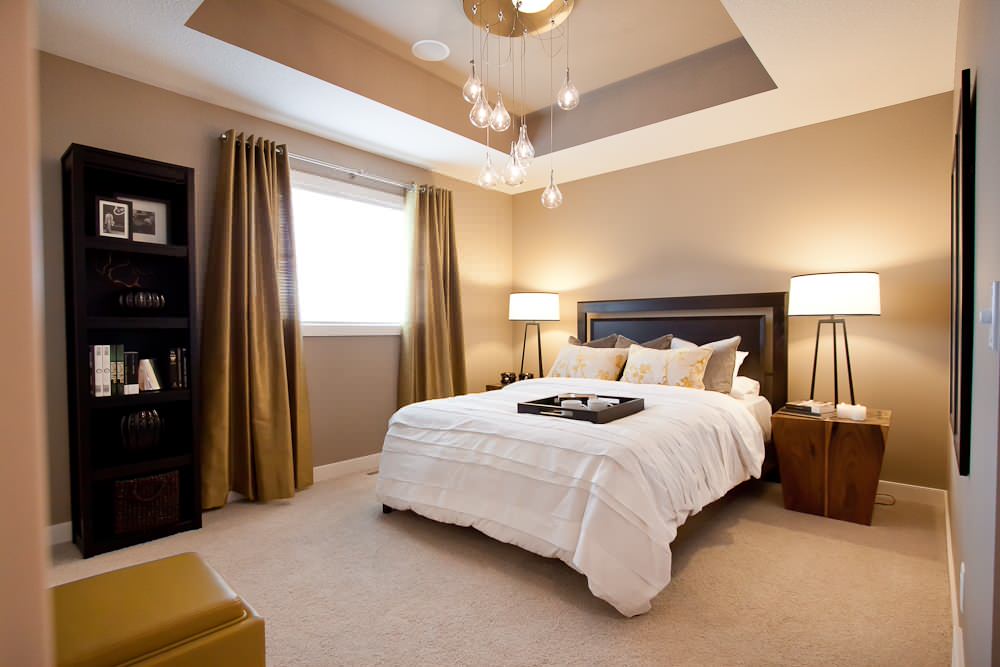
Tray Ceiling Example (Master Bedroom with Cove Lighting)
Tray Ceiling Styles & Complete Costs
Every design option with total installation pricing
Complete Tray Ceiling Installation Costs
| Style Type | Material Cost | Labor Cost | Total Cost | Best For |
|---|---|---|---|---|
| Basic Single Tray | $150 – $300 | $350 – $500 | $500 – $800 | Simple elegance |
| Double/Stepped Tray | $250 – $500 | $550 – $800 | $800 – $1,300 | Extra dimension |
| Cove Lighting Tray | $400 – $700 | $600 – $800 | $1,000 – $1,500 | Ambient lighting |
| Inverted Tray | $300 – $600 | $700 – $1,000 | $1,000 – $1,600 | Unique depth |
| Coffered Tray | $800 – $1,500 | $1,200 – $2,000 | $2,000 – $3,500 | Luxury detail |
| Vaulted Tray | $600 – $1,200 | $1,000 – $1,800 | $1,600 – $3,000 | Maximum height |
| Painted Design Tray | $200 – $400 | $500 – $900 | $700 – $1,300 | Color accent |
| Wood Beam Tray | $1,000 – $2,000 | $800 – $1,500 | $1,800 – $3,500 | Rustic charm |
Critical Height Requirements
Minimum ceiling heights for tray installation: Standard 8-foot ceiling: Not recommended (feels cramped), 9-foot ceiling: 4-6″ tray depth maximum, 10-foot ceiling: 8-12″ tray depth ideal, 12+ foot ceiling: Multiple tray levels possible. Building codes require minimum 7’6″ finished ceiling height in bedrooms. Tray reduces height by depth amount. Existing HVAC ducts, plumbing, or electrical in ceiling may prevent installation. Always verify clearances first!
Lighting Options & Costs
Illuminating your tray ceiling for maximum impact
Integrated Lighting Solutions
| Lighting Type | Fixture Cost | Installation | Total Cost | Effect |
|---|---|---|---|---|
| LED Rope Light | $50 – $150 | $200 – $300 | $250 – $450 | Continuous glow |
| LED Strip Lights | $100 – $300 | $200 – $400 | $300 – $700 | Even illumination |
| Recessed Can Lights | $150 – $300 | $400 – $600 | $550 – $900 | Spot lighting |
| Chandelier + Uplighting | $300 – $1,000 | $300 – $500 | $600 – $1,500 | Dramatic focal point |
| Color-Changing RGB | $200 – $500 | $300 – $500 | $500 – $1,000 | Mood lighting |
| Smart Lighting System | $400 – $800 | $400 – $600 | $800 – $1,400 | Full control |
Construction Methods & Materials
| Construction Type | Material | Cost/sq ft | Pros | Cons |
|---|---|---|---|---|
| Drywall Build-Down | Gypsum board | $2 – $4 | Smooth, paintable | Reduces height |
| Framing Build-Up | 2×4 lumber | $3 – $5 | Strong, versatile | More labor |
| Plaster Molding | Decorative plaster | $5 – $10 | Ornate details | Expensive, fragile |
| MDF Panels | Medium density fiber | $3 – $6 | Smooth, consistent | Moisture sensitive |
| Wood Planking | Pine/cedar | $4 – $8 | Natural beauty | Expansion issues |
| Metal Frame | Steel studs | $4 – $7 | Perfectly straight | Special tools needed |
Installation Process & Complexity
Understanding what’s involved in creating a tray ceiling
Installation Methods
New Construction
Cost: $300 – $1,000
Process:
• Frame during construction
• No height loss
• Easier electrical work
• Perfect integration
• Any depth possible
• Most cost-effective
Retrofit Installation
Cost: $500 – $1,500
Process:
• Build down from existing
• Loses 6-12″ height
• Work around utilities
• More labor intensive
• Limited by clearance
• Dust and disruption
Raised Center Method
Cost: $1,000 – $2,500
Requirements:
• Attic access above
• Structural evaluation
• Possible joist work
• No height loss
• More complex
• Best visual result
Size Considerations
Room Dimensions:
• 10×10 room: $500-1,000
• 12×14 room: $700-1,400
• 16×20 room: $1,000-2,000
• Border width: 12-24″
• Depth: 6-12″ typical
• Symmetry critical
Electrical Requirements
For Lighting:
• New circuit: $200-500
• Dimmer switch: $50-150
• Junction boxes: $100-200
• Code compliance critical
• Professional required
• Permit often needed
Finishing Options
Decorative Choices:
• Paint contrast: $100-300
• Crown molding: $200-600
• Wallpaper inset: $200-500
• Faux finish: $300-800
• Gold leaf: $500-1,500
• Wood stain: $400-900
Design Guidelines & Best Practices
Creating the perfect tray ceiling for your bedroom
Design Proportions
| Room Size | Ideal Border Width | Max Depth | Lighting Type |
|---|---|---|---|
| 10×10 feet | 12-18 inches | 6-8 inches | Rope light only |
| 12×12 feet | 18-24 inches | 8-10 inches | Rope or recessed |
| 14×16 feet | 24-30 inches | 10-12 inches | Multiple options |
| 16×20 feet | 30-36 inches | 12-14 inches | Chandelier + cove |
| 20+ feet | 36-48 inches | 14-18 inches | Layered lighting |
Real Estate Investment Value
How tray ceilings impact property value and appeal
Primary Residence
ROI: 50-60%
Value Add: $1,500-3,000
Best Investment:
• Master bedroom only
• Include lighting
• Quality finishes
Rental Property
Impact: Minimal
Skip unless:
• Luxury rental market
• Competing amenities
• Corporate housing
• Focus on basics first
Fix & Flip
Market Appeal: Moderate
When Worth It:
• $400K+ homes
• Master suite only
• Competing listings have
• Quick paint upgrade
Room-by-Room Applications
Where tray ceilings work best in homes
Ideal Locations & Considerations
Master Bedroom
Priority: Highest
• Creates luxury feel
• Cove lighting for ambiance
• 8-10″ depth ideal
• Center on bed wall
• Dimmer essential
• Best ROI location
Dining Room
Priority: High
• Chandelier integration
• Defines dining space
• 10-12″ depth works
• Formal atmosphere
• Good for resale
• Consider medallion
Living Room
Priority: Medium
• Large rooms only
• Can feel overwhelming
• Subtle depth better
• Avoid in low ceilings
• Consider partial tray
• Match architecture
Bathroom
Priority: Low
• Moisture concerns
• Only luxury masters
• Proper ventilation critical
• Mold-resistant materials
• Usually not worth it
• Consider alternatives
Entry Foyer
Priority: High Impact
• First impression
• Can go dramatic
• Two-story opportunity
• Statement lighting
• Sets home tone
• Worth investment
Kids’ Bedrooms
Priority: Skip
• Poor ROI
• Collects dust
• Dating risk
• Height concerns
• Paint accent instead
• Save money here
Money-Saving Strategies
Get the tray ceiling look for less
Paint-Only Tray
Create illusion with paint! Use darker color on border area, lighter in center. Costs only $100-200 for dramatic effect. Add painted “shadow line” for depth.
DIY Prep Work
Remove furniture, protect floors, patch ceiling imperfections yourself. Prep work is 30% of labor cost. Professionals handle only construction and finishing.
Simple Lighting
LED rope light ($50) plus dimmer gives 80% of expensive cove lighting effect. Hide in simple L-bracket molding. Skip complex recessed lighting systems.
Partial Tray
Install tray on one wall or over bed area only. Costs 50% less, still creates architectural interest. Works well in rectangular rooms.
Stock Molding
Use standard crown molding profiles instead of custom. Paint creatively for custom look. Saves $300-600 on materials while maintaining elegance.
Combine Projects
Add tray ceiling when doing other ceiling work (insulation, electrical). Shared labor/equipment costs save 20-30%. Plan ahead for best value.
Frequently Asked Questions
Expert answers about tray ceiling installation
🏛️ Ready to Add a Tray Ceiling to Your Bedroom?
Find qualified contractors and elevate your space
Knowledge Quiz: Tray Ceiling Cost Guide
Open Quiz
5 quick questions - see how much you learned!
1) What is the cost range shown for a basic tray ceiling (simple design, painted)?
Answer: B
The overview lists a Basic Tray at $500–$800.
2) Which tray ceiling style is priced at $1,000 – $1,500 total and is designed for ambient lighting?
Answer: C
The Cove Lighting Tray is listed at $1,000–$1,500 and is meant for soft ambient glow.
3) What ceiling height is the guide’s minimum recommendation for a tray ceiling installation?
Answer: A
The guide notes 8-foot ceilings are not recommended and 9-foot ceilings are the baseline for a comfortable tray depth.
4) What is the minimum finished ceiling height required by code in bedrooms (as stated in this guide)?
Answer: D
The guide states bedrooms must maintain at least 7’6” finished ceiling height after the tray is built.
5) According to the design rule of thumb, tray depth should not exceed what fraction of ceiling height?
Answer: B
The guide’s proportion rule says tray depth should stay at or under 1/12 of ceiling height.
🏠 More Bedroom Renovation Guides
Explore our complete bedroom improvement library
View All Bedroom Guides (20) ▼
🛏️ Bedroom Basics
👔 Closets & Storage
Last updated: Jan 2026
Sources: National Association of Home Builders, Gypsum Association Installation Guide, Fine Homebuilding Magazine, Professional Remodeler Cost Studies 2026, Architectural Digest Ceiling Trends Report, Builds and Buys Research Team


